Stratus Guides - Configuring RabbitMQ
Consumers
To see a list of available consumers that you can set to run, use:
php bin/magento queue:consumers:list
Please note the following:
- In a production environment the host will be rabbitmq
- In a development environment the host will be 0.0.0.0, unless Autoscaling is enabled then the host will remain rabbitmq.
Below is an example configuration of the env.php file.
'cron_consumers_runner' => [
        'cron_run' => true,
        'max_messages' => 0,
        'consumers' => [
            'async.operations.all',
            'codegeneratorProcessor',
            'product_action_attribute.update',
            'product_action_attribute.website.update',
            'exportProcessor'
        ]
    ],
    'queue' => [
        'amqp' => [
            'host' => 'rabbitmq',
            'port' => '5672',
            'user' => 'username',
            'password' => 'yb2sovjbaa4atsbbn0s0ccm9uddekh6i',
            'virtualhost' => '/',
            'ssl' => 'false',
            'ssl_options' => []
        ]
    ],
A simple one-line command to add RabbitMQ queue to env.php file is:
php bin/magento -q -n setup:config:set --amqp-host="rabbitmq" --amqp-port="5672" --amqp-user="username" --amqp-password="8b2sovjbgg4atsbpn0ilovemagemojo" --amqp-virtualhost="/"
RabbitMQ
The RabbitMQ message broker service can be enabled in your Webscale STRATUS panel in the RabbitMQ > Info panel.
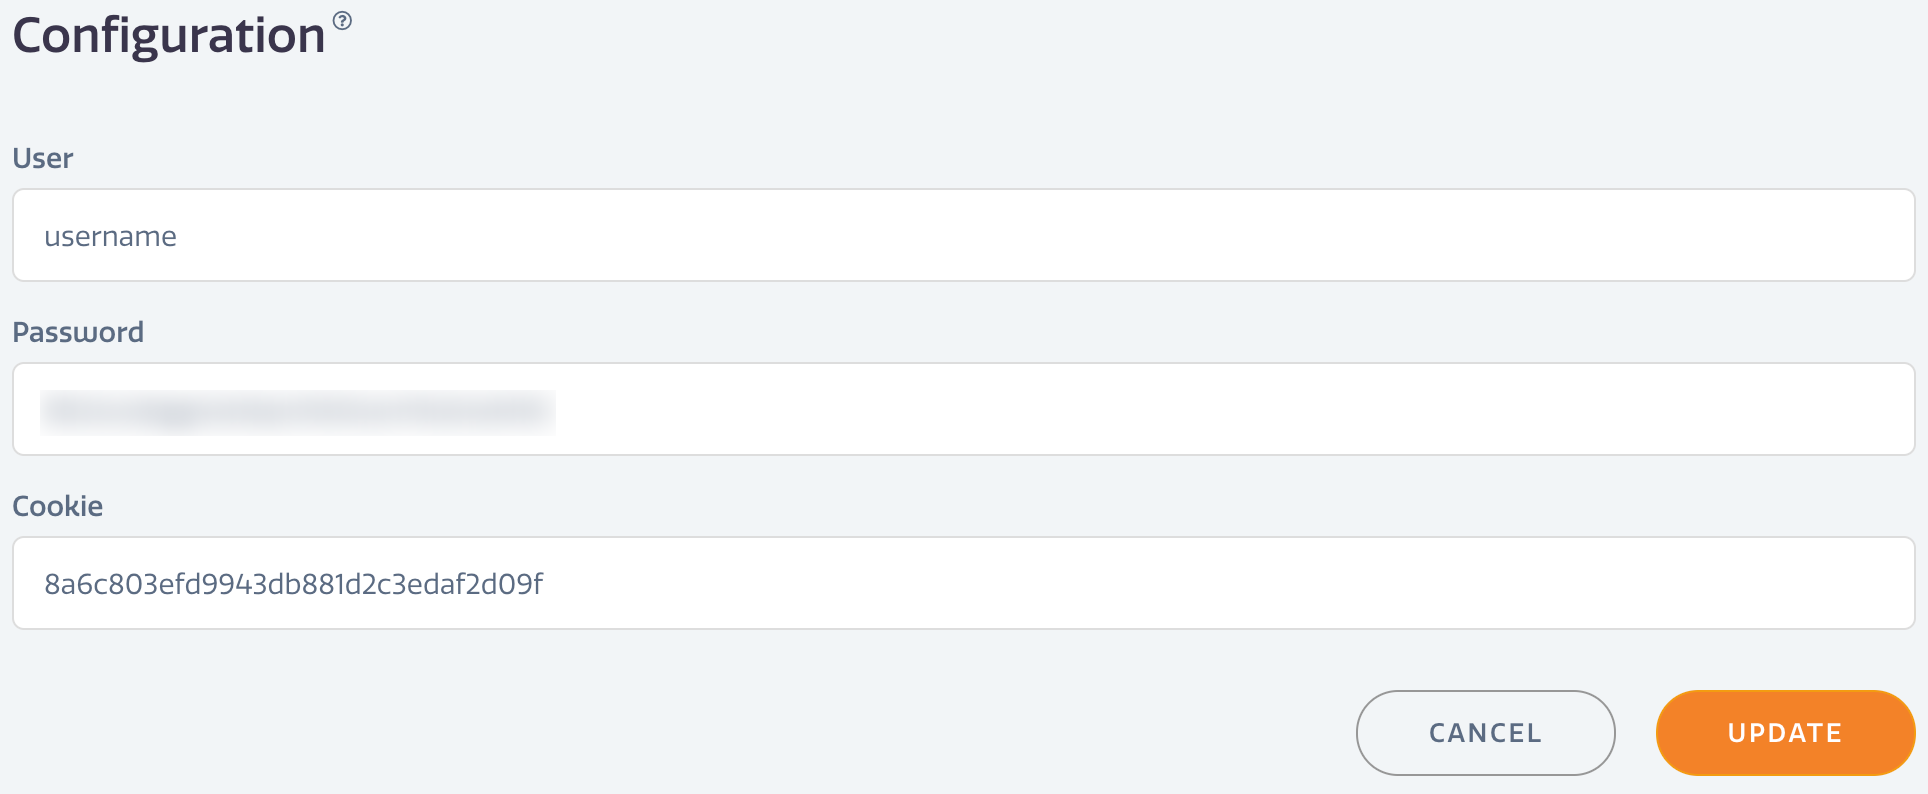
The credentials shown in the RabbitMQ > Configuration panel may be changed, but must match the ones configured in env.php.
These are only used on the initial deploy of RabbitMQ. If these credentials are changed after starting RabbitMQ, it will not affect the existing user.

Multiple_processes option
An array of key-value pairs specifying which consumer to run in how many processes. The --multi-process option is present in the queue:consumers:start command, but to run consumers with parallel processes, configure the multiple_processes option in /app/etc/env.php. Otherwise, if queue:consumers:start is called with the –multi-process option, it only works on a single thread.
Example with all Magento 2 Core Consumers added:
'cron_consumers_runner' => [
        'cron_run' => true,
        'max_messages' => 0,
        'consumers' => [
            'product_action_attribute.update',
            'product_action_attribute.website.update',
            'media.storage.catalog.image.resize',
            'exportProcessor',
            'inventory.source.items.cleanup',
            'inventory.mass.update',
            'inventory.reservations.cleanup',
            'inventory.reservations.update',
            'inventory.reservations.updateSalabilityStatus',
            'inventory.indexer.sourceItem',
            'inventory.indexer.stock',
            'media.content.synchronization',
            'media.gallery.renditions.update',
            'media.gallery.synchronization',
            'codegeneratorProcessor',
            'sales.rule.update.coupon.usage',
            'sales.rule.quote.trigger.recollect',
            'product_alert',
            'async.operations.all'
        ]
    ],
To extend with four (4) threads instead (single-threaded) for product_action_attribute.update, this is how we would convert within the env.php file:
'cron_consumers_runner' => [
        'cron_run' => true,
        'max_messages' => 0,
        'consumers' => [
            'product_action_attribute.update',
            'product_action_attribute.website.update',
            'media.storage.catalog.image.resize',
            'exportProcessor',
            'inventory.source.items.cleanup',
            'inventory.mass.update',
            'inventory.reservations.cleanup',
            'inventory.reservations.update',
            'inventory.reservations.updateSalabilityStatus',
            'inventory.indexer.sourceItem',
            'inventory.indexer.stock',
            'media.content.synchronization',
            'media.gallery.renditions.update',
            'media.gallery.synchronization',
            'codegeneratorProcessor',
            'sales.rule.update.coupon.usage',
            'sales.rule.quote.trigger.recollect',
            'product_alert',
            'async.operations.all'
        ],
        'multiple_processes' => [
            'product_action_attribute.update' => 4
        ]
    ],
On the next Cron run, you will see four (4) processes for product_action_attribute.update Consumer running instead of one. It is not recommended to run multiple consumers on a MySQL-operated queue. Starting with Magento 2.4.5 Queue Consumers are converted to RabbitMQ automatically. If you ares using a version lower than 2.4.5, please make sure you install the RabbitMQ patch.
Default Broker
Starting with Magento 2.4.5 Queue Consumers are utilizing RabbitMQ automatically. Any previous versions, when possible, Webscale Stratus recommends using RabbitMQ as the broker instead of MySQL. Please read over RabbitMQ vs MySQL.
RabbitMQ Advanced Usage
RabbitMQ ships with command line and other management utilities. Depending on the exact usage of RabbitMQ, these tools may be used to debug and investigate certain issues with a Magento install. To call RabbitMQ procedures from the command line use the rabbitmqadmin utility.
For example, to list the existing users:
$ rabbitmqadmin --host rabbitmq -u kermit -p wakkawakka1234 list users
+--------+--------------------------------+--------------------------------------------------+---------------+
|  name  |       hashing_algorithm        |                  password_hash                   |     tags      |
+--------+--------------------------------+--------------------------------------------------+---------------+
| kermit | rabbit_password_hashing_sha256 | 7YJGqcUKDcnvFkxwMOq+4OLCZw8RrYZL5sOGTAz2vXdXkLBF | administrator |
+--------+--------------------------------+--------------------------------------------------+---------------+
The official RabbitMQ documentation has various examples of how to use the rabbitmqadmin admin tool. On Webscale STRATUS, use the correct host and user in all your commands. As with the env.php configuration, the host will always be rabbitmq or 0.0.0.0.
Web Interface.
The RabbitMQ management plugins are enabled in Mojo STRATUS, and can be accessed using the correction configurations.
The Web UI is always running, but can only be accessed one of two ways:
- Use an SSH tunnel to expose the web interface on a local port
- Set up a proxy pass directive in the STRATUS Nginx configuration
SSH Tunnel
An SSH tunnel is the most secure way to access the RabbitMQ UI.
-
To access the RabbitMQ UI, make sure an SSH user is configured for the Webscale STRATUS environment.
-
Via terminal, run the following command with the correct user/host/port information to open a tunnel:
ssh -p <port> <user>@<ssh-endpoint>.mojostratus.io -L 15672:rabbitmq:15672Change rabbitmq to 0.0.0.0, if you are using autoscaling.
-
With the tunnel connected, open a local browser to http://localhost:15672/.

-
Enter the username/password configured for RabbitMQ in your initial start-up (under RabbitMQ -> Configuration)
Read the official docs for more details on how to use and interpret the UI..
Nginx Proxy Pass
Although not recommended, an Nginx Proxy Pass may be used for quick access. It is also recommend that the location be secured by IP whitelist if the intention is to leave the UI permanently exposed.
-
Go to Nginx > Includes in the Webscale STRATUS panel.
-
Add a new location directive similar to this:
location /yourrabbitadmin/ { proxy_pass http://127.0.0.1:15672/; } -
Click Update to save the changes.
The RabbitMQ UI can now be accessed at https://mysite.com/yourrabbitadmin.
Resetting Data
In the RabbitMQ > Info panel the data can be reset if needed to wipe the service clean of all data.
RabbitMQ data is persistent, similar to MySQL. Persistent data is important since some stores may use RabbitMQ to store important data like order data until it is later saved within the Magento MySQL data.
Feedback
Was this page helpful?
Glad to hear it! Have any more feedback? Please share it here.
Sorry to hear that. Have any more feedback? Please share it here.