How to Create Groups and Invite Users
How to create groups and invite users in the Webscale Control Panel
Overview
Webscale groups consolidate multiple roles so they can be managed as one entity. Generally, the encapsulated roles are expected to be related in some way or share similar responsibilities, though this is not a requirement.
Create a group
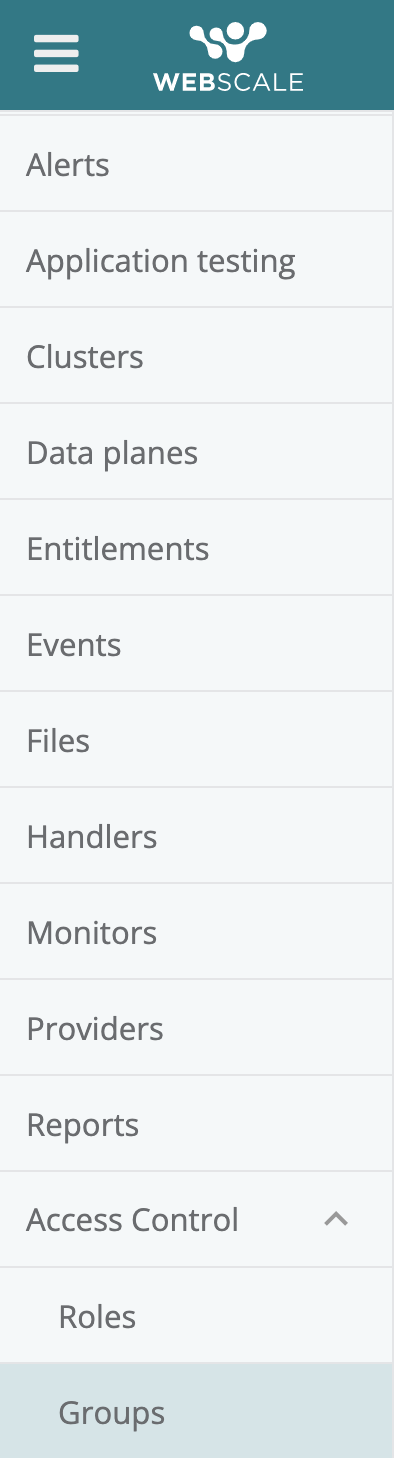
| 1. Login to the Webscale Control Panel and click the three bars in the upper left. Select Groups from the menu. |
|
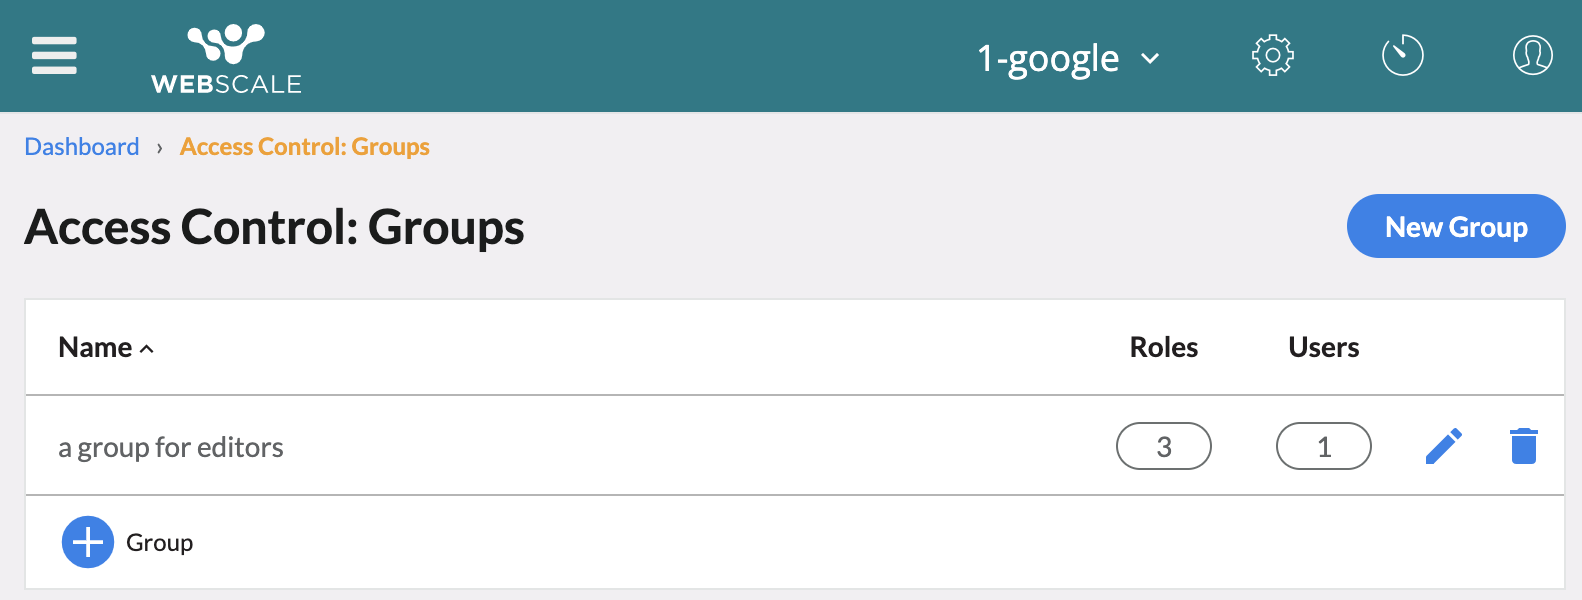
| 2. Here you view existing groups on the Groups page in the Control Panel. | |
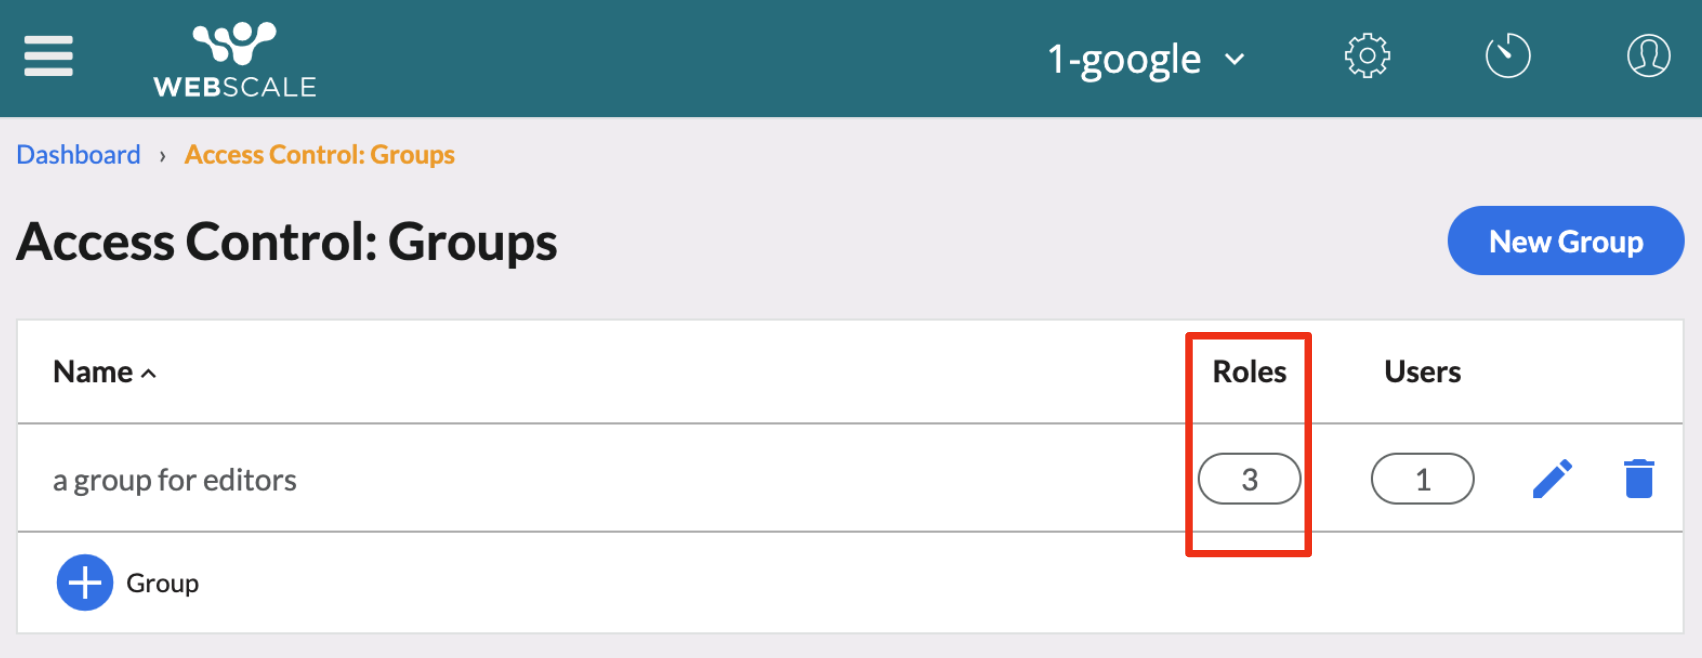
| 3. Clicking Roles lists the roles encapsulated by the group. | |
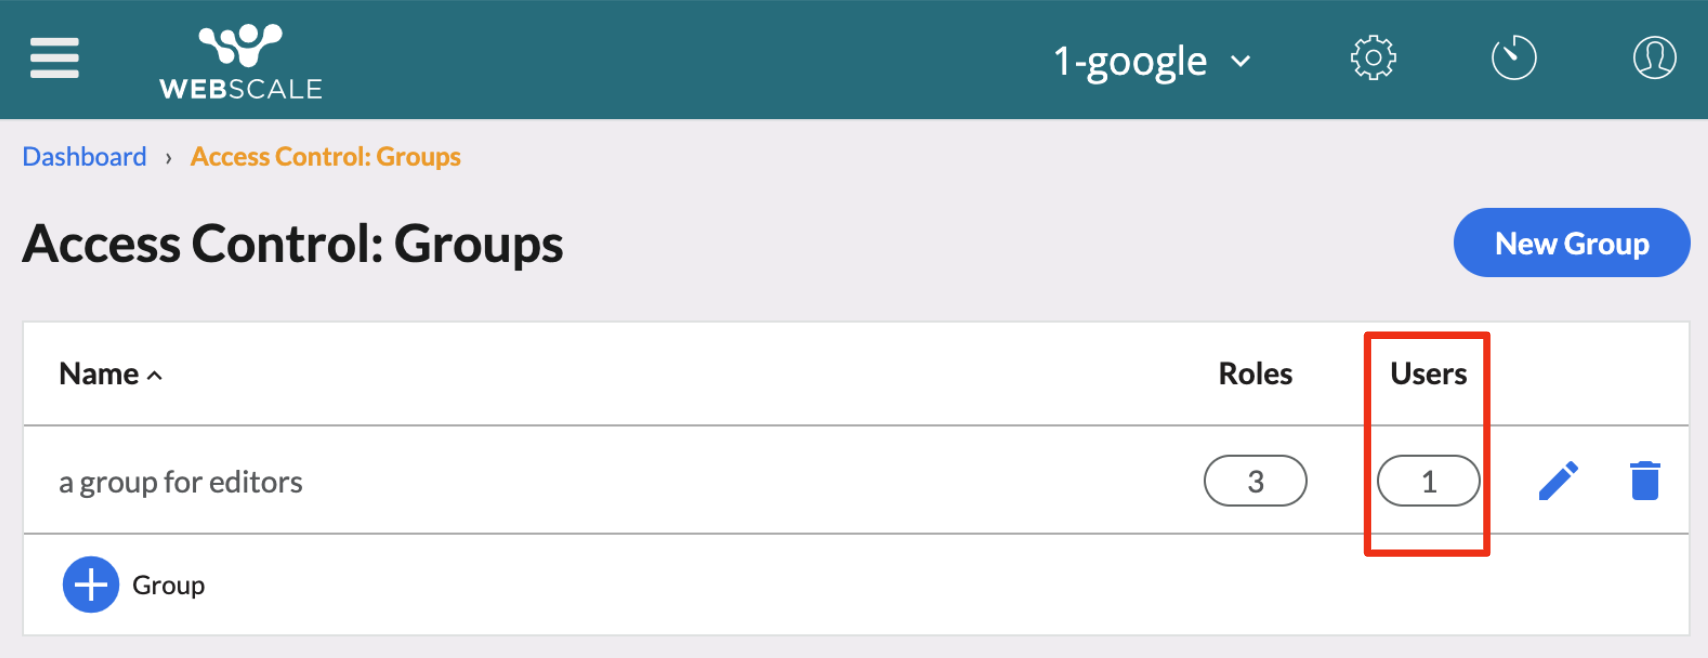
| 4. Clicking Users lists the users invited to assume the group and whether they have accepted, declined or vacated that invitation. | |
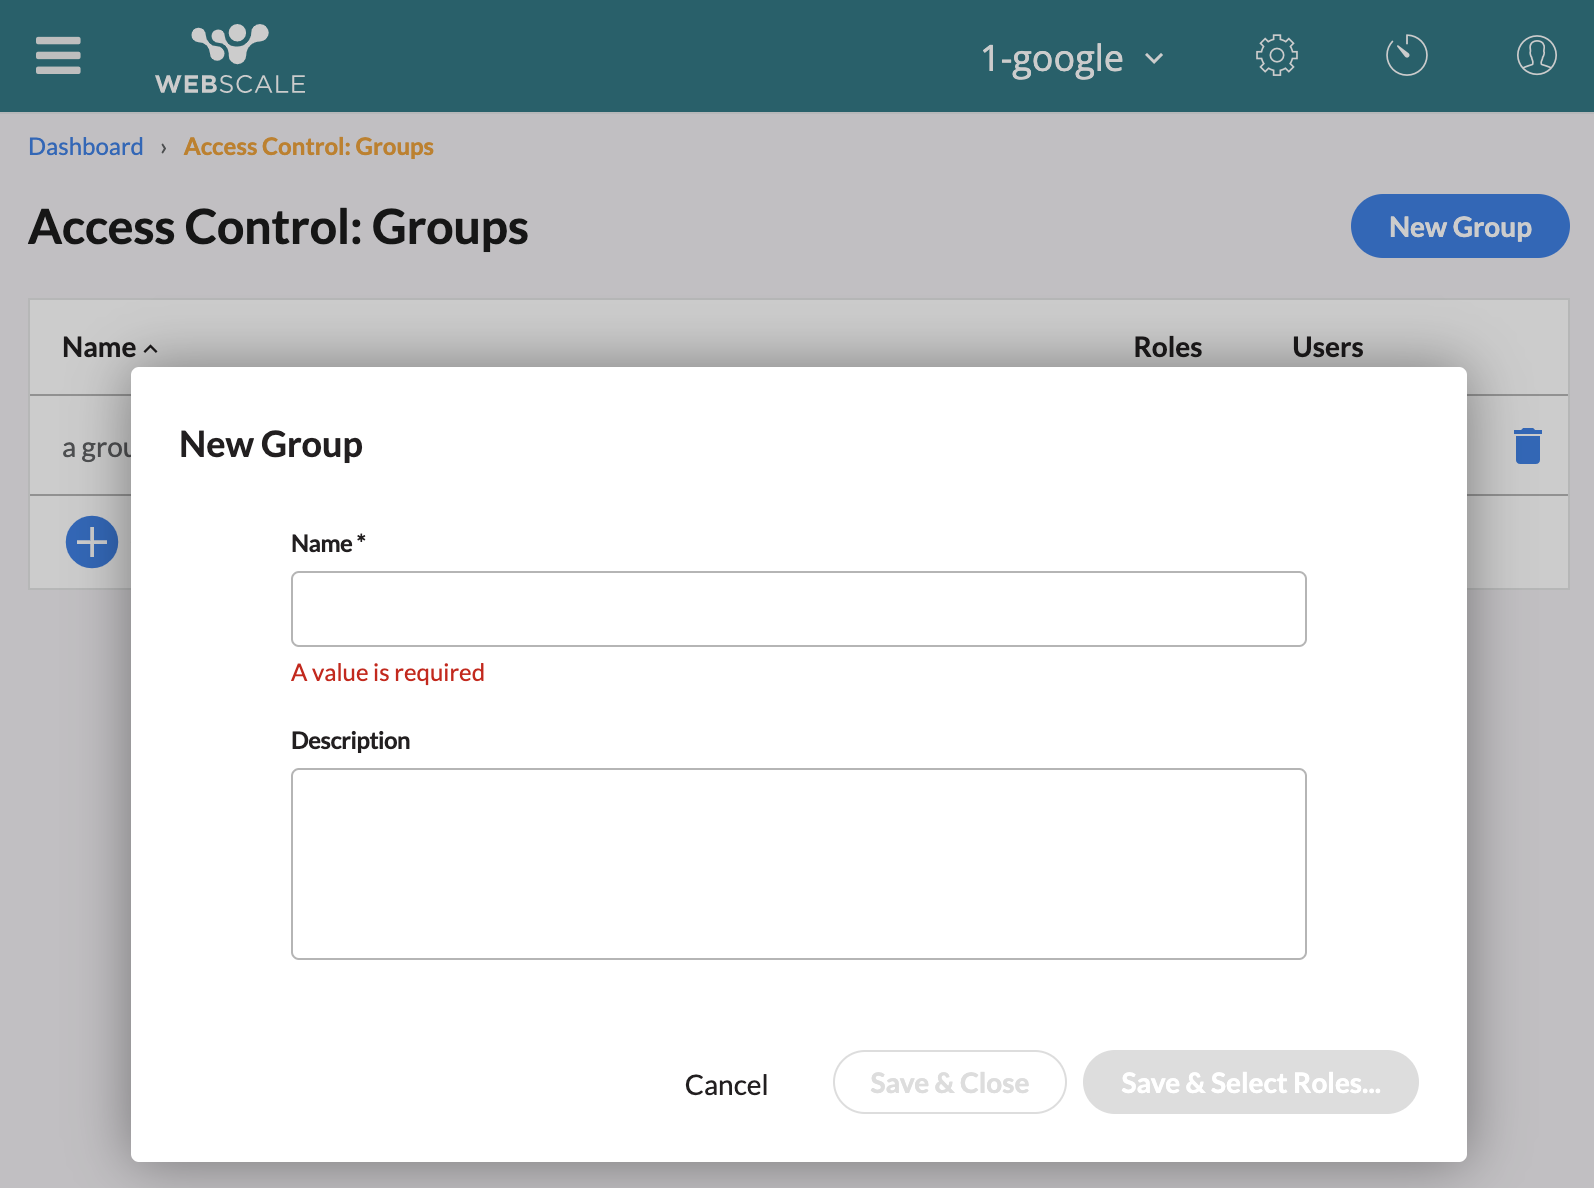
| 5. Click Group in the lower left part of the page to create a new group. In the wizard that appears, you’ll be walked through the steps to configure the group. | |
| 6. It is recommended to use an informative name and description to ease the management of multiple groups. | |
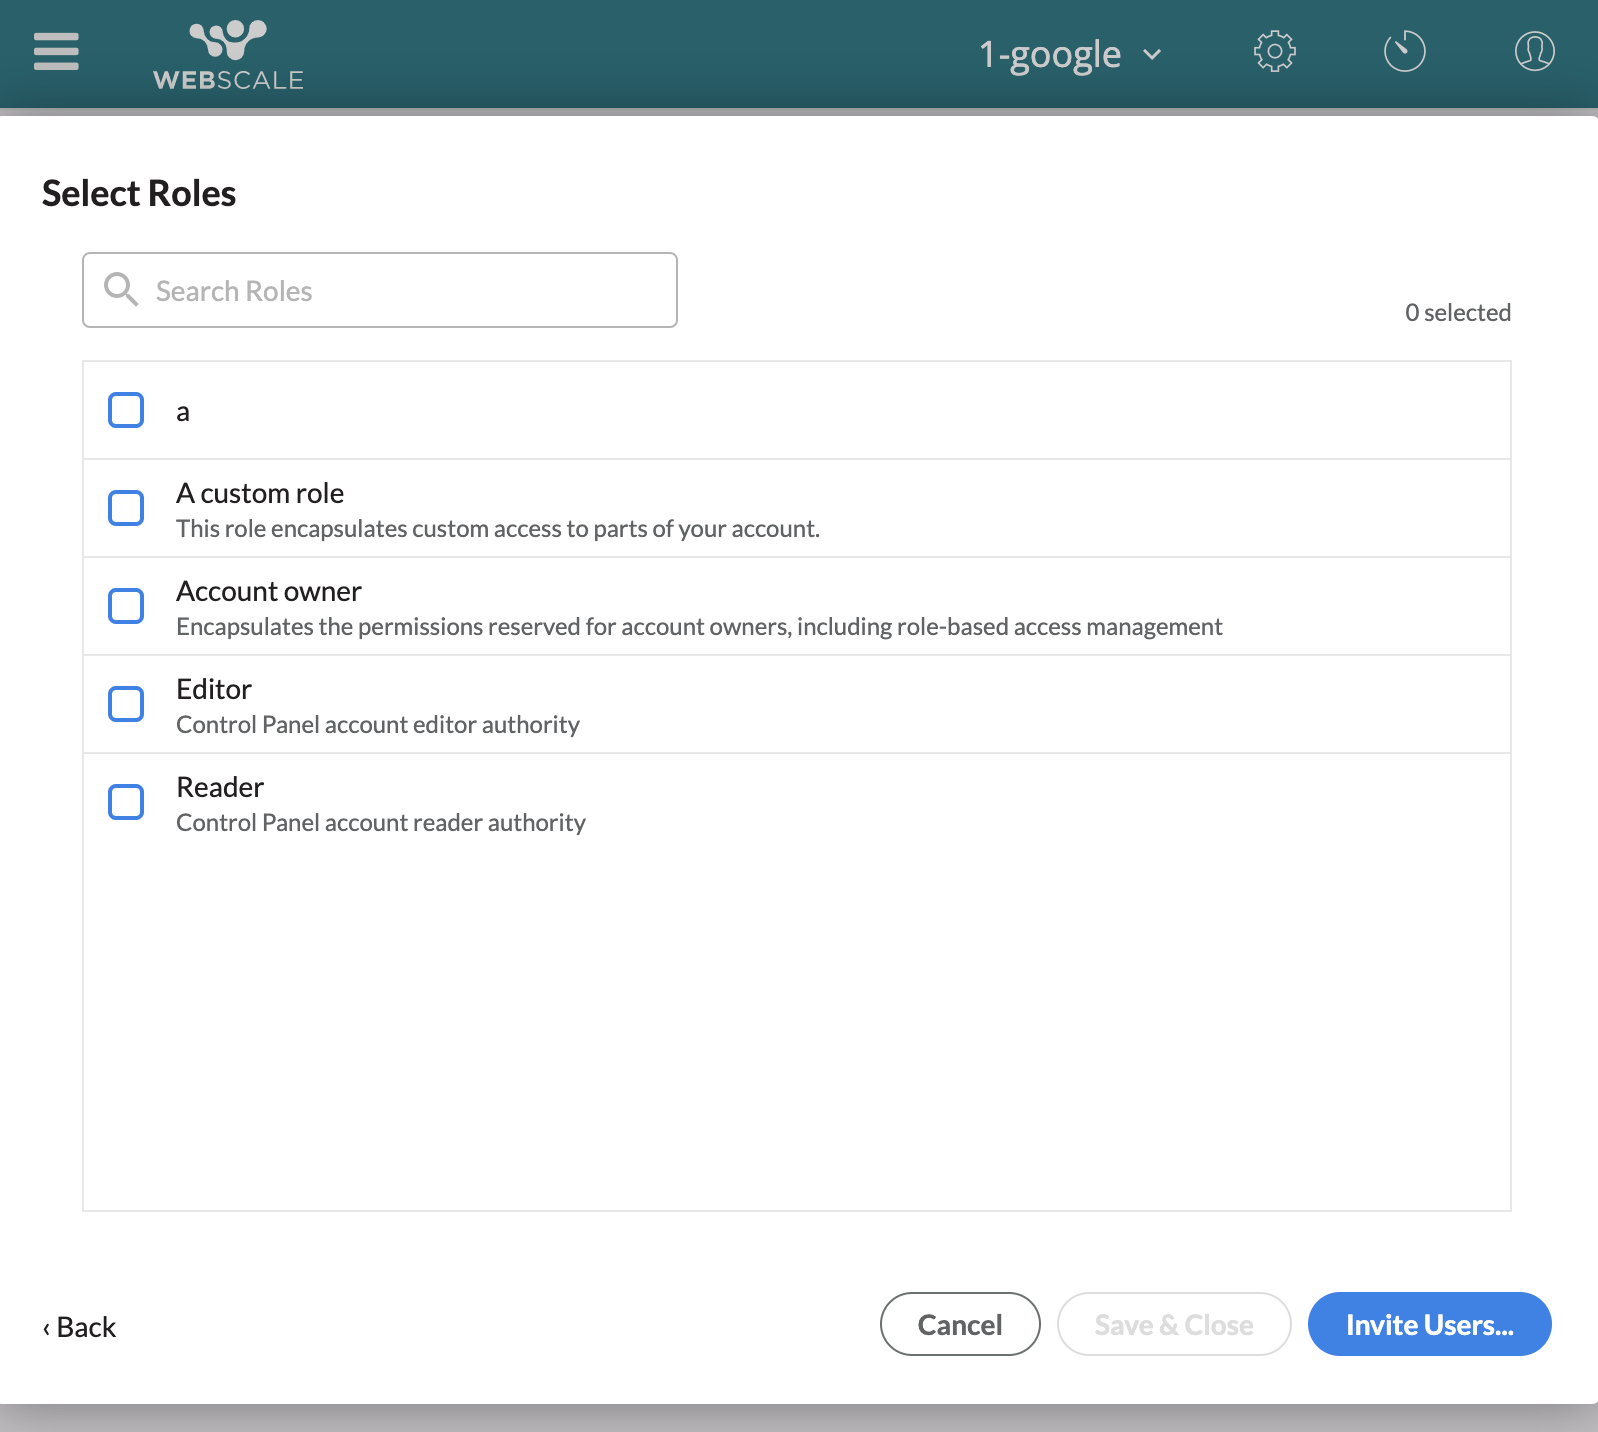
7. Select the roles the group should encapsulate.
Note:Via the Control Panel, only roles configured in the current account will be listed. Via the API, any role to which the user has access can be configured. |
|
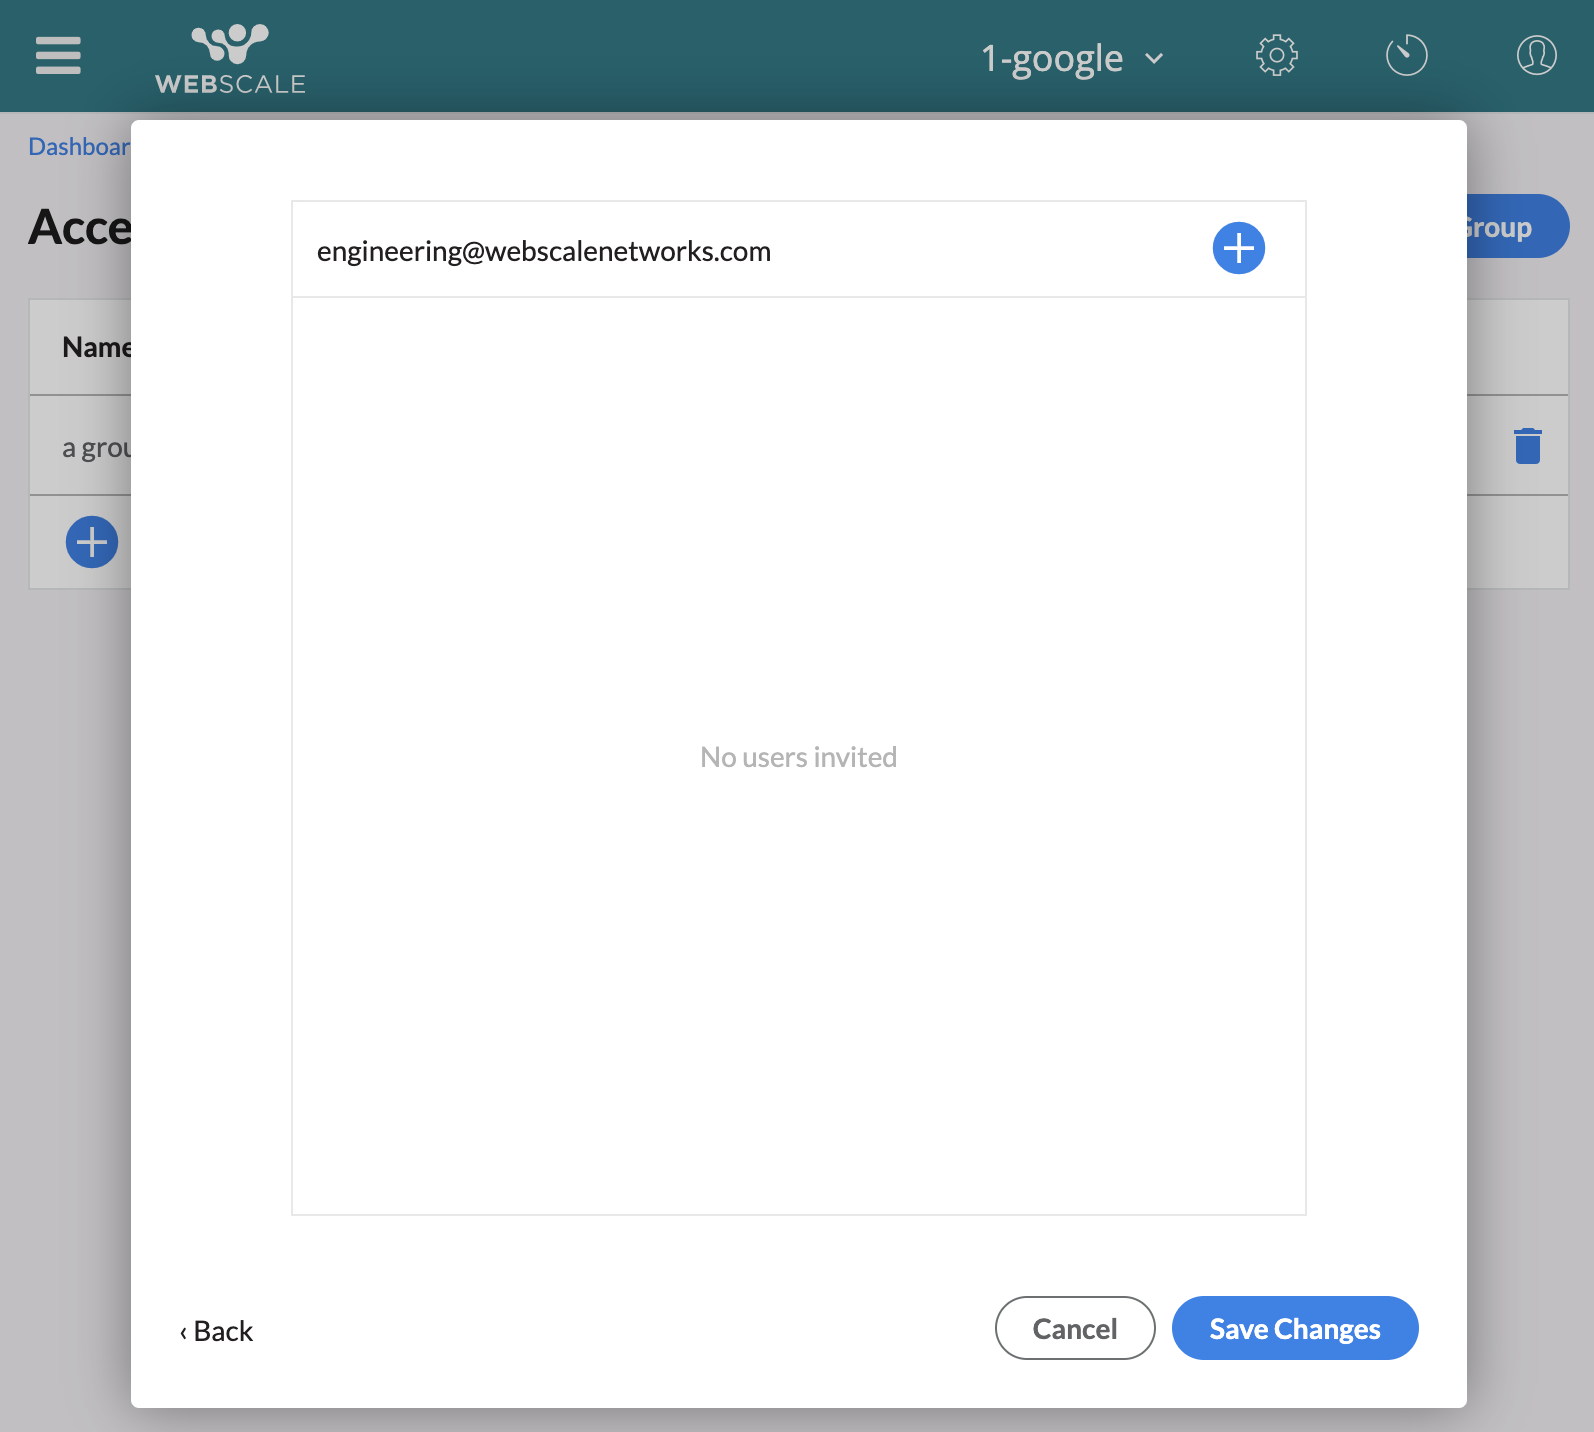
8. Lastly, invite users to the group. Confirm the changes you’ve made, then click Save to save the changes. This action creates the group and sends invitations to any users invited to the group.
Note:If the user invited does not exist, this action will send an email to the user with a link to sign up. Once they complete sign-up (create a password) and log in, they will be taken to the User Profile and can accept the group. |
Invite users to an existing group
| 1. Login to the Webscale Control Panel and click the three bars in the upper left. Select Groups from the menu. |
|
| 2. On this page you see existing groups. To invite a user to the group, click the Users button for the group, then click the pencil in the upper right of the expanded panel. | |
| 3. Enter the user’s email address, and click the + button. A comma-separated list of email addresses can be inputted at a single time. This will send invitations to all the added email addresses. | |
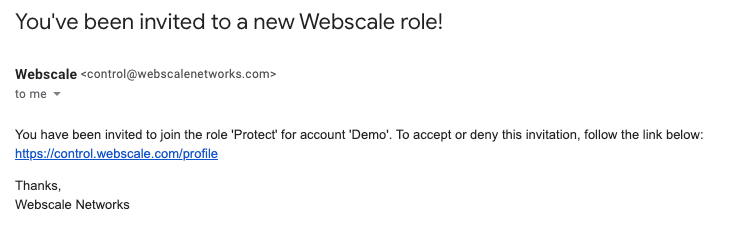
4. The user receives an email from Webscale with a link to the User Profile, where they can accept the role.
Note:If the user invited does not exist, this action will send an email to the user with a link to sign up. Once they complete sign-up (create a password) and log in, they will be taken to the User Profile and can accept the group. |
|
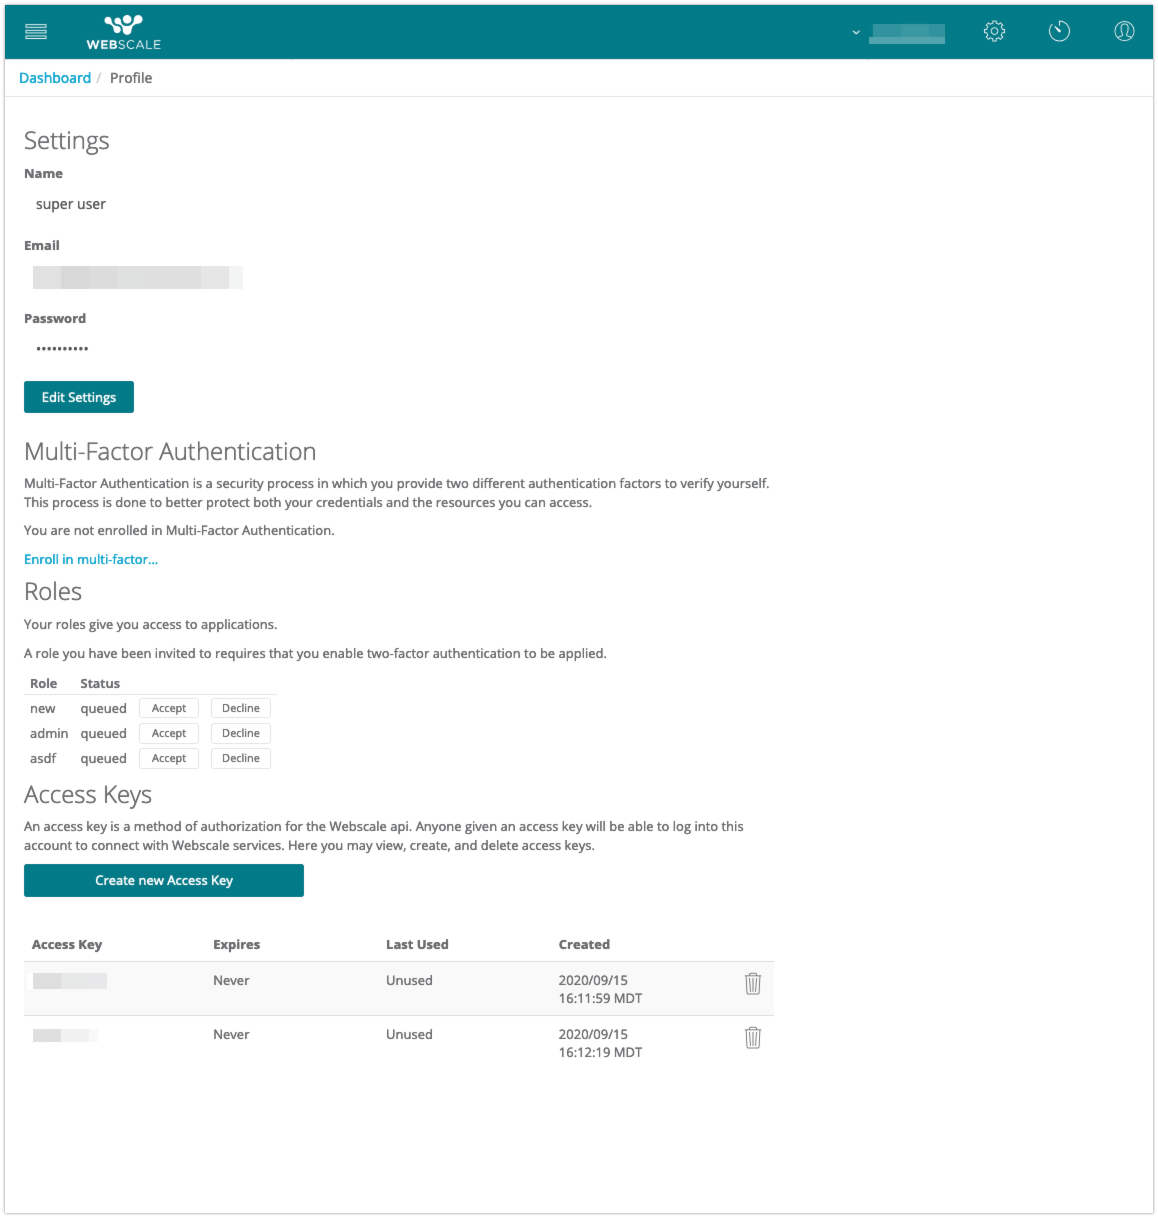
5. In the User Profile the user can manage their password and their multi-factor authentication settings. The user will also see some information about their user account, such as:
Warning:Users can leave a group. In such an event, they must be re-invited to the group if they wish to regain access.Note:If the role the user was invited to does not permit Webscale Control Panel access, the user will only have access to their User Profile. This may be the case if you only want the role to apply to the Webscale Secure Access web control, for example. |
Feedback
Was this page helpful?
Glad to hear it! Have any more feedback? Please share it here.
Sorry to hear that. Have any more feedback? Please share it here.
Last modified October 27, 2022