Working with Microsites
A microsite is a standalone website that displays for your application. A microsite package file (also known as a microsite file) contains the content files for one or more microsites. At a minimum, each microsite will consist of a single html file.
Additionally, a microsite can include assets, such as images or CSS files and files for additional pages. The Files page enables you to upload and work with microsite package files. After you have uploaded microsite files for your account, they are available for all account applications.
All types of Web Controls can serve microsites. The default maintenance Web Control for your application uses a standard microsite from the default microsite file, which contains one or more standard microsites. Webscale uses this microsite file to display a maintenance mode page and for other purposes.
You can upload additional microsite package files to replace the maintenance Web Control default microsite file or for other usages. While a microsite file can contain files for several microsites, you can only specify a single microsite file for a request and response Web Control to serve.
Topics
- Shared procedures for working with files
- File requirements
- Preview microsites
- Standard microsites
- Captcha pages
Shared procedures for working with files
Webscale features that use uploaded files, such as microsites and CloudEDGE Workers, share the same procedures for uploading and managing files but not for previewing files. Working with files includes information and procedures for the following shared operations.
File requirements
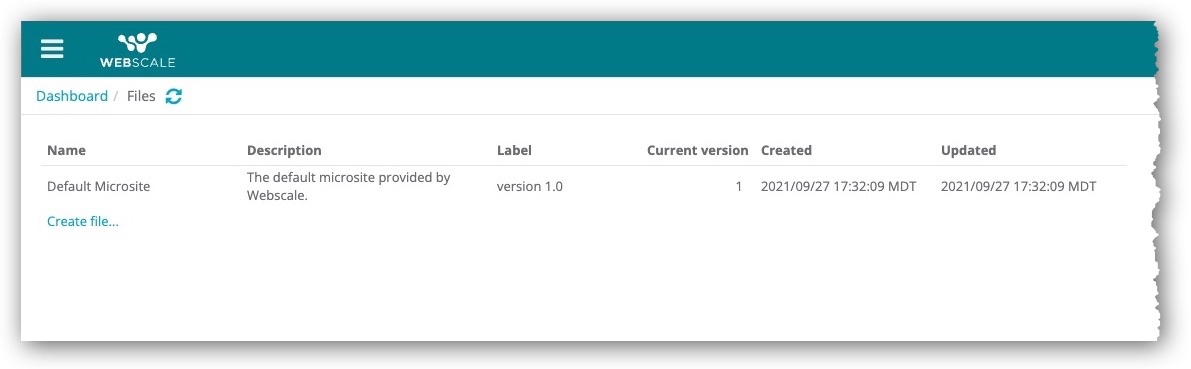
Through the Files page, you can upload microsite package files. A microsite file must fulfill the following requirements.
- .zip, .tar, or .tar.gz file format
- Under 50 MB in size
- Links to internal assets must be relative (pages can also contain links to external websites)
Preview microsites
After you have uploaded a microsite file, you can preview it. For more information on uploading files, see Upload files in Working with files.
To preview a microsite
-
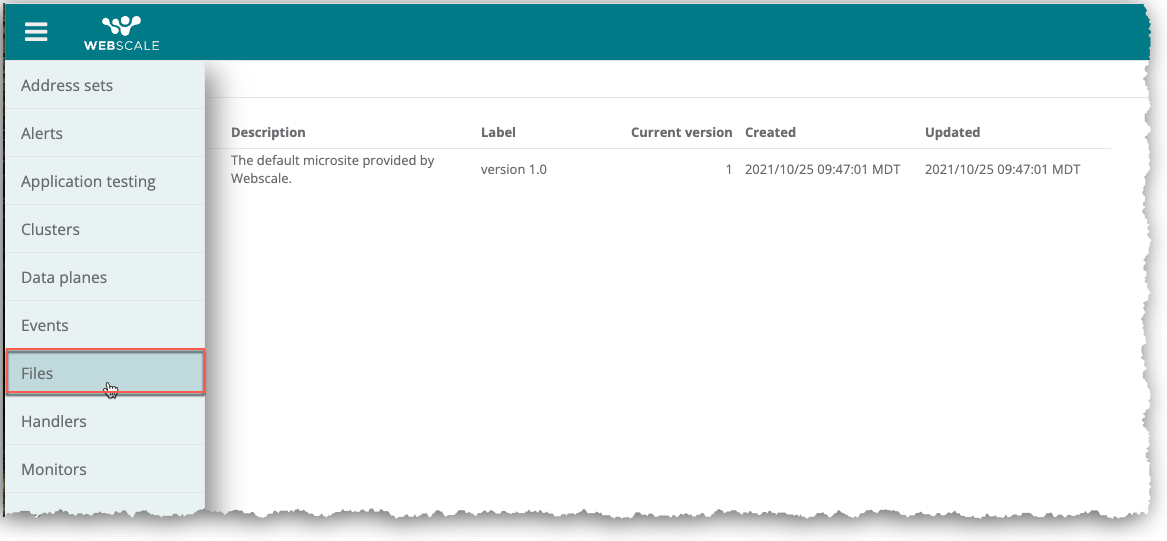
On the Webscale Control Panel page, click the menu icon on the upper-left side of the screen.
-
On the sidebar menu, select Files.
-
In the Files page, select a file in the Files panel.
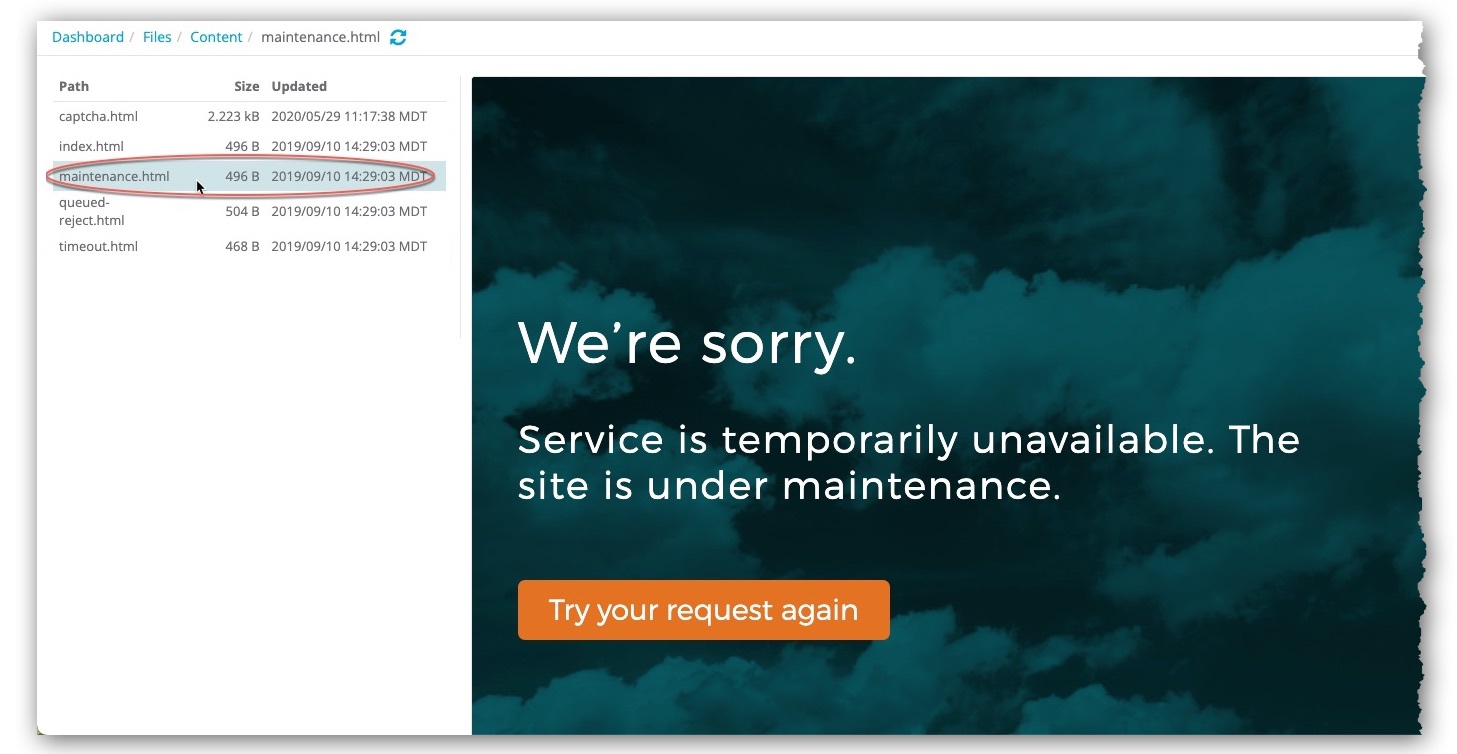
The HTML files and any assets for one or more microsites display in the Content panel. -
In the Content panel, click on an HTML file.
The Preview panel displays a preview of the microsite.

Note:
The preview is an approximate rendering that might not appear exactly the same as it will in production, especially if the HTML file includes JavaScript. Webscale does not support standalone JavaScript files for this feature.- To return to the Files panel, click Files in the navigation path.
Note:
You can preview other types of files in the list, such as image files.Standard microsites
The Files page contains a system default microsite package file that contains five standard microsite files. Each of these HTML files is a one-page microsite.
The names for the following files correspond to when they display.
captcha.html: Displays for user challengesindex.html: Displays in lieu of all standard microsite files except forcaptcha.htmlmaintenance.html: Displays when your application is in maintenance modequeued-reject.html: Displays when Webscale rejects a deferred proxy request because the proxy request queue is fulltimeout.html: Displays when a request times out
Note:
For the default microsite file, all html files, except for the one for captcha, share the same microsite.Standard microsite usage
The Maintenance web controls page for your application handles the standard microsites. You can access the default maintenance Web Control through this page.
A maintenance Web Control serves the microsite that displays during maintenance mode. The microsite file selected on the page determines the microsites that automatically display for user challenges, proxy request rejections, and time outs.
Initially, the default microsite file is selected on the Maintenance web controls page. The default maintenance Web Control also uses this microsite file.
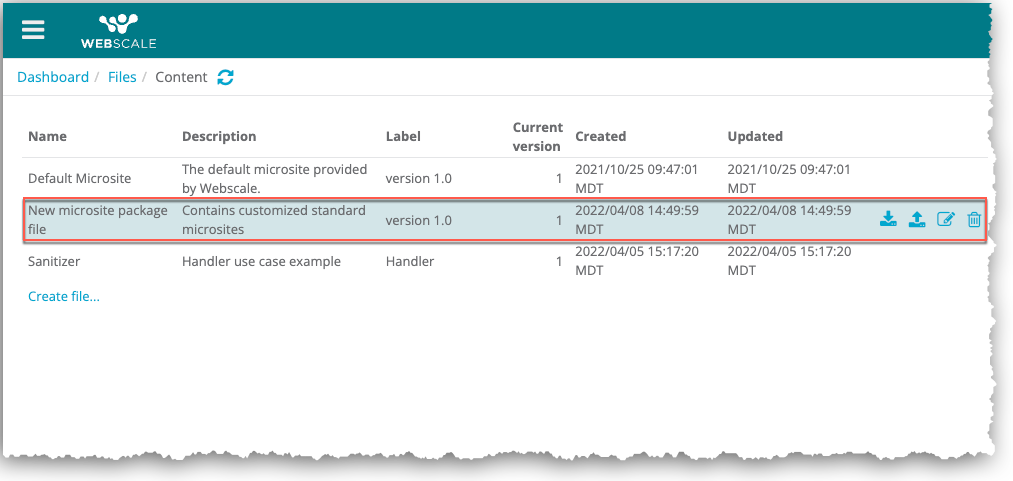
You can replace the default microsite file with a new file that contains versions of the standard microsites that are customized for your business. The HTML files must have the same file names as the standard ones to display.
A new microsite file might have only one HTML file. If it is named index.html and located at the root directory of the package file, the single file will display for proxy request rejections and timeouts but not for captchas.
For more information about the maintenance mode microsite, see Managing Maintenance Mode. For more information on captcha, see Captcha pages.
Replace the default microsite file
To use customized microsites, upload a microsite file with new content files. Then select the new microsite file in the Maintenance web controls page.
For more information on uploading microsite files, see Upload files. For more information about maintenance Web Controls, see Managing Maintenance Mode.
Captcha pages
If your application has a request Web Control with the Challenge user action, Webscale will display a captcha whenever your application challenges a user.
The request Web Control uses the captcha.html file for the microsite package file that is selected on the Maintenance web controls page. If the selected microsite file does not include a captcha.html file, the default Webscale captcha displays.
When you replace the default system microsite file for your application, you can include a new captcha.html file that is customized to meet your business needs. For example, you could brand a new captcha by including your logo.
Note:
To have captchas function globally (including countries that do not allow the google.com domain), replacegoogle.com/recaptcha/ with www.recaptcha.net in the captcha file.
For more information on creating a request Web Control with the Challenge User action, see Protecting Your Site with a Captcha.
Customized captcha file requirements
You must use the captcha.html file name for customized captchas. New captchas files must include the following Webscale-specific HTML code. If the code is not included, the captcha will not display.
<div id=”protection-mode-captcha”></div>
Webscale uses the above code to display the captcha on the page.
<div id=”protection-mode-captcha-error”></div>
Webscale uses the above code to display an error message if the captcha fails.
Replace captcha files
To use a new captcha, perform the following procedure.
- Create a microsite file that includes a new
captcha.htmlfile that contains the above html code. - Through the Files page, upload the new microsite file. For more information on uploading files, see Working with Files.
- In the Maintenance web controls page for your application, select the new microsite file from the Microsite drop-down menu and click Apply. For information on maintenance mode, including selecting a microsite file for for your application, see Managing Maintenance Mode.
Further reading
- Working with Files
- Upload files
- Work with uploaded files
- Managing Maintenance Mode
- Protecting Your Site with a Captcha
Have questions not answered here? Please Contact Support to get more help.
Feedback
Was this page helpful?
Glad to hear it! Have any more feedback? Please share it here.
Sorry to hear that. Have any more feedback? Please share it here.