How to View Users and Remove Their Access
Access to Webscale accounts are controlled via Roles and Groups. For users with admin type permissions, the Users page facilitates easy viewing of the users that have a role or group defined in an account. In addition, the Users page allows easy resetting of a user’s MFA, removal of all a user’s access to an account, and revoking an individual invitation from a role or group.
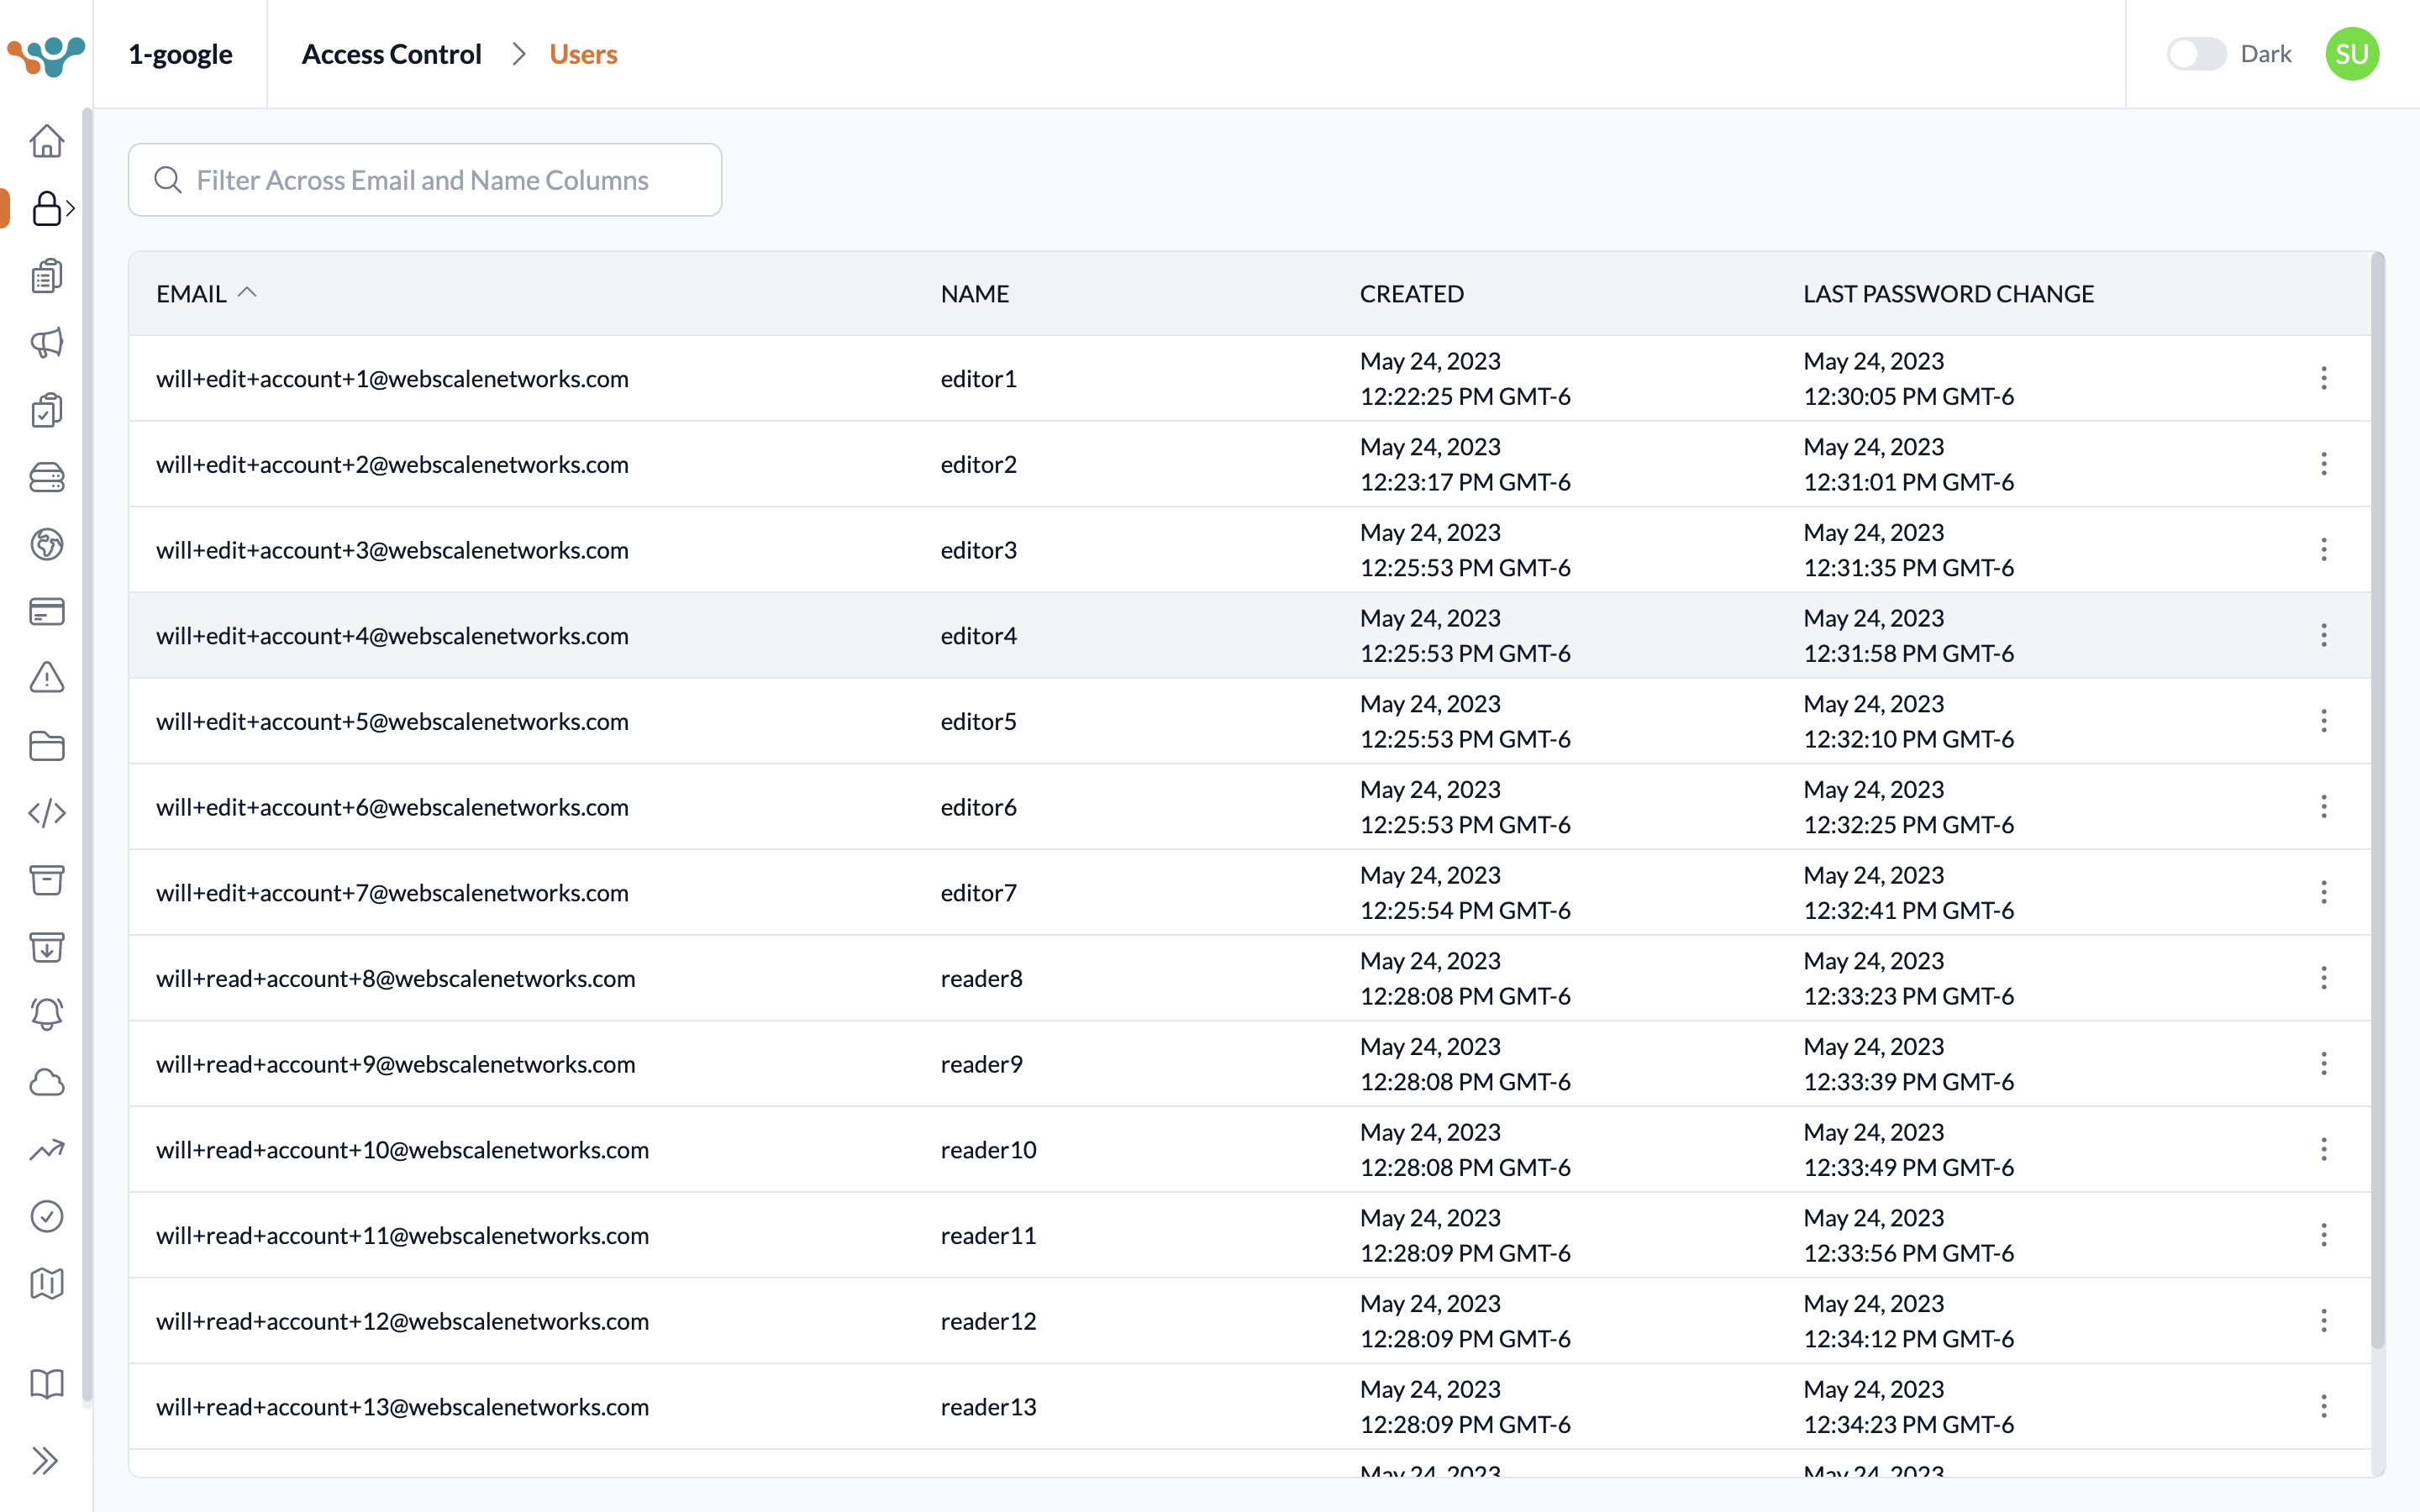
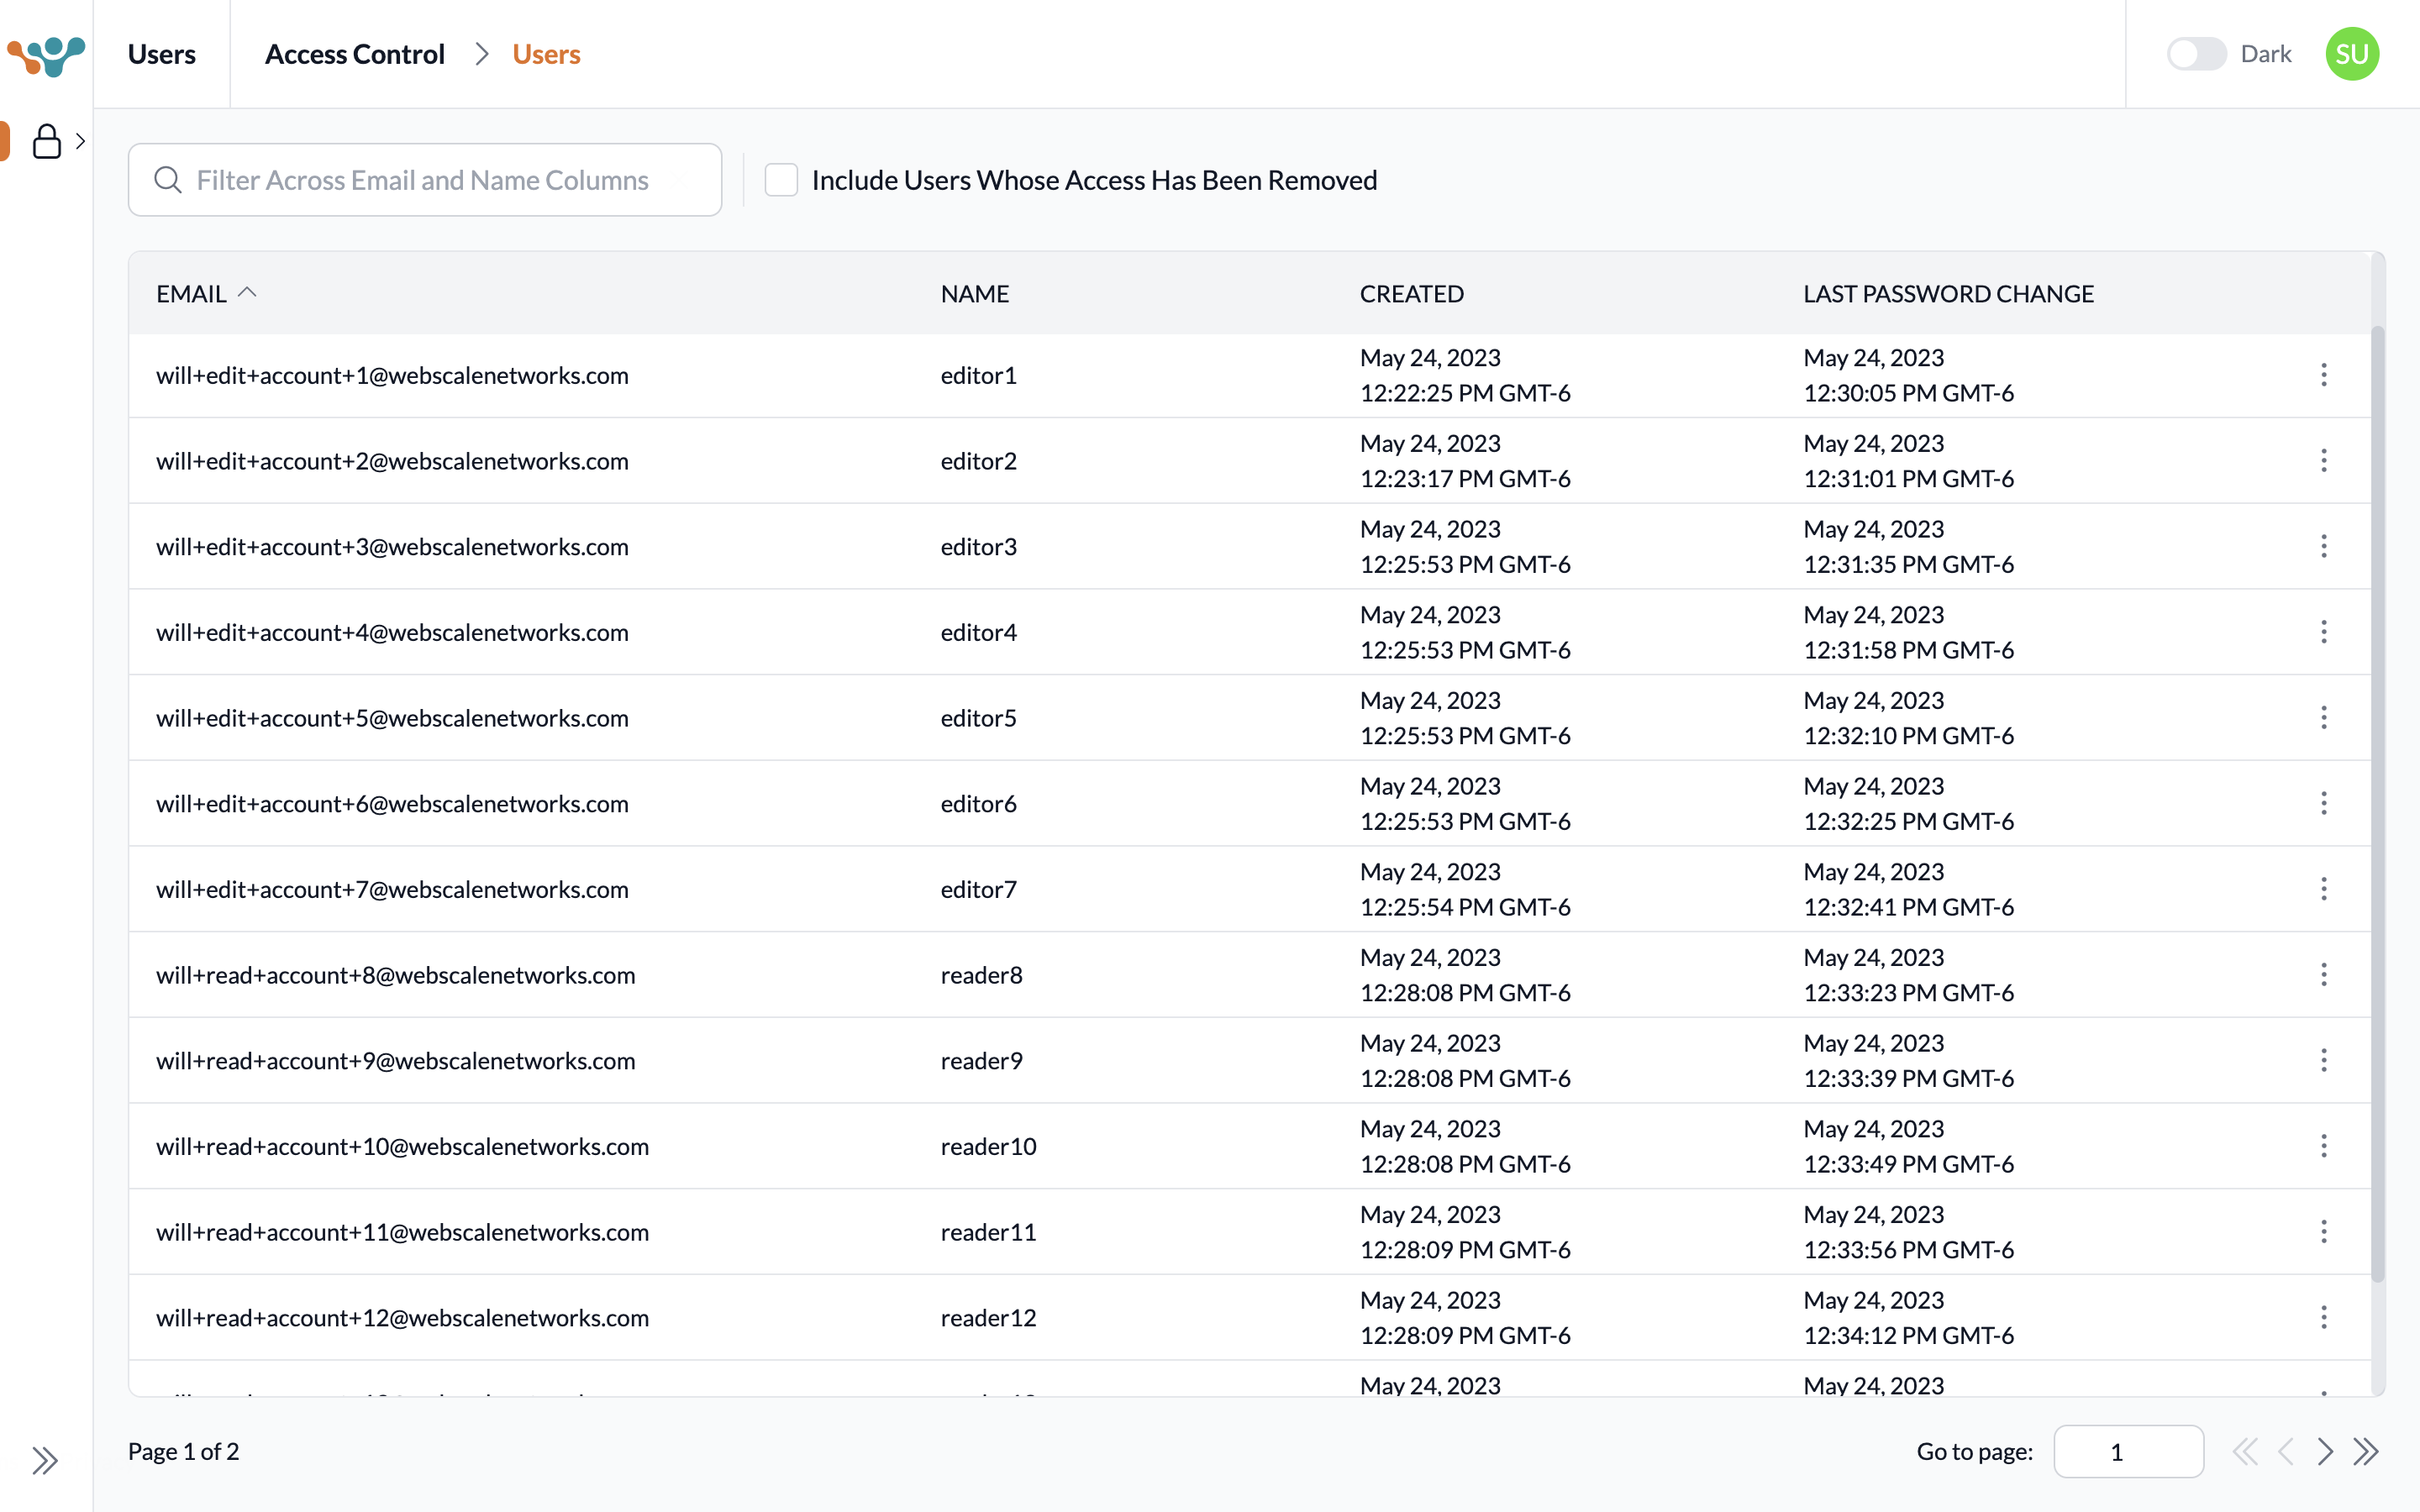
The table on the Users page displays information about each user: their email which functions as their unique identifier, their name, when they were created, and the last time they changed their password. Click on a user’s row to display the roles and groups that user has been invited to as as well as when the invite was sent and accepted.
On the Users page within a particular account called the Users account, Webscale administrators can utilize four additional features: view all users across all accounts, view users with removed access, view a user’s roles and groups across all accounts, and remove a user’s access from all accounts.
Reset a user’s MFA
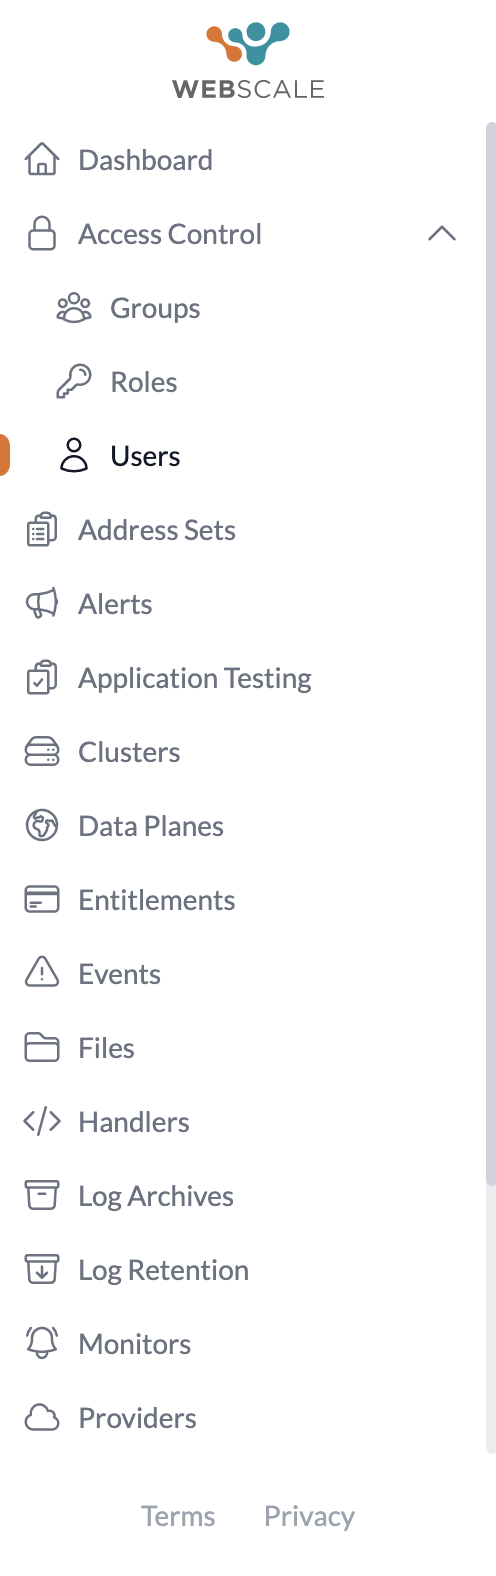
| 1. Login to the Webscale Control Panel and click the three bars in the upper left. 2. Open the Access Control accordion and then select Users from the menu. |
|
| 3. This Users page shows users that have access to this account. | |
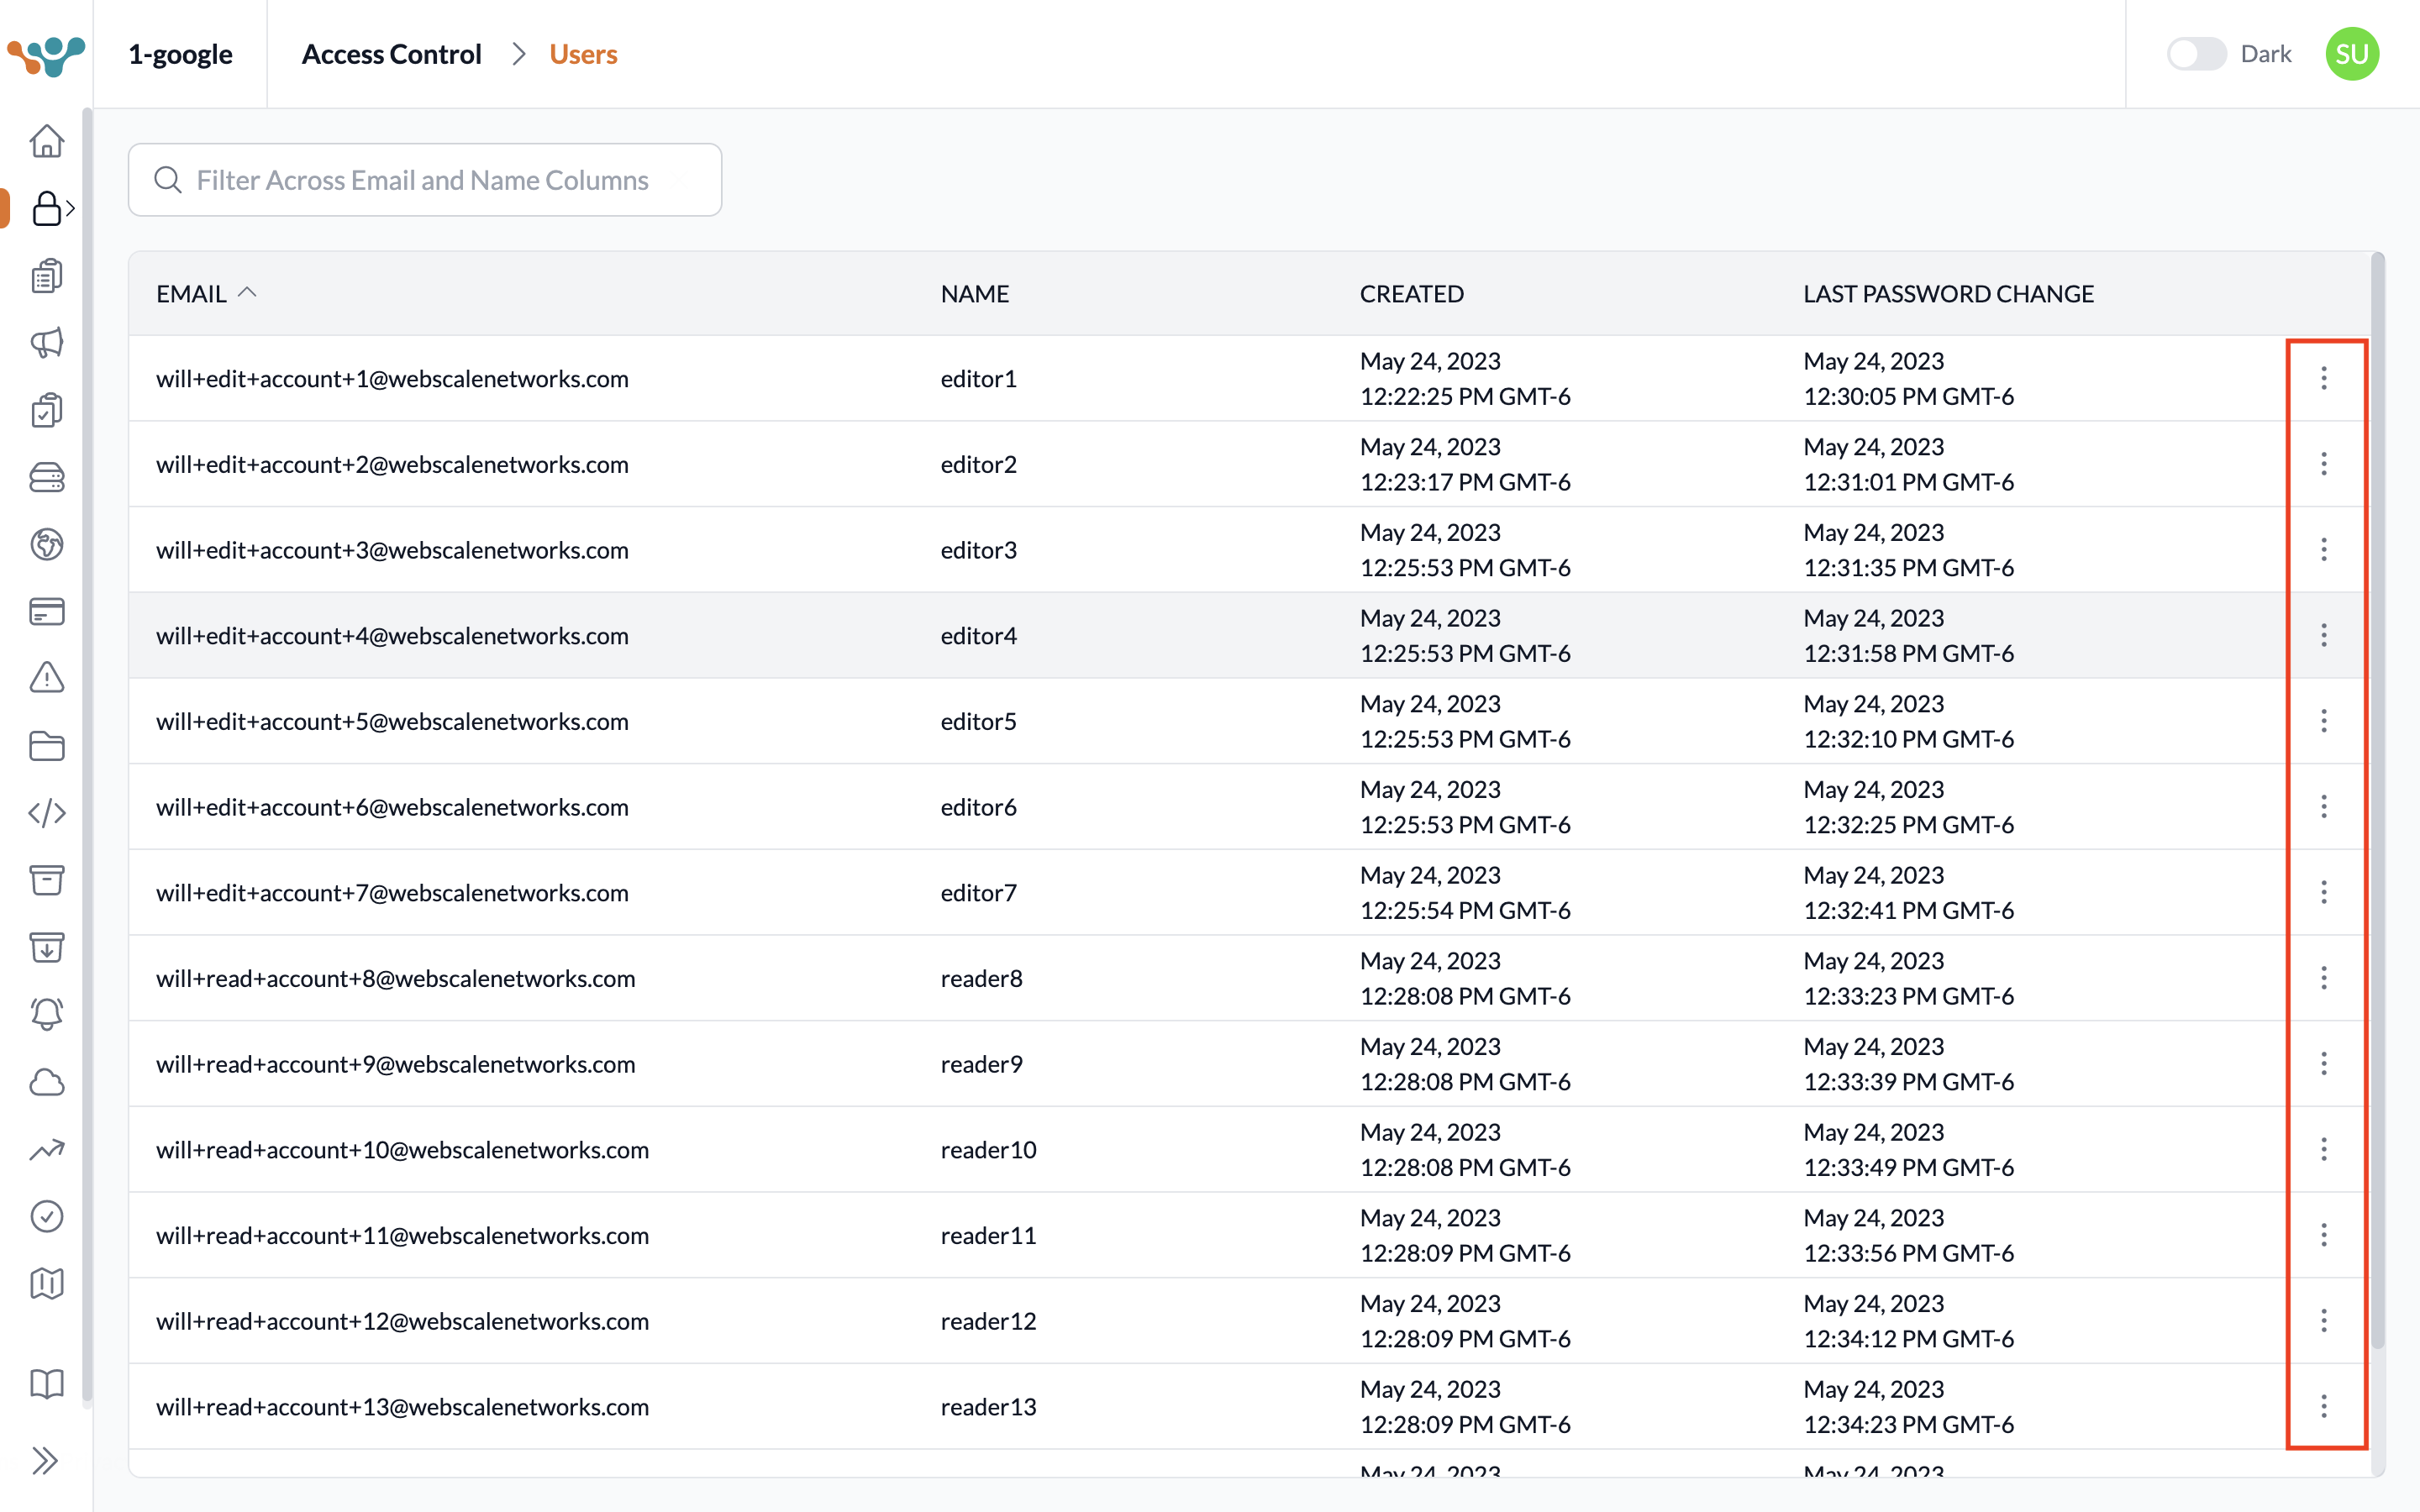
| 4. Click the more menu on the far right of a user’s row. | |
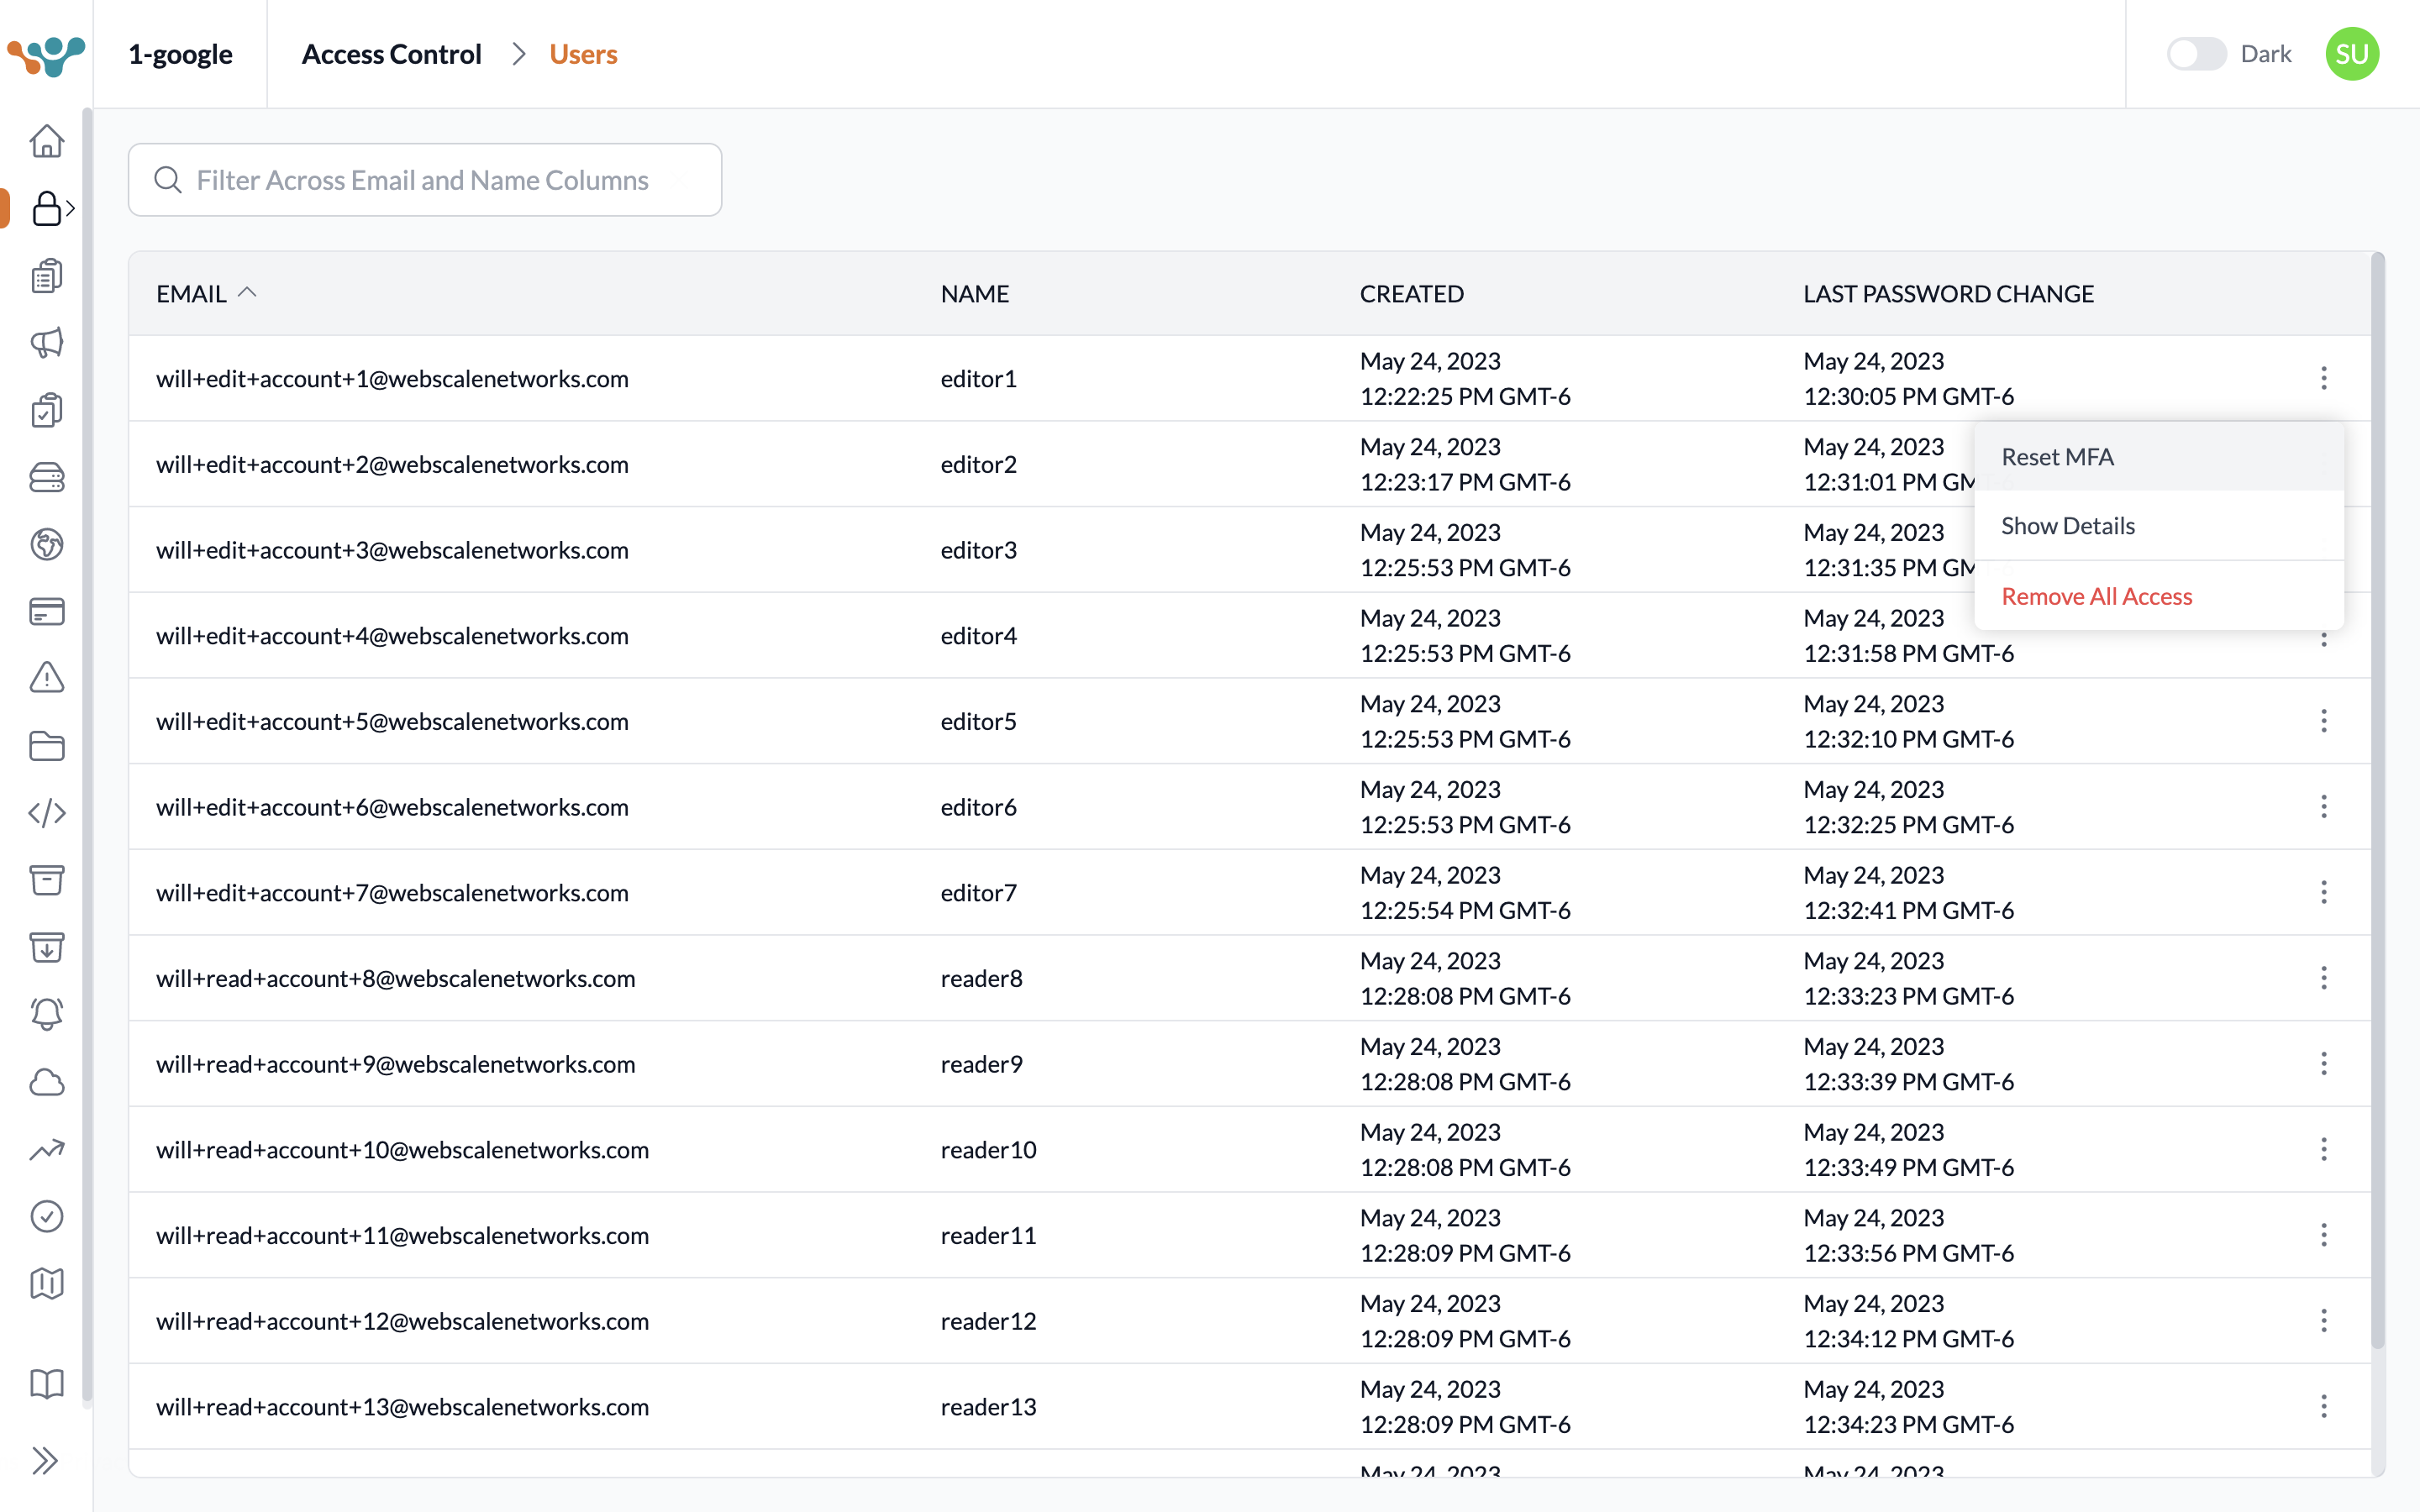
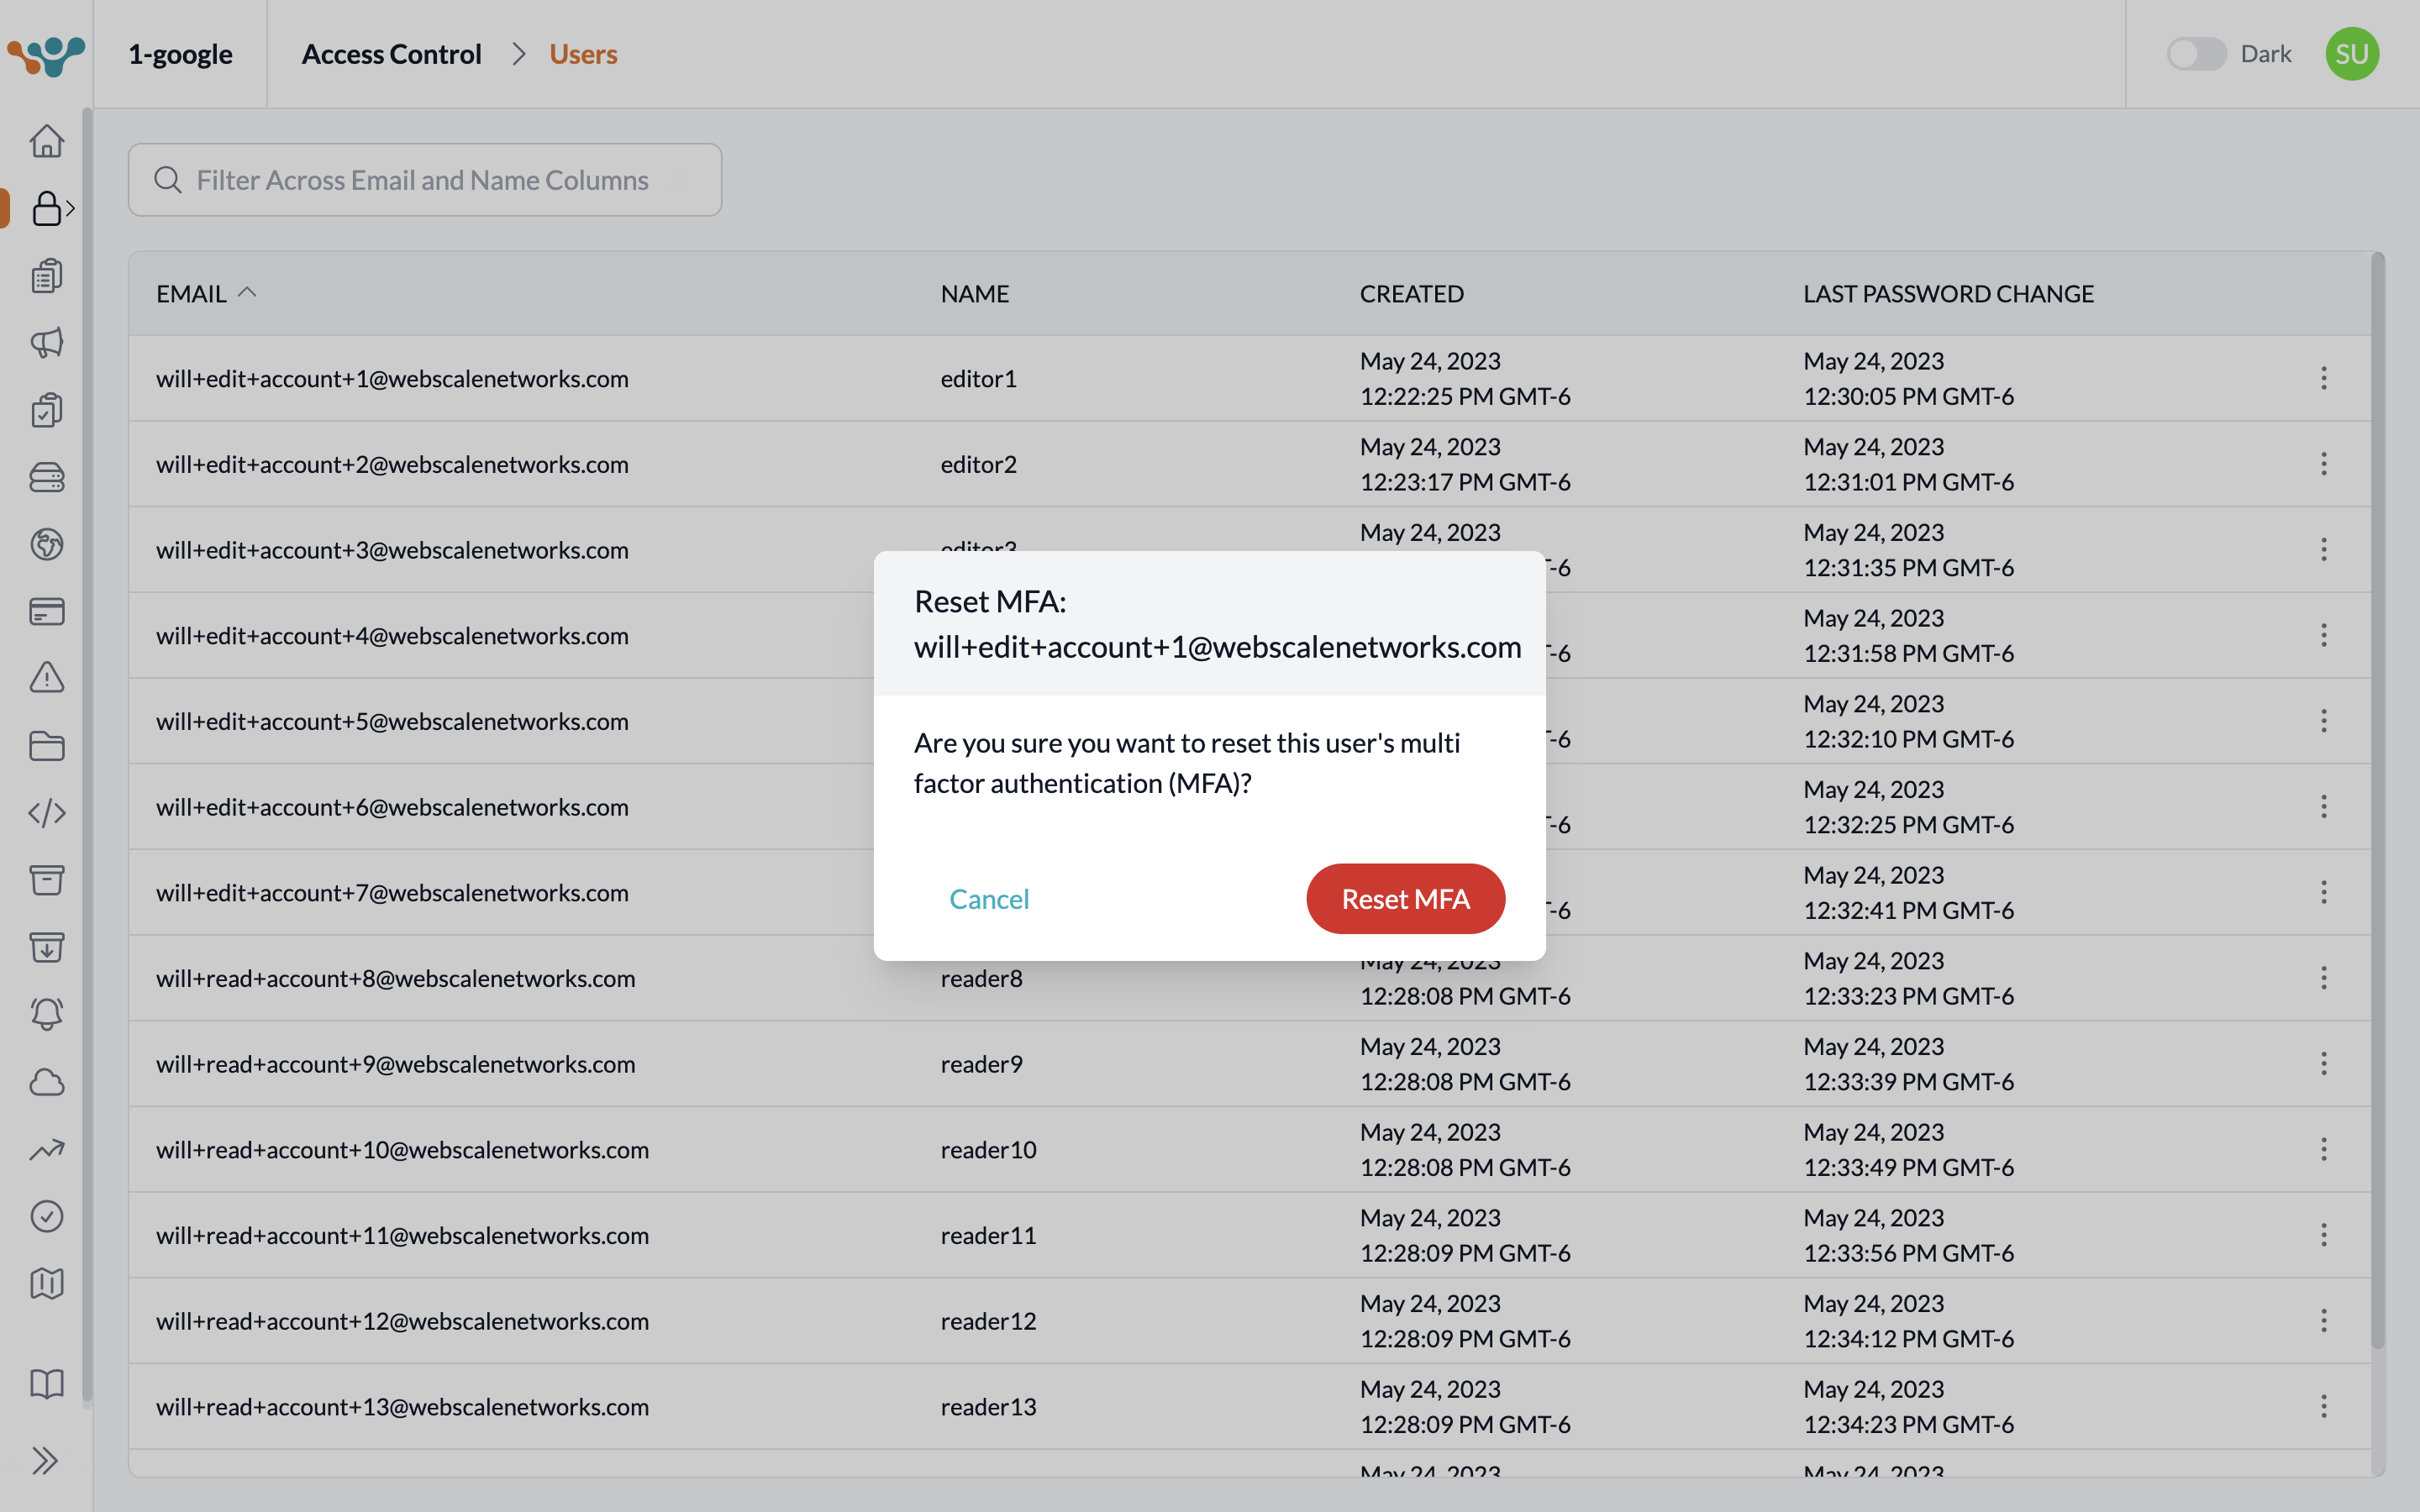
5. Click the Reset MFA option.
Note:If the user is not enrolled in MFA, the Reset MFA option will be disabled with a tooltip on hover that says “No MFA enabled”. |
|
6. Click Reset MFA button on the modal and observe a “MFA was reset successfully” confirmation message.
Note:If you do not have sufficient permissions to reset another user’s MFA then a error message will be displayed. |
Remove a user’s access
| 1. Login to the Webscale Control Panel and click the three bars in the upper left. 2. Open the Access Control accordion and then select Users from the menu. |
|
| 3. This Users page shows users that have access to this account. | |
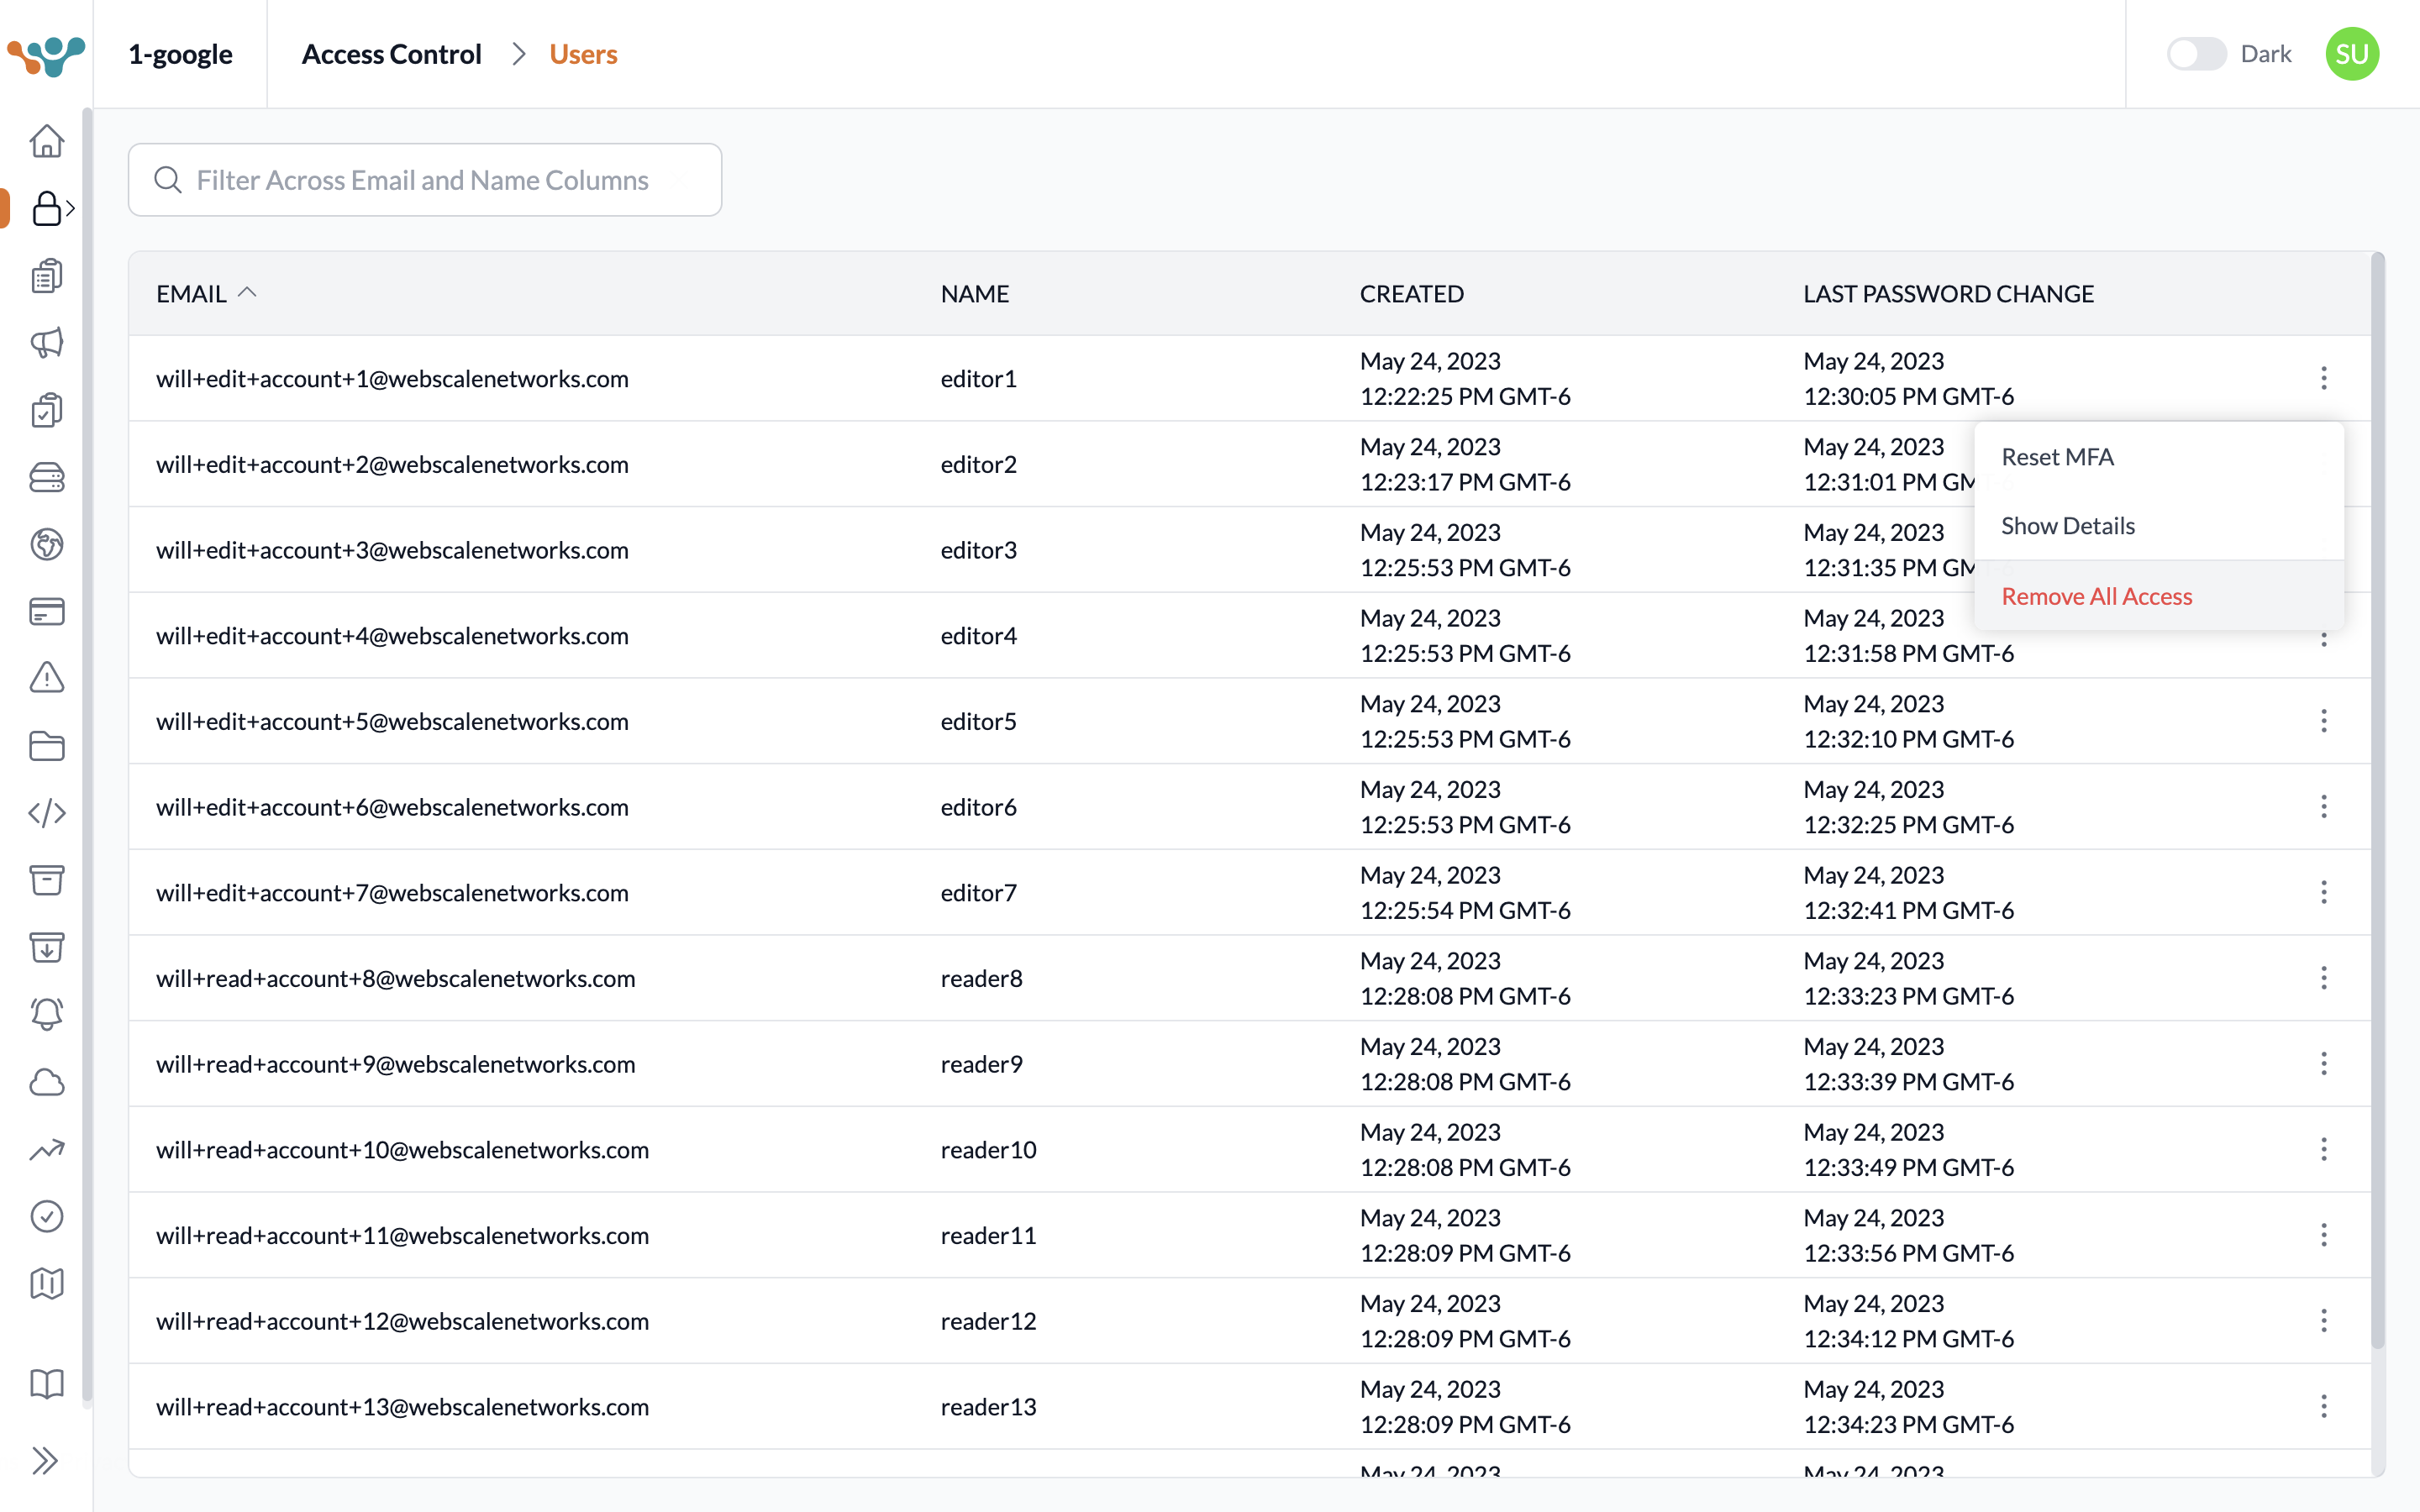
| 4. Click the more menu on the far right of a user’s row. | |
5. Click the Remove All Access option.
Note 1:If the user is yourself then the Remove All Access option will be disabled with a tooltip on hover that says “Cannot remove own access”.Note 2:If you do not have sufficient permissions to remove another user’s access the option will be disabled with a tooltip on hover that says “Insufficient permissions”. |
|
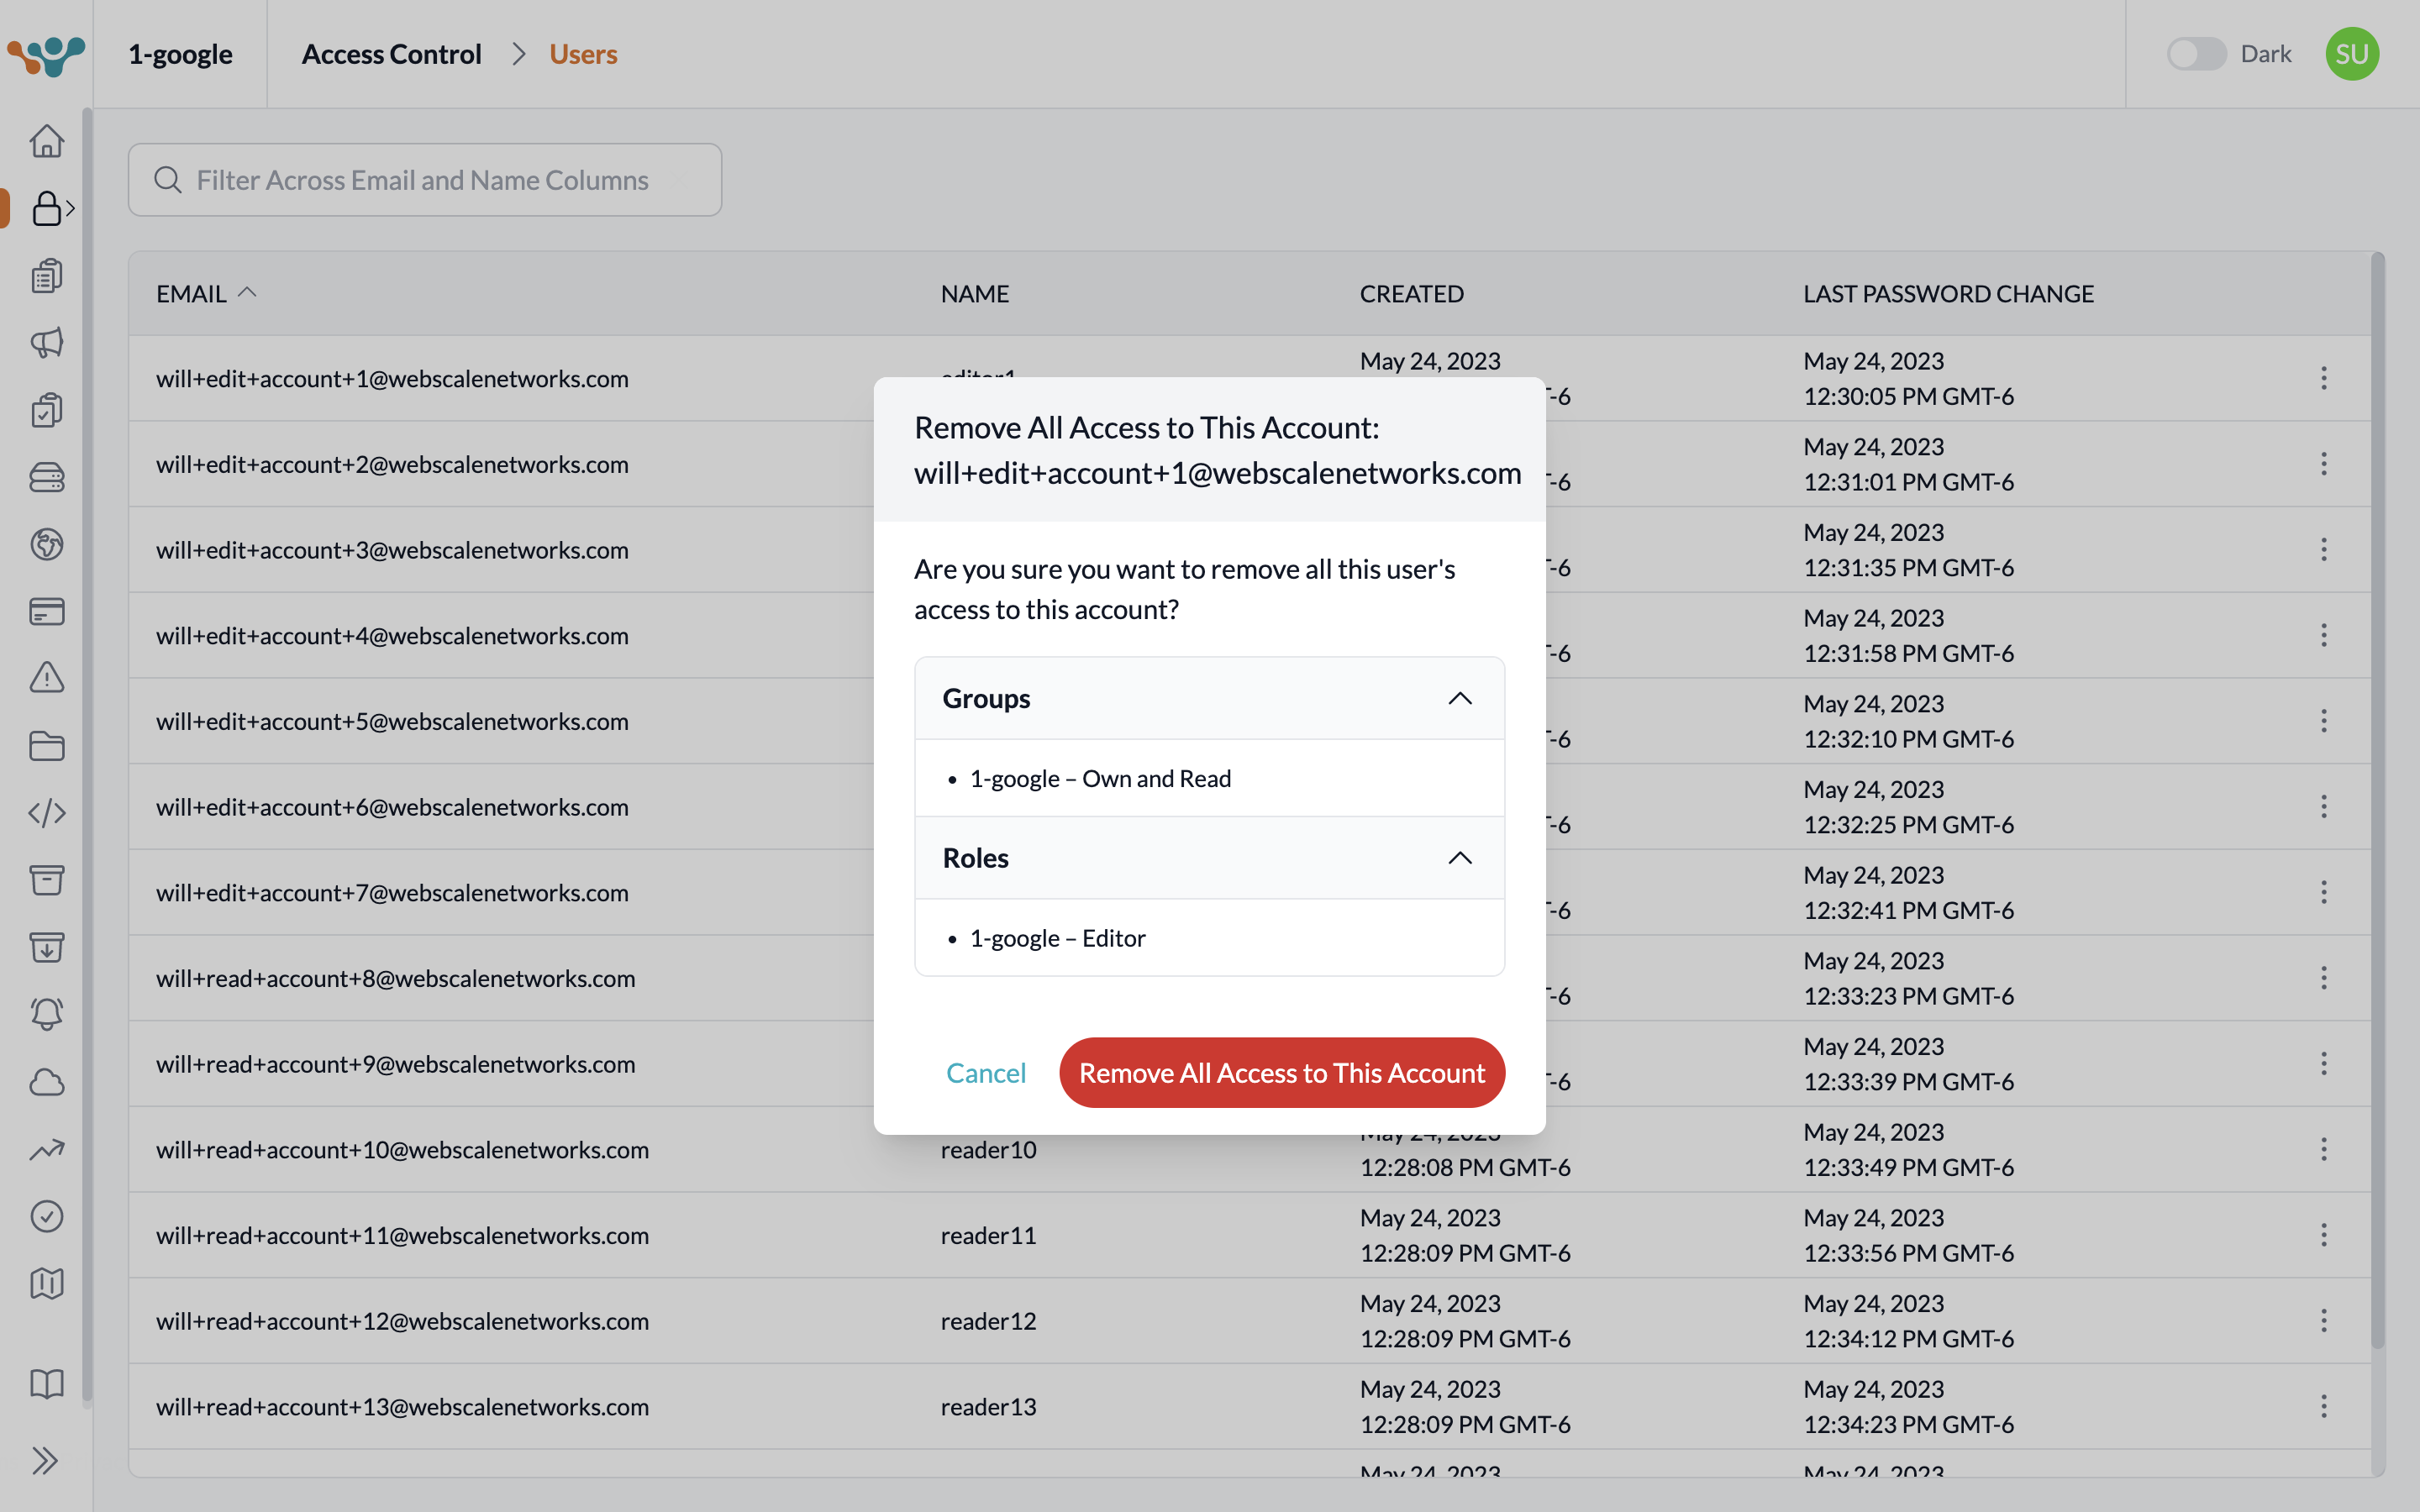
| 6. Click the Remove All Access to This Account button on the modal and observe a confirmation message. |
Revoke a user’s invitation to a role or group
| 1. Login to the Webscale Control Panel and click the three bars in the upper left. 2. Open the Access Control accordion and then select Users from the menu. |
|
| 3. This Users page shows users that have access to this account. | |
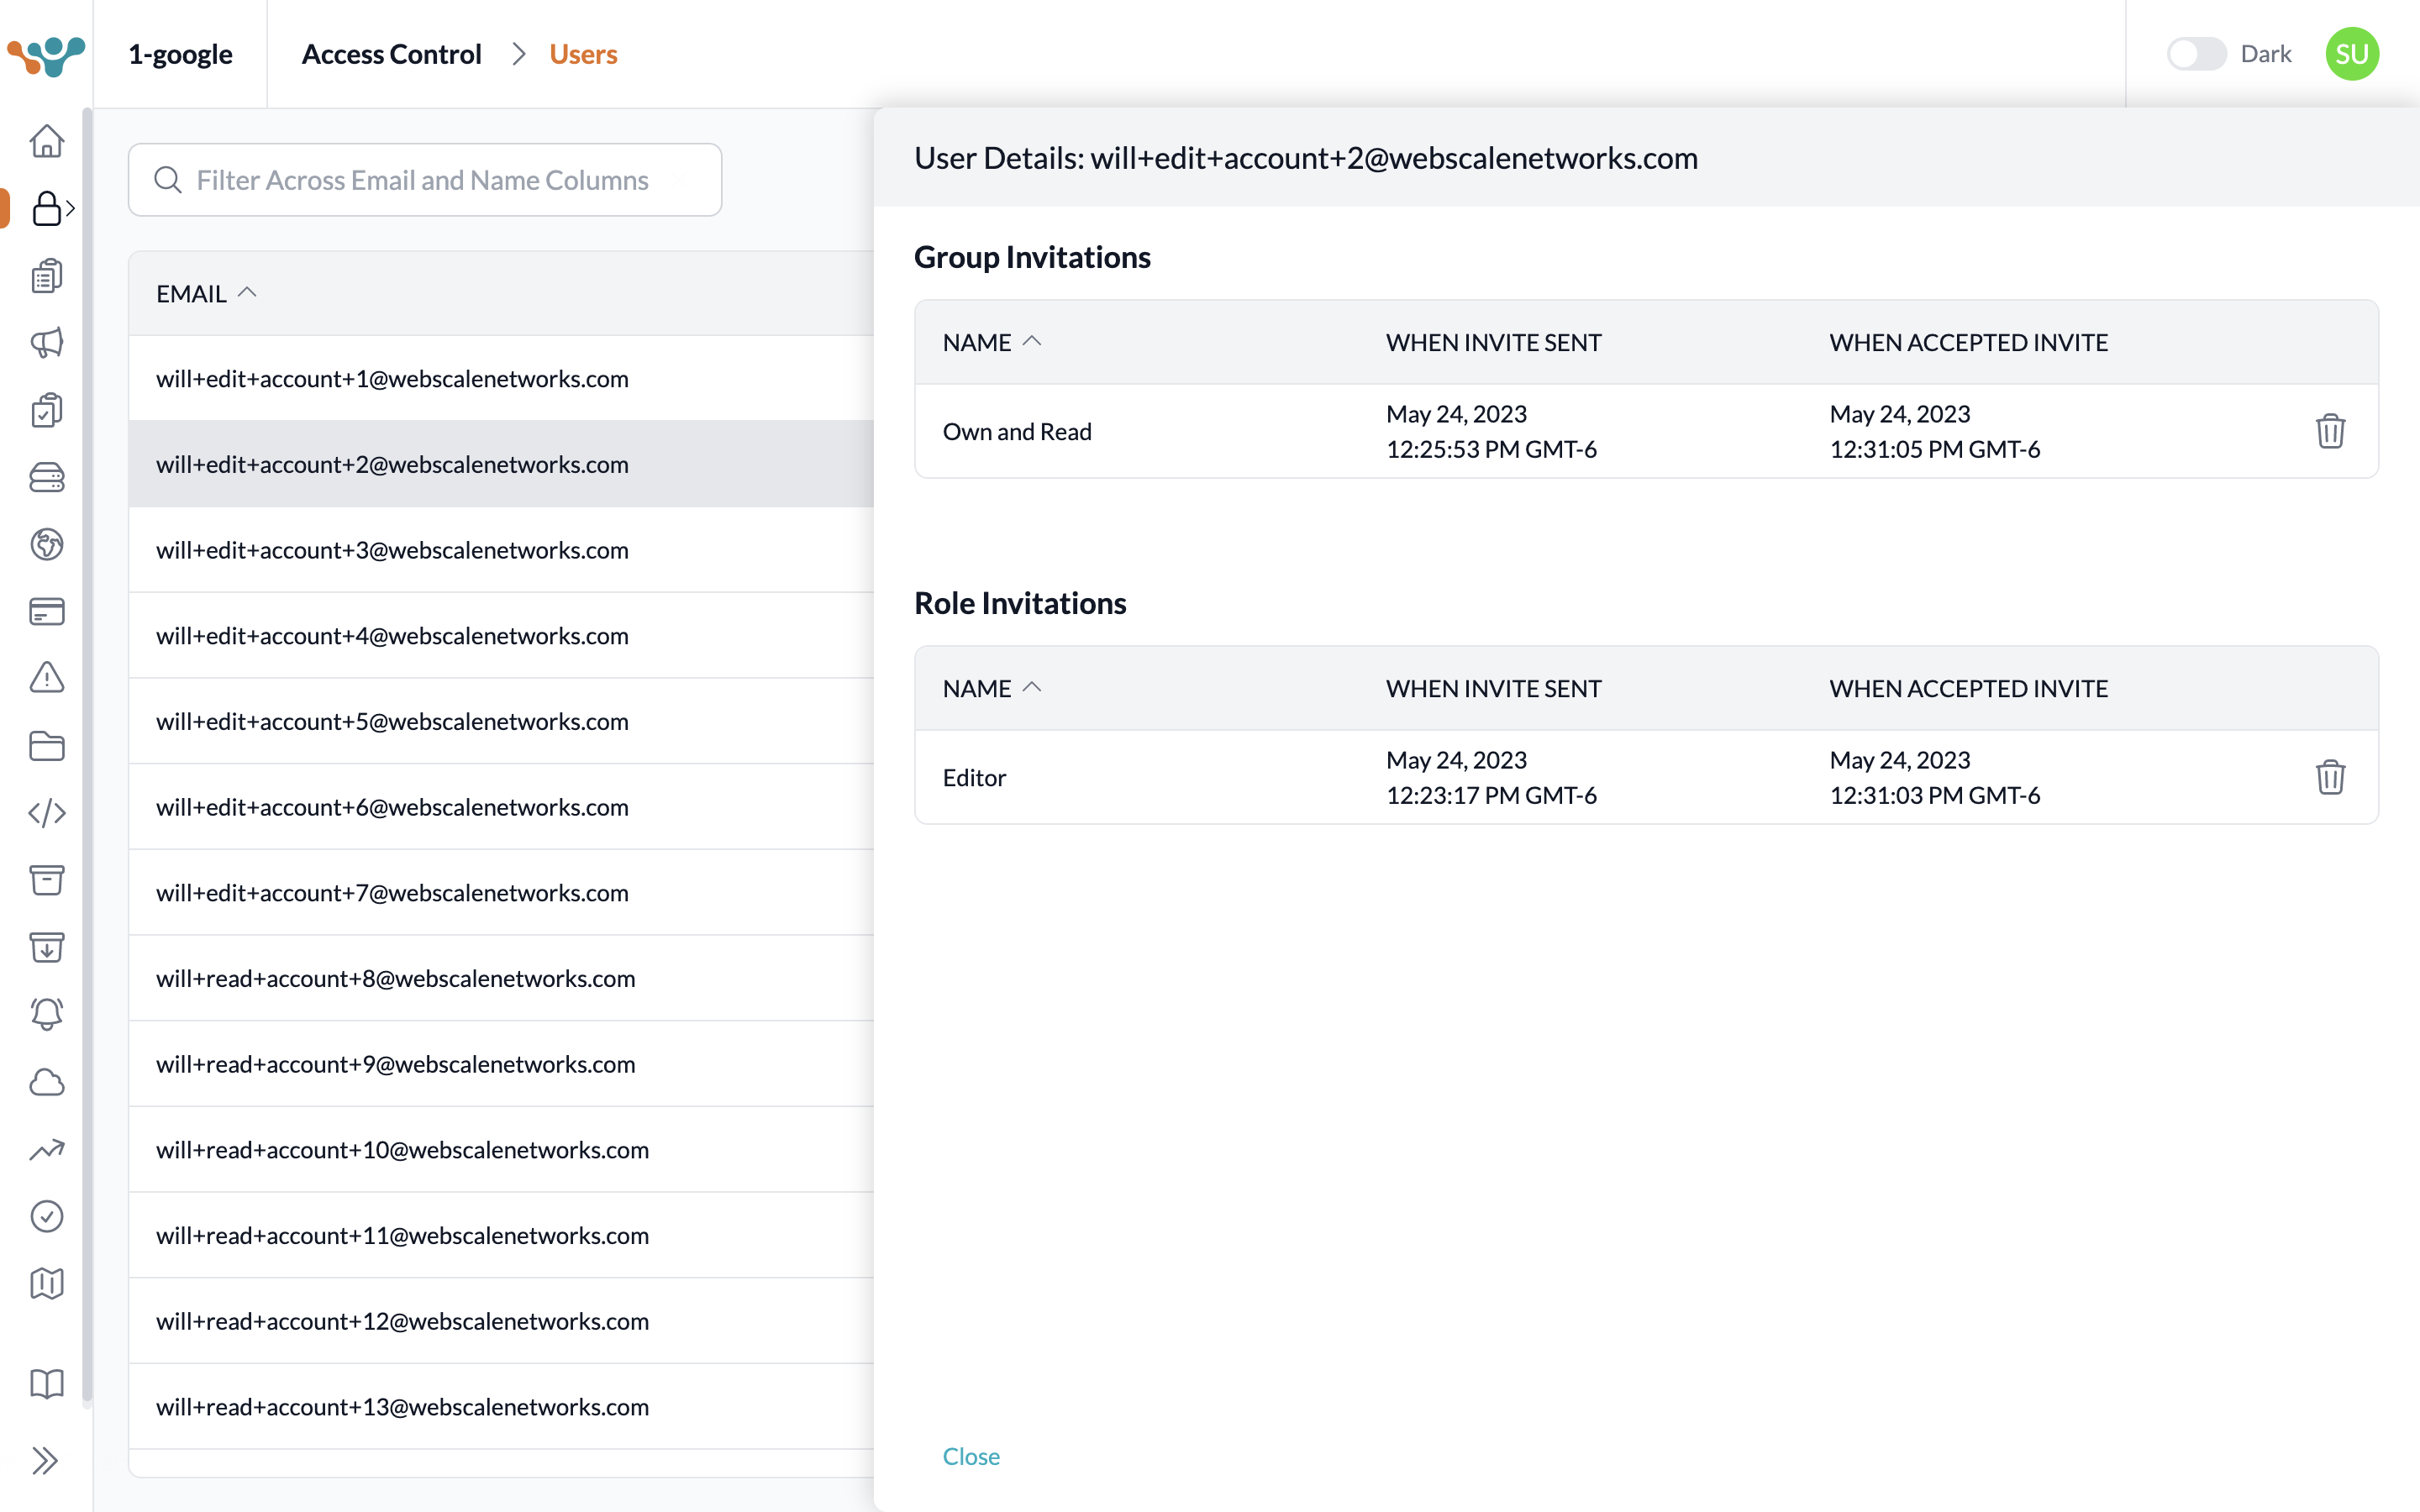
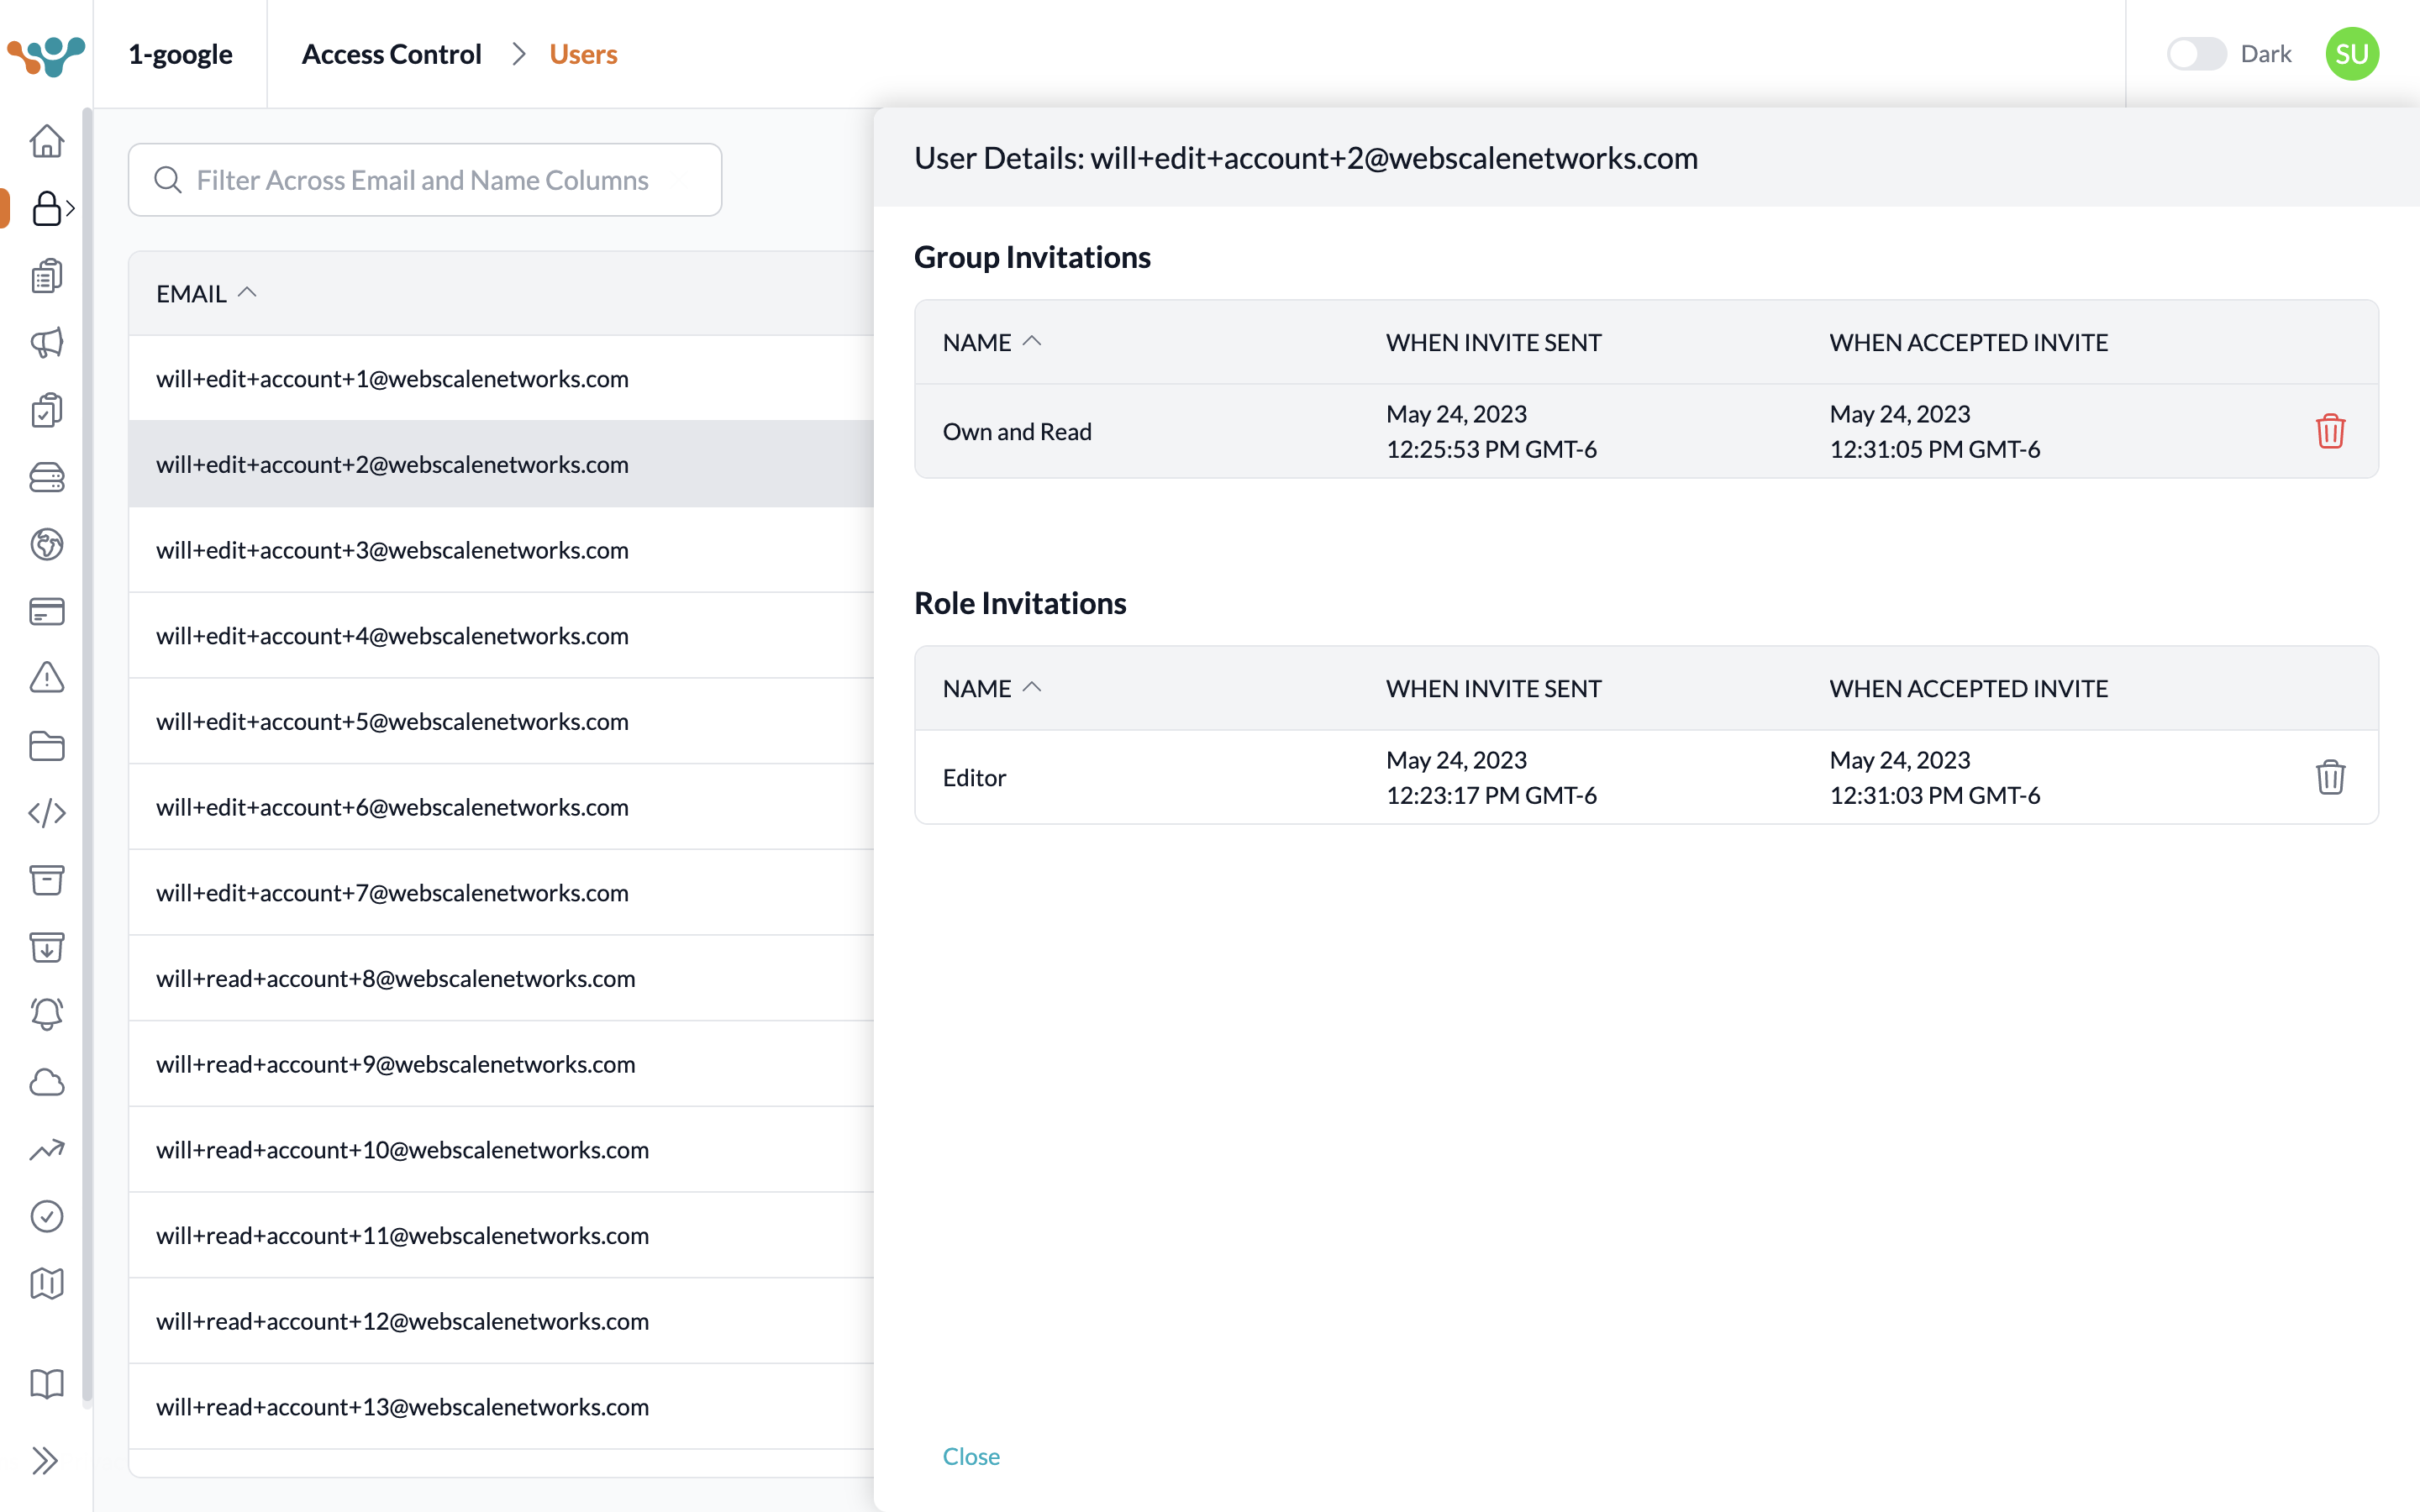
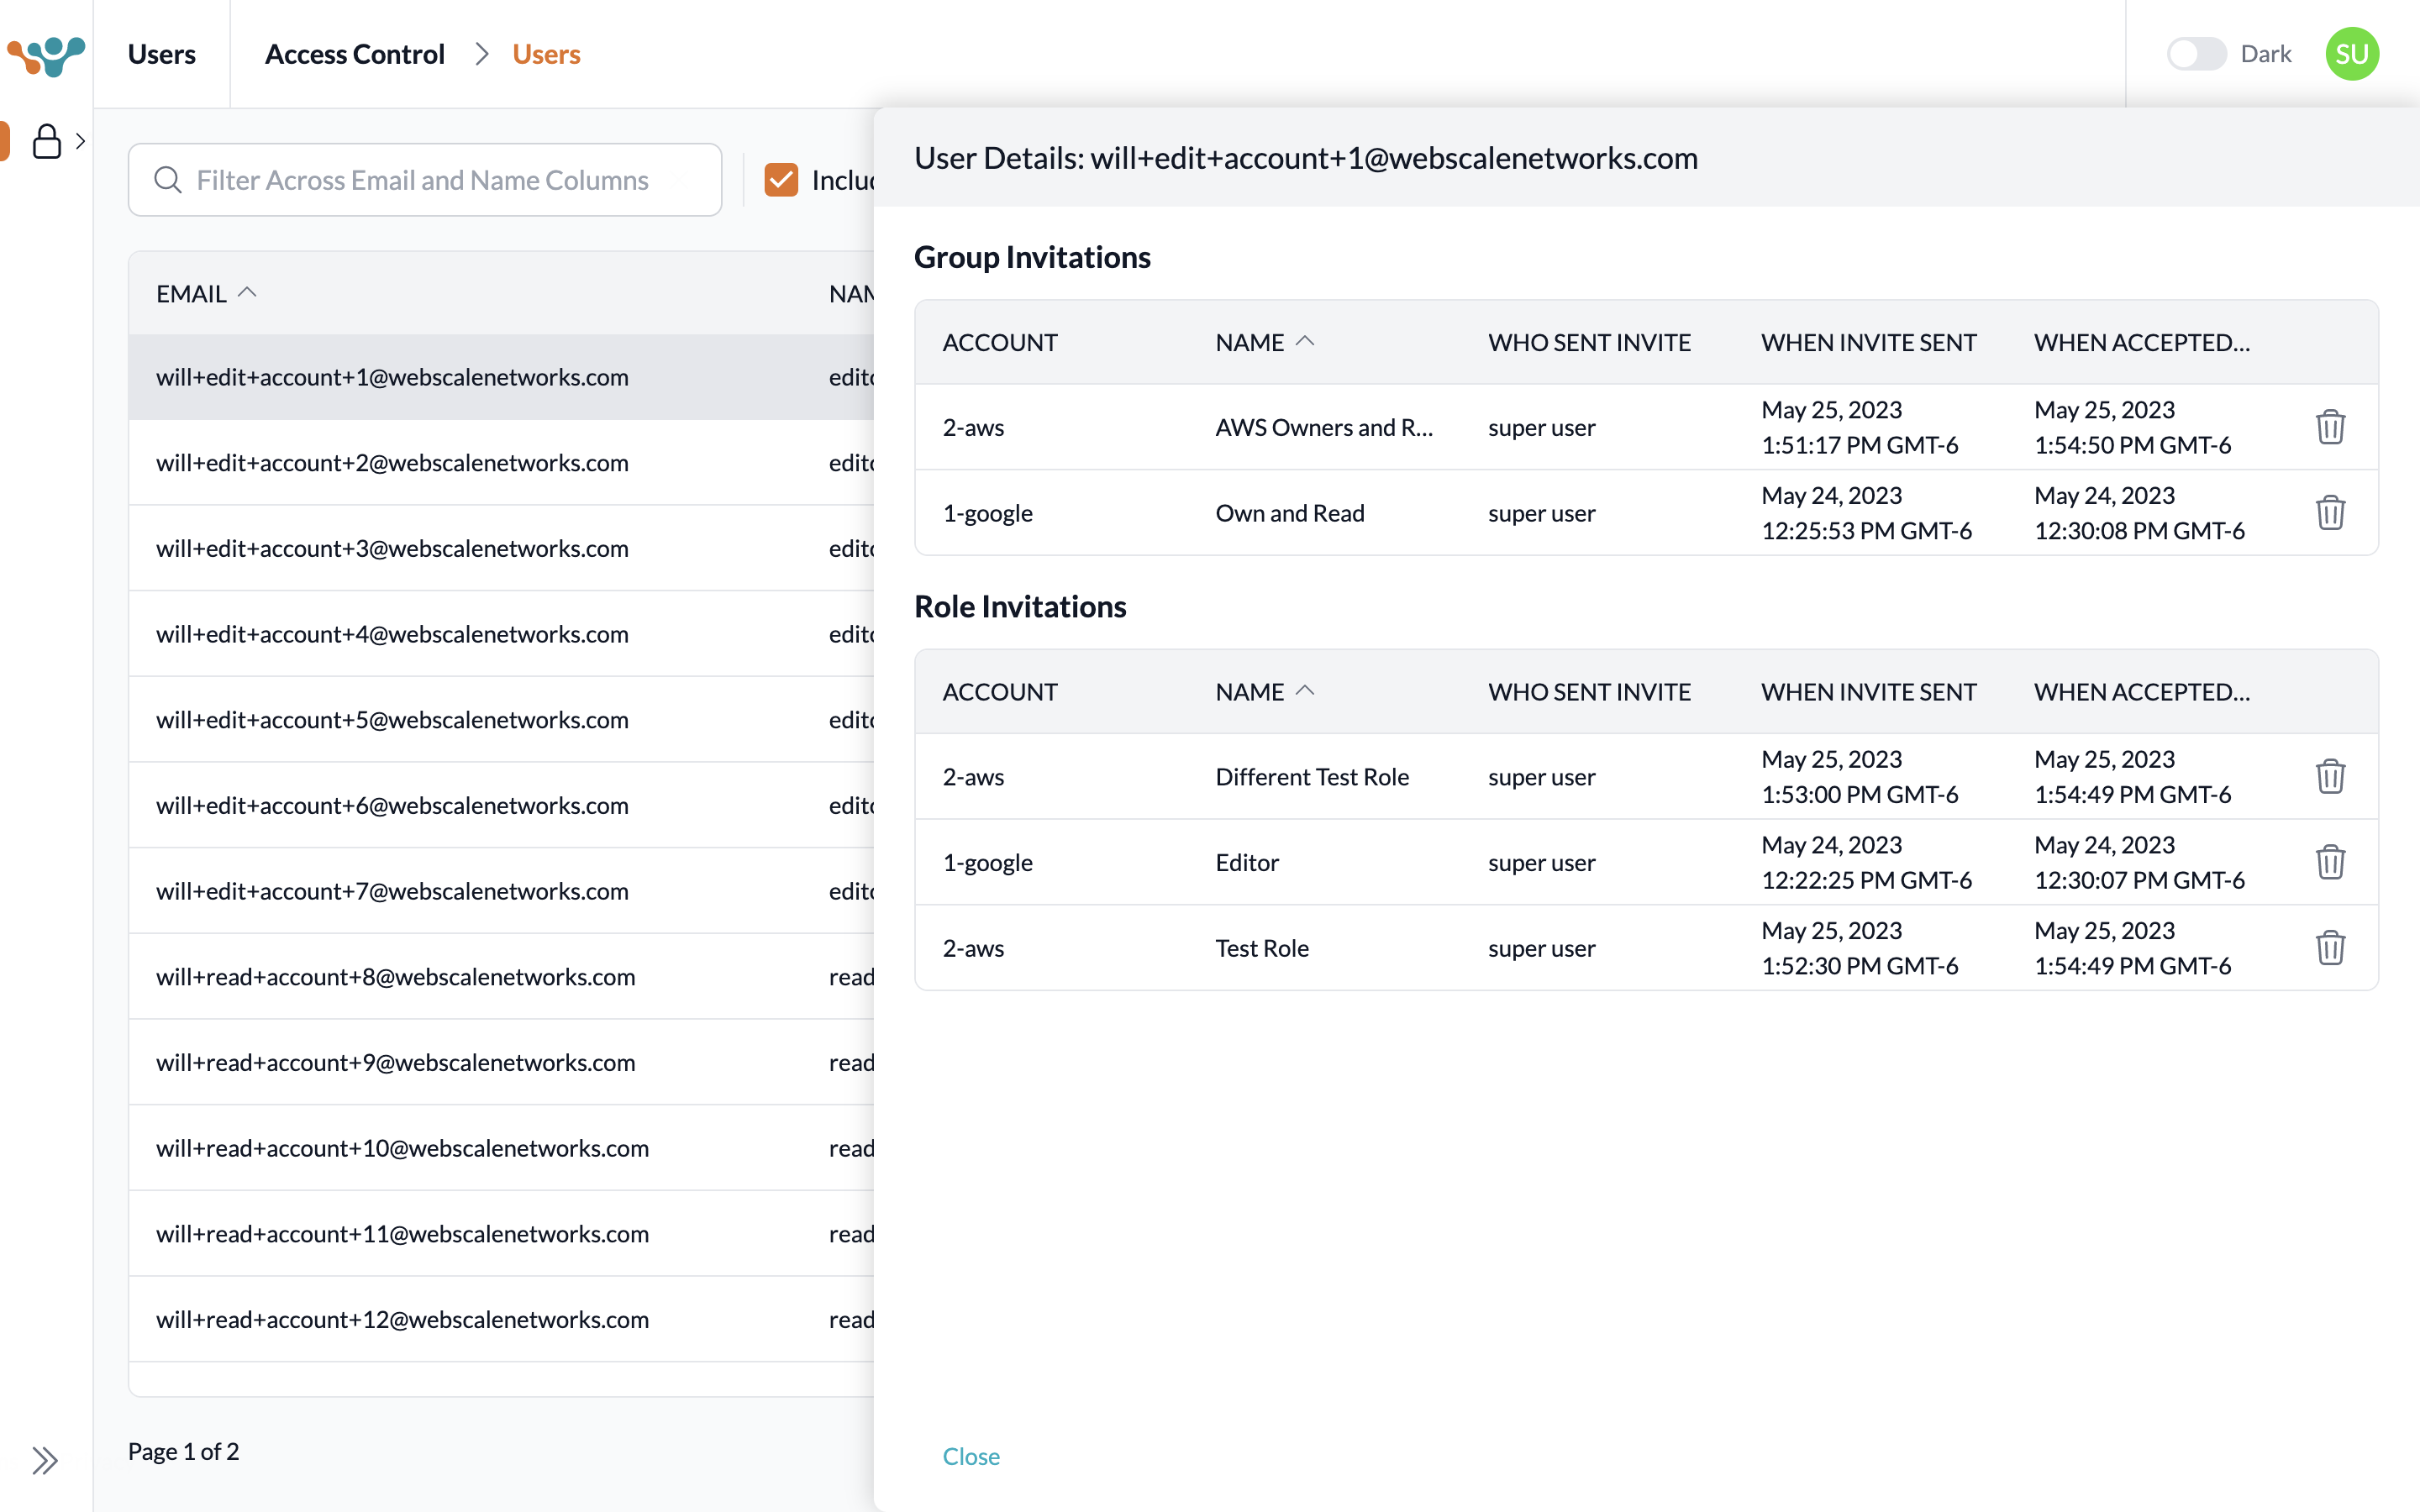
| 4. Click a user’s row to open a user’s details drawer. | |
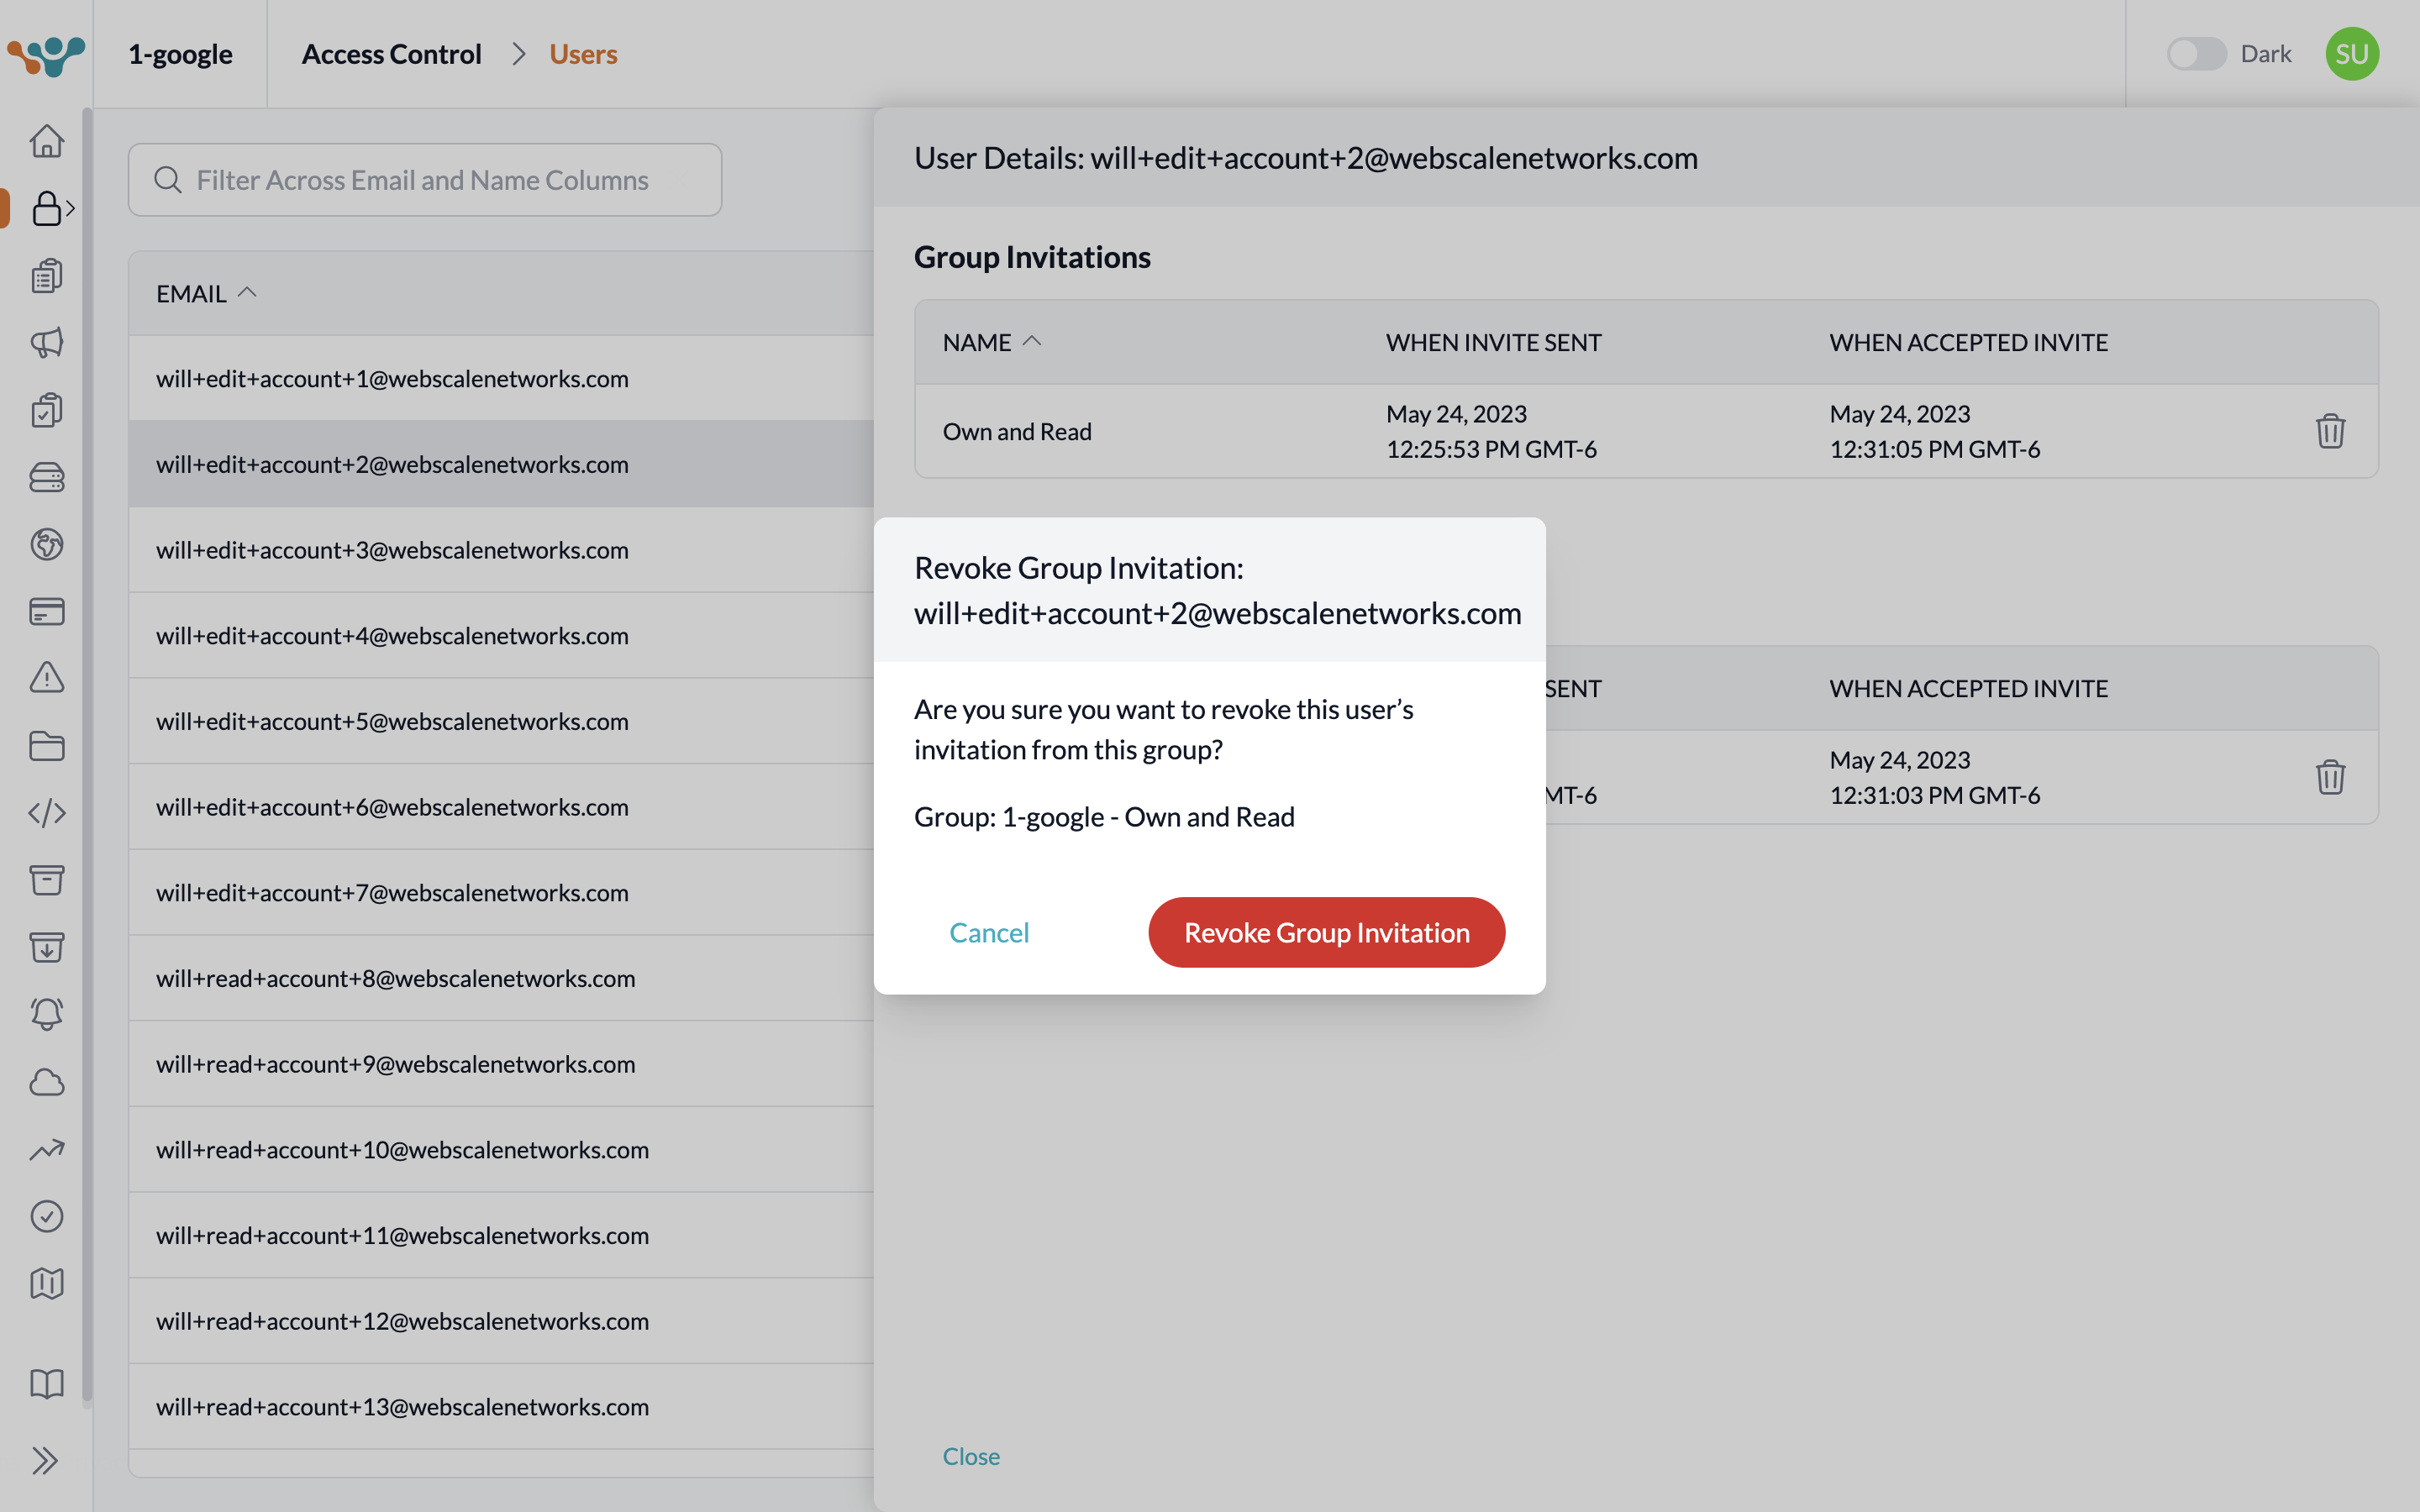
| 5. Click the trash can on the far right of a role or group row. | |
| 6. Click the Revoke Invitation button on the modal and observe a confirmation message. |
Additional features within the Users account
| A set of authorized Webscale team members have access to an account that has the express purpose of managing permissions of all users across all accounts. This account is called the Users account. With the Users page within the Users account, these authorized team members gain access to four additional features. | |
| The only page within the Users account is the Users page. Additional Feature 1: View all users across all accounts. In contrast, in all other accounts only users who have an invitation for a role or group from that particular account can be viewed. |
|
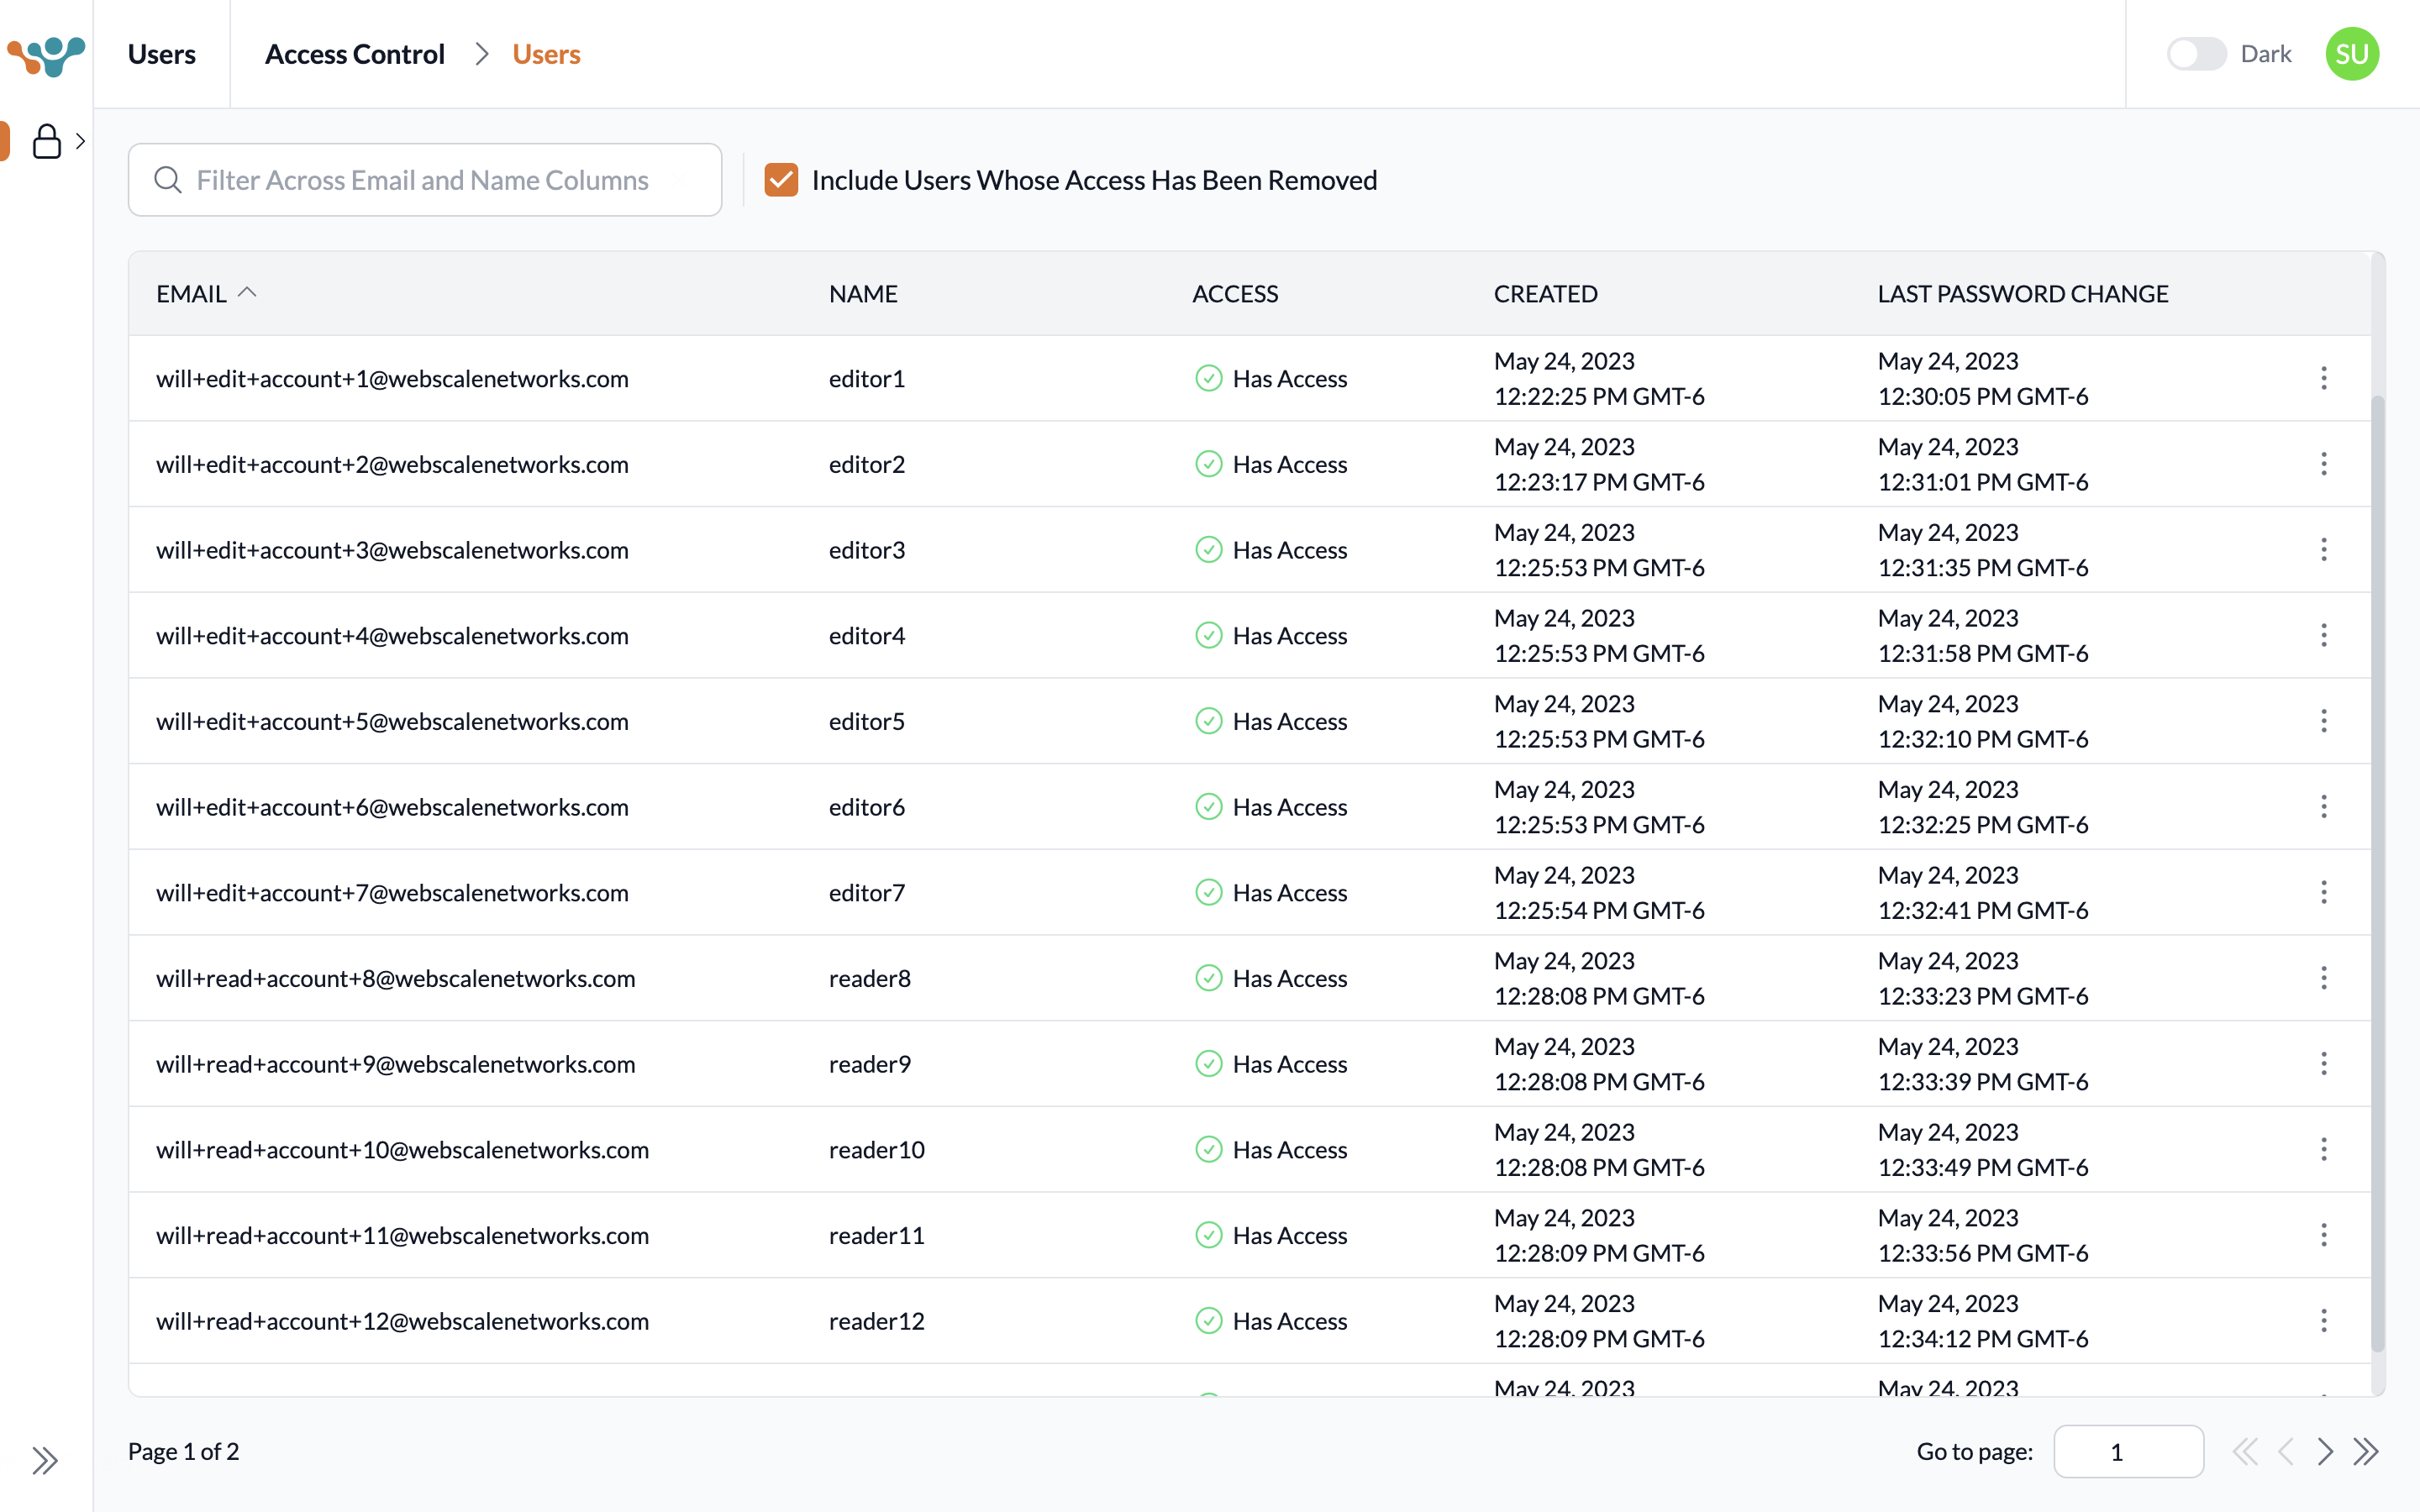
| Additional Feature 2: View all users that have had access at any point including those that have had their access removed. In contrast, in all other accounts only users that currently have access can be viewed. Check the checkbox “Include Users Whose Access Has Been Removed”. |
|
| Additional Feature 3: View all roles and groups a particular user has across all accounts. In contrast, in all other accounts only the roles and groups defined in that particular account can be viewed. Click a user’s row to view all their roles and groups across all accounts. |
|
| Additional Feature 4: Remove all access across all accounts. In contrast, in all other accounts access can only be removed from that account. 1. Click the more menu on the far right of a user’s row. 2. Click the Remove All Access option. 3. Click the Remove All Access button on the modal and observe a confirmation message. |


Further reading
- How to Configure Multi-factor Authentication
- How to Create Roles and Invite Users
- How to Create Groups and Invite Users
- Webscale API role-based access
Have questions not answered here? Please Contact Support to get more help.
Feedback
Was this page helpful?
Glad to hear it! Have any more feedback? Please share it here.
Sorry to hear that. Have any more feedback? Please share it here.