Creating Web Controls
Web Controls enable you to use pre-defined security and performance rule sets. Rule sets minimize the need to discover, define, and maintain a large number of individual rules. Instead, you can create rule sets that match individual request or response conditions and execute a set of actions predefined in the Webscale Control Panel. Based on the conditions, Web Controls automatically execute a set of pre-defined actions after all conditions are met. Through Web Controls, you can create complex sequences of actions.
You can also create sequences of these rules that can accomplish much more complex behavior, such as dynamic allowlisting or rate limiting checkout attempts based on user behavior.
You can create request and response Web Controls which apply rules respectively to requests or responses. Except for accessing the request and response Web Controls pages, the process for creating both are the same. While the request and response Web Controls share many conditions and actions, the available conditions and actions are not the same.
Access the Request web controls page
To access the Request web controls page
-
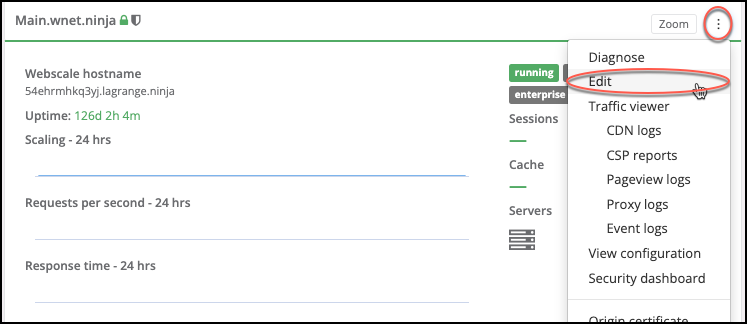
Click the three vertical dots menu icon on the upper right corner of the application box and select Edit.
-or-
On your application page, click the Actions menu icon and select Edit.
-
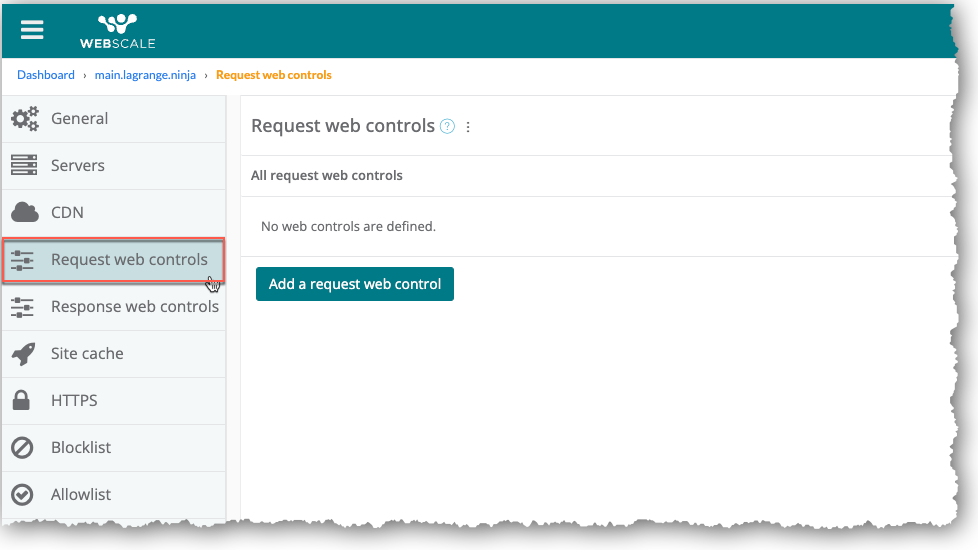
On the sidebar menu, select Request web controls. The Request web controls page displays.
Access the Response web controls page
To access the Response web controls pages
-
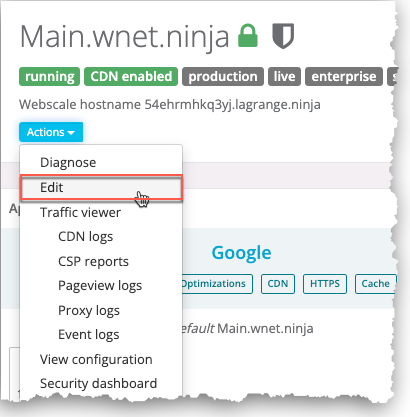
Click the three vertical dots menu icon on the upper right corner of the application box and select Edit.
-or-
On your application page, click the Actions menu icon and select Edit.
-
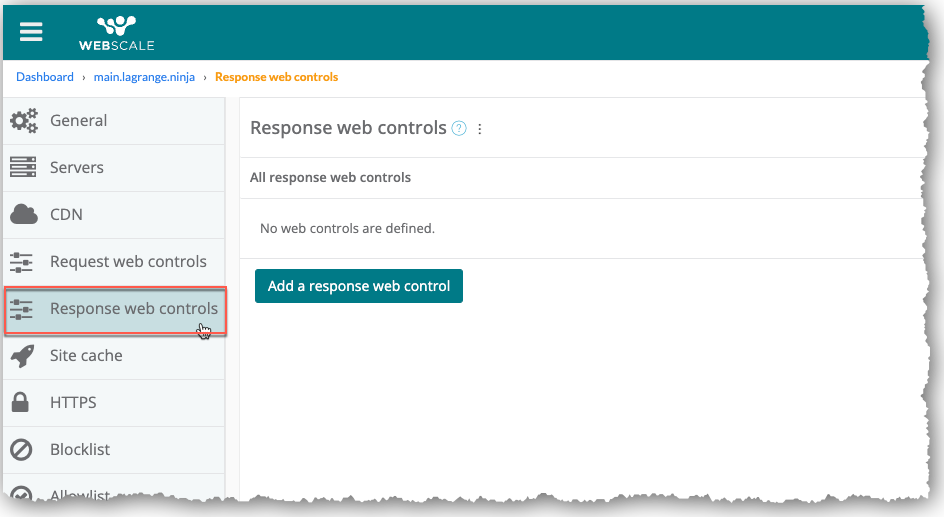
On the sidebar menu, select Response web controls. The Response web controls page displays.
Create Web Controls
You do not have to create any conditions for a request or response Web Control. If you do not create any conditions, Webscale will apply all actions to every request or response. If you have one or more conditions, the requests and responses must meet all of the conditions before the actions will execute.
You must create at least one action for a Web Control. If you have more than one action, all of them run for each request or response that meets all of the conditions. For the other actions, the order in which they run is unspecified and not necessarily in the order displayed in the list of actions for the Web Control.
To create a Web Control
-
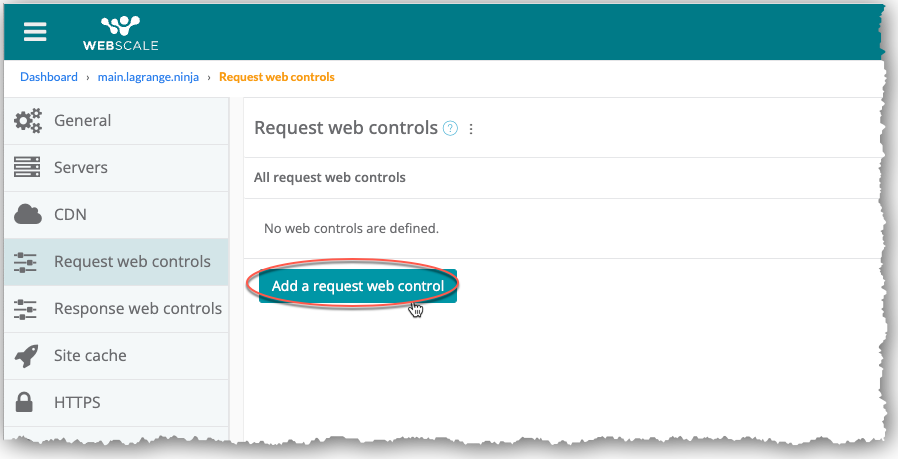
On the Request web controls page, click Add a request web control.
The sections for configuring request Web Controls display under the Edit request web control heading.
-or-
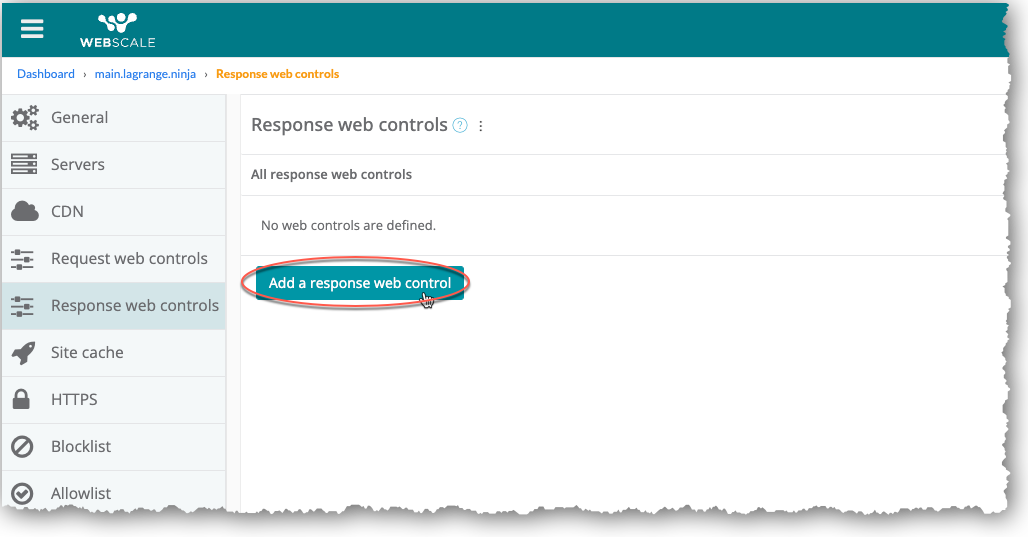
On the Response web controls page, click Add a response web control.
The sections for configuring response Web Controls display under the Edit response web control heading.
-
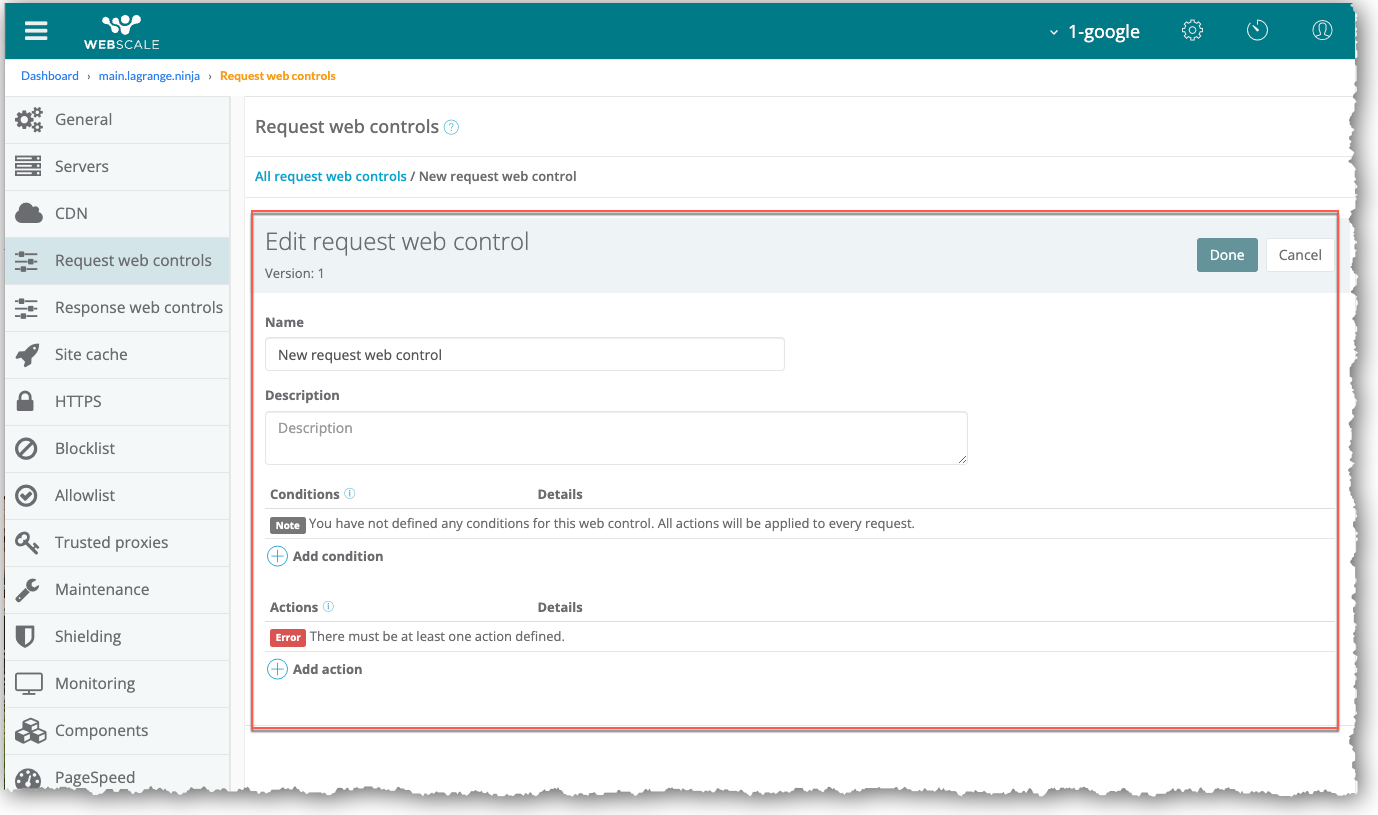
Enter a name and optional description for the Web Control.
-
To add a condition: a. Click Add a condition. b. In the condition drop-down menu, select a condition. c. Specify the condition settings. d. Click Done.
-
To add other conditions, repeat the above procedure for adding a condition, choosing different conditions and entering the settings for each new condition.
-
To add an action: a. Click Add action. b. In the Type drop-down menu of the Create action section, select an action. c. Specify the action settings. d. Click Done.
-
Click Done.
-
To add other conditions, repeat the above procedure for adding an action, choosing different actions and entering the settings for each new actions.
-
On the right side of the Edit request web control header, click Done.
-
Click Apply.

Further Reading
- How To Shield Your Online Storefront From Cyberthreats With Webscale’s Web Controls
- What are Web Controls, and how do I use them?
- Configuring Web Controls for Rate Limiting
- How to Block Countries
- Security How-Tos
Have questions not answered here? Please Contact Support to get more help.
Feedback
Was this page helpful?
Glad to hear it! Have any more feedback? Please share it here.
Sorry to hear that. Have any more feedback? Please share it here.