Configuring General Application Settings
The General page enables you to modify basic settings for an application, including its name, labels, default hostname, and aliases.
Access the General page
To access general application settings
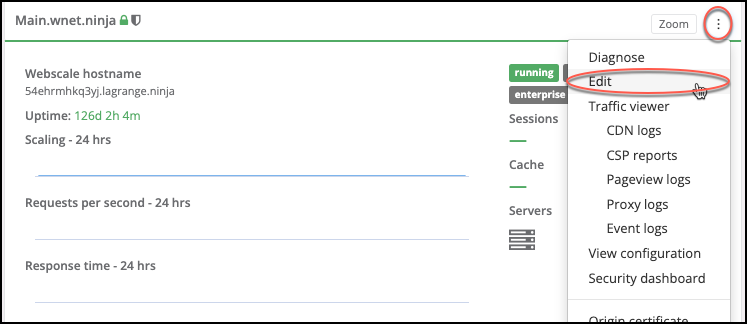
Click the three vertical dots menu icon on the upper right corner of the application box and select Edit.
-or-
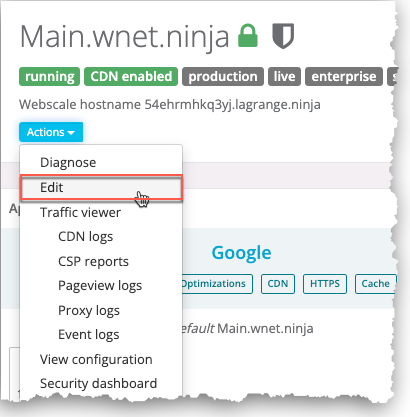
On your application page, click the Actions menu icon and select Edit.
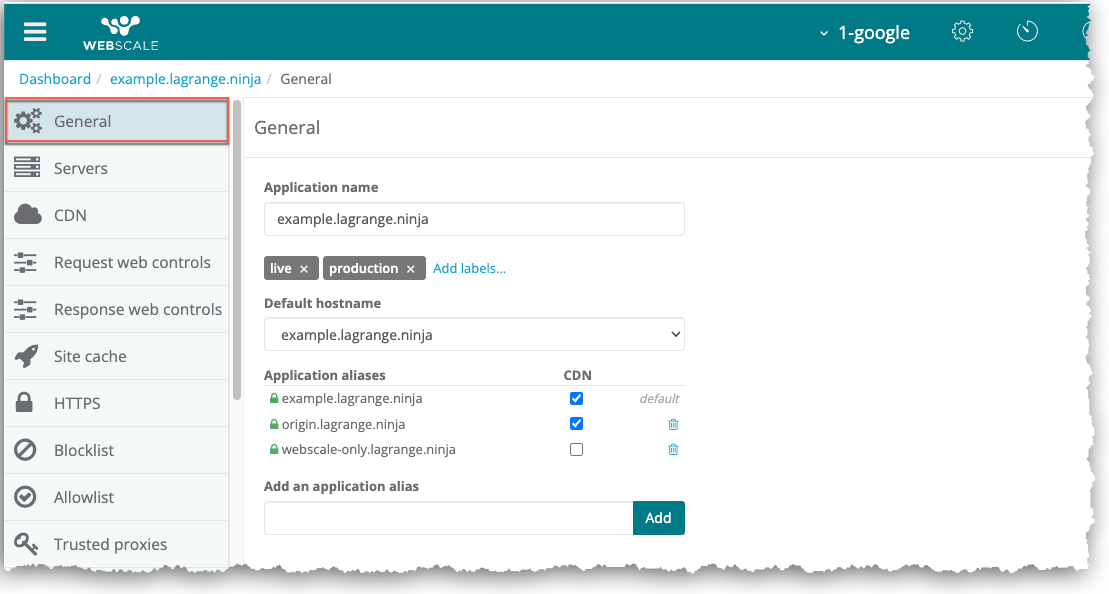
The General page displays.
Change application name
To change an application name
- Enter a new name in the Application name field.
- Click Apply.
Labels
A label is an alternative name for the application that Webscale uses in features, such as monitors, to designate the application.
Note:
Label names must be in lower case and can include numerals.To add a label
- Click the Add labels link.
- Enter a label name in the Add labels field and click Add. A label displays to the left of the Add labels link.
- Click Apply.
To delete a label
- Click the x on the label to delete.
- Click Apply. It no longer displays to the left of the Add labels link.
Change application default hostname
If you have more than one alias for an application, you can specify any of them as the application’s default hostname.
To change the application hostname
- Choose another hostname in the Default hostname drop-down list.
- Click Apply.
Application aliases
To add an application alias
- Enter an alias.
- To include the alias in the CloudFront CDN installation, select the CDN check box for it. Otherwise, configuring Webscale CDN will not include creating the alias in CloudFront, too.
- Click Add. The alias displays in the list of application aliases.
To delete an alias
- Click the x for the alias. It no longer displays in the list.
- Click Apply.
Further reading
Have questions not answered here? Please Contact Support to get more help.
Feedback
Was this page helpful?
Glad to hear it! Have any more feedback? Please share it here.
Sorry to hear that. Have any more feedback? Please share it here.