How to Configure Multi-Factor Authentication
Multi-factor authentication (MFA) is a way to help increase security by requiring users to authenticate with a device in addition to the standard username and password combination. Some examples of multi-factor authentication include SMS codes and authentication applications such as Google Authenticator or Authy. Multi-factor authentication on Webscale uses authentication applications only.
Configure multi-factor authentication (MFA)
| 1. To enable multi-factor authentication yourself while logged in, visit your User Profile
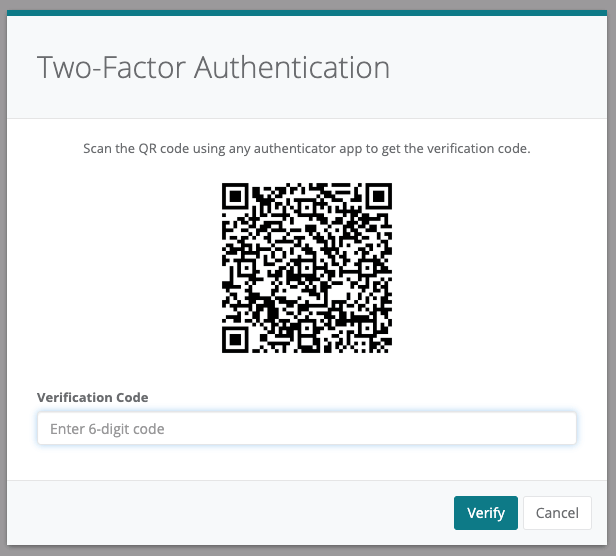
and click the Enable MFA button. Otherwise, if the role a user belongs to requires multi-factor authentication, it must be configured when the user initially logs in to the control panel. When they login, the user sees a QR code. Use the authenticator application on the device to scan this QR code. Some examples of authenticator applications are Google Authenticator, Authy, OnePassword, etc. Please refer to the software installation instructions for your specific device. | |
| 2. Once the user scans the QR code, the authenticator application on the user’s device will generate a 6-digit code, called a One-Time Password (OTP). Enter the generated OTP into the text field on the control panel, and click the Verify button. To ensure the enrollment was done correctly, the user must confirm by entering their current password in the box that appears after entering the OTP. | |
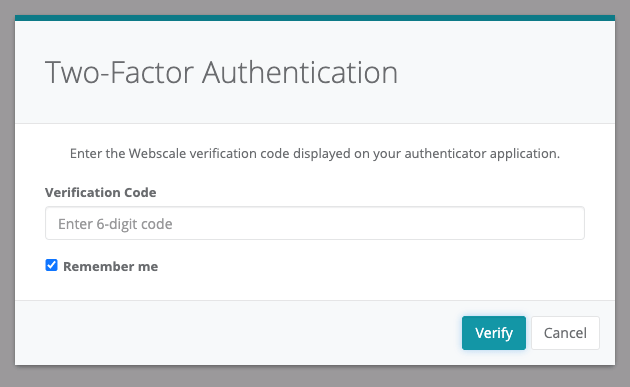
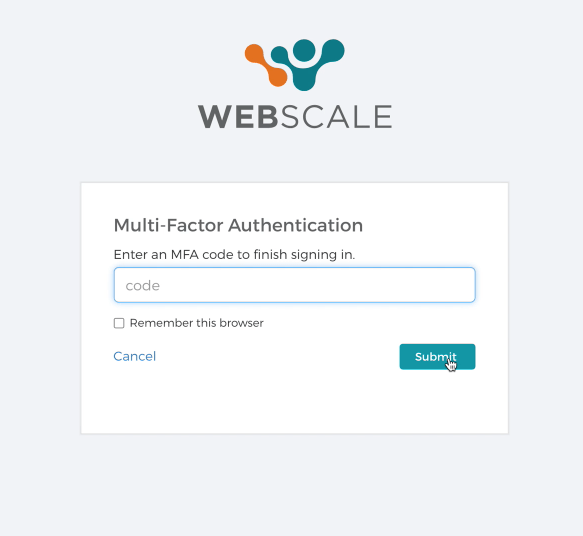
| 3. Multi-factor authentication for the user is now enabled. For future logins, the user must use the authenticator application on their device to generate an OTP after they’ve successfully authenticated with their password. Note that checking the box for Remember this browser will set a cookie so the MFA code is not needed again if you login from the same browser. Users follow a similar process, starting at the User Profile, to change or reset their multi-factor authentication application. The user must be able to login using their existing multi-factor authentication device to make changes. If the user changes devices or applications and cannot login, please Contact Support . |
Troubleshooting
If the MFA token being generated is not validating and allowing the user to login, it’s possible the time settings for the user’s mobile device and computer do not match. The specifics for resolving this issue differ depending on the mobile device OS and the computer OS in use. Here are some helpful resources:
- About Time sync for Google Authenticator on Android
- How to set your time and time zone (Windows)
- If the date or time is wrong on your Mac
- If you can’t change the time or time zone on your iPhone, iPad or iPod touch
If you continue to have issues with MFA, please Contact Support .
Further reading
- How to Create Roles and Invite Users
- How to Use Webscale Secure Access
- Web Controls
- How to Edit the Whitelist
- How to Edit the Blacklist
- How to Block Countries from Accessing Your Site
Last modified on June 3, 2026