Configuring Trusted Proxies
The Trusted Proxies feature enables you to designate proxy IP addresses for providers that you trust. You can add trusted proxies through the Webscale Control Panel. To use this feature, select address sets with provider IP addresses and choose to enable it.
Trusted proxies can add the X-Forwarded-For header to HTTP requests that they send to your Webscale applications. When Webscale receives a message from a trusted proxy, it will use the encoded client IP address as the request address.
If it receives the message from a proxy that it does not trust, it will strip the header and use the most recent peer address as the request address.
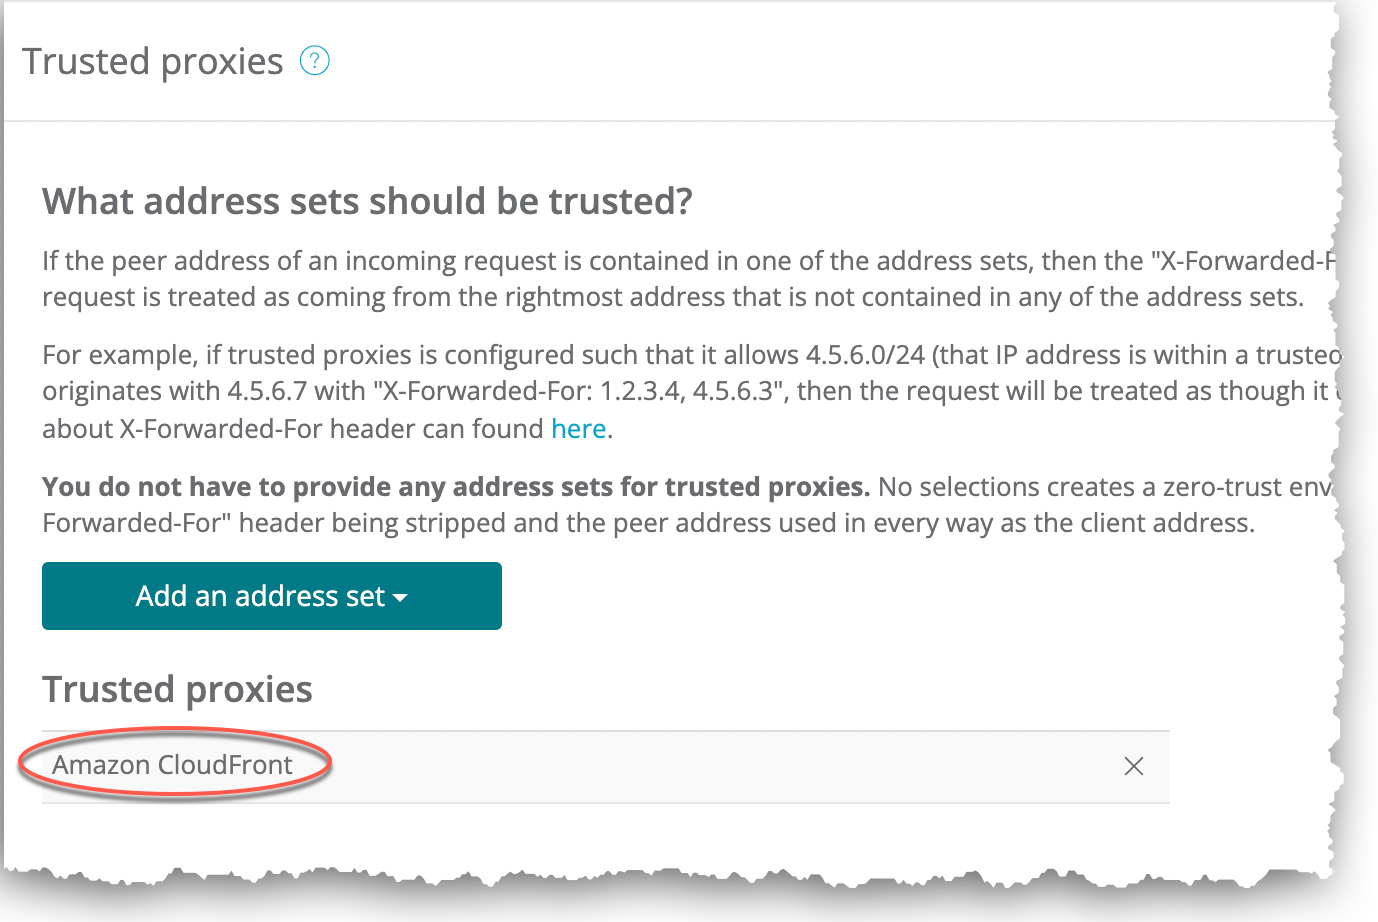
What address sets should be trusted?
If the peer address of an incoming request is contained in one of the address sets, then the X-Forwarded-For header is decoded so that the request is treated as coming from the rightmost address that is not contained in any of the address sets.
For example, if Trusted Proxies is configured such that it allows 4.5.6.0/24 (that IP address is within a trusted address set) and the request originates from 4.5.6.7 with X-Forwarded-For: 1.2.3.4, 4.5.6.3, then the request will be treated as though it came from 1.2.3.4. More details about the X-Forwarded-For header can found on the Mozilla Developer Docs.
Trusted Proxies Only
If Trusted Proxies Only is enabled, then only Pingdom, the control address, and any proxies added here can access the application. Any other traffic from the internet will be dropped. This setting can add an additional layer of security to your application if you want all traffic to only come from a proxy service such as Cloudflare.
Trusted Proxies Header
This option changes the header used for Trusted Proxies. The choices are:
X-Forwarded-For(default): The usual header for identifying the originating IP address of a client connecting to a web server through an HTTP proxy or a load balancer.True-Client-IP: Services such as Cloudflare and Akamai send this header to identify the IP address of the requester.Custom: Input your own custom HTTP header here.
Add trusted proxies
You can add more than one trusted proxy at a time.
To add a trusted proxy
-
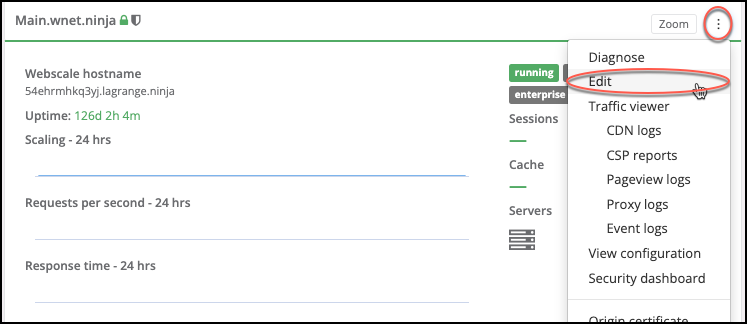
Click the three vertical dots menu icon on the upper right corner of the application box and select Edit.
-or-
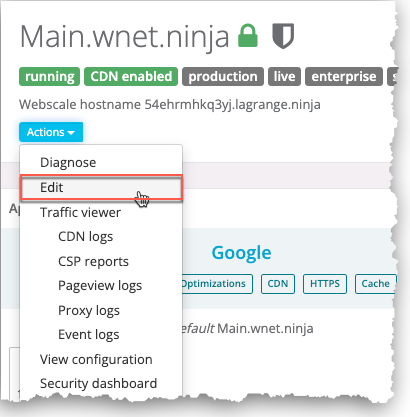
On your application page, click the Actions menu icon and select Edit.
-
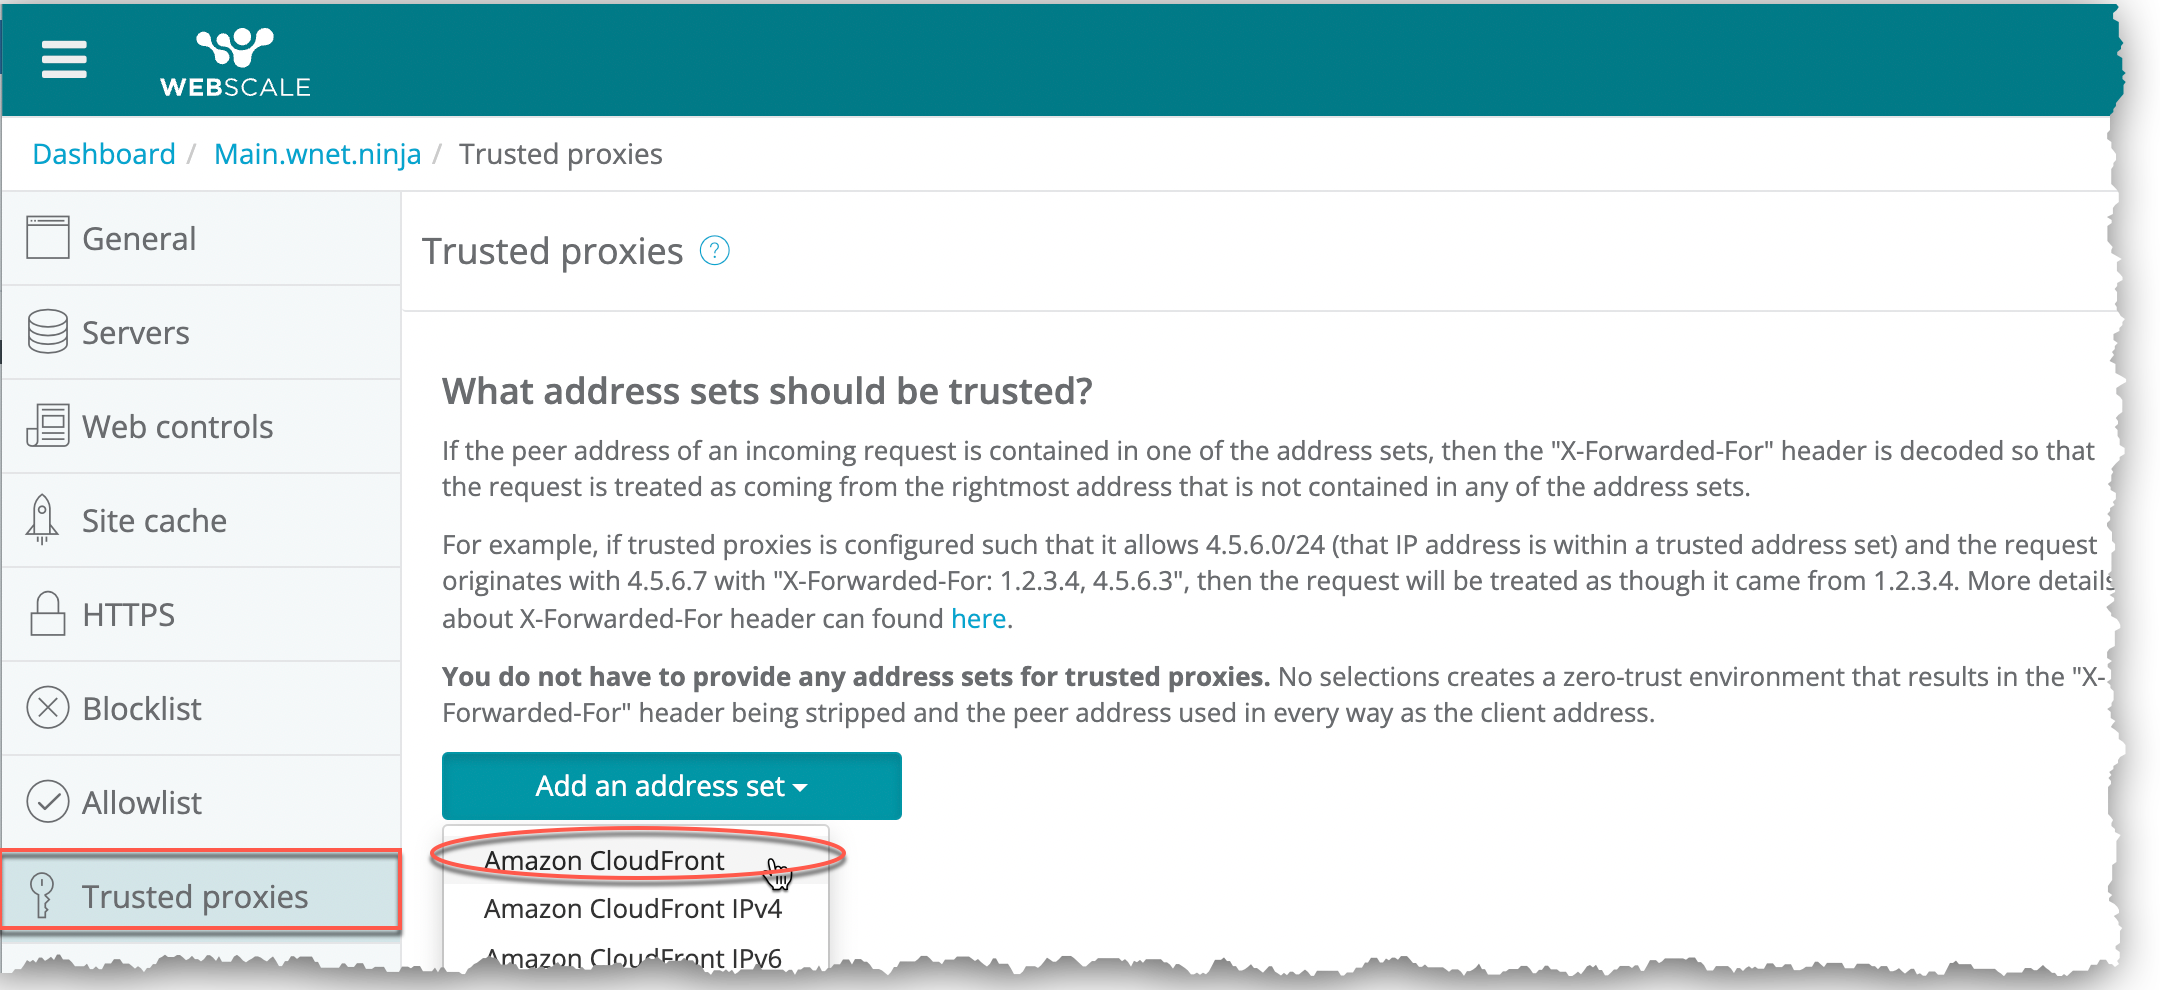
On the sidebar menu, select Trusted proxies.
The Trusted proxies page displays.
-
Click Add an address set and select a provider in the list.
Note:
To add more than one trusted proxy, select additional providers in the address set list.-
To enable the optional Trusted proxies only setting, click the toggle for it.
-
To, optionally, use a header other than the HTTPS X-Forwarded-For default, select True-Client-IP or Custom in the Trusted proxies header drop-down list.
If you have selected Custom, enter the name of the header in the custom field.
-
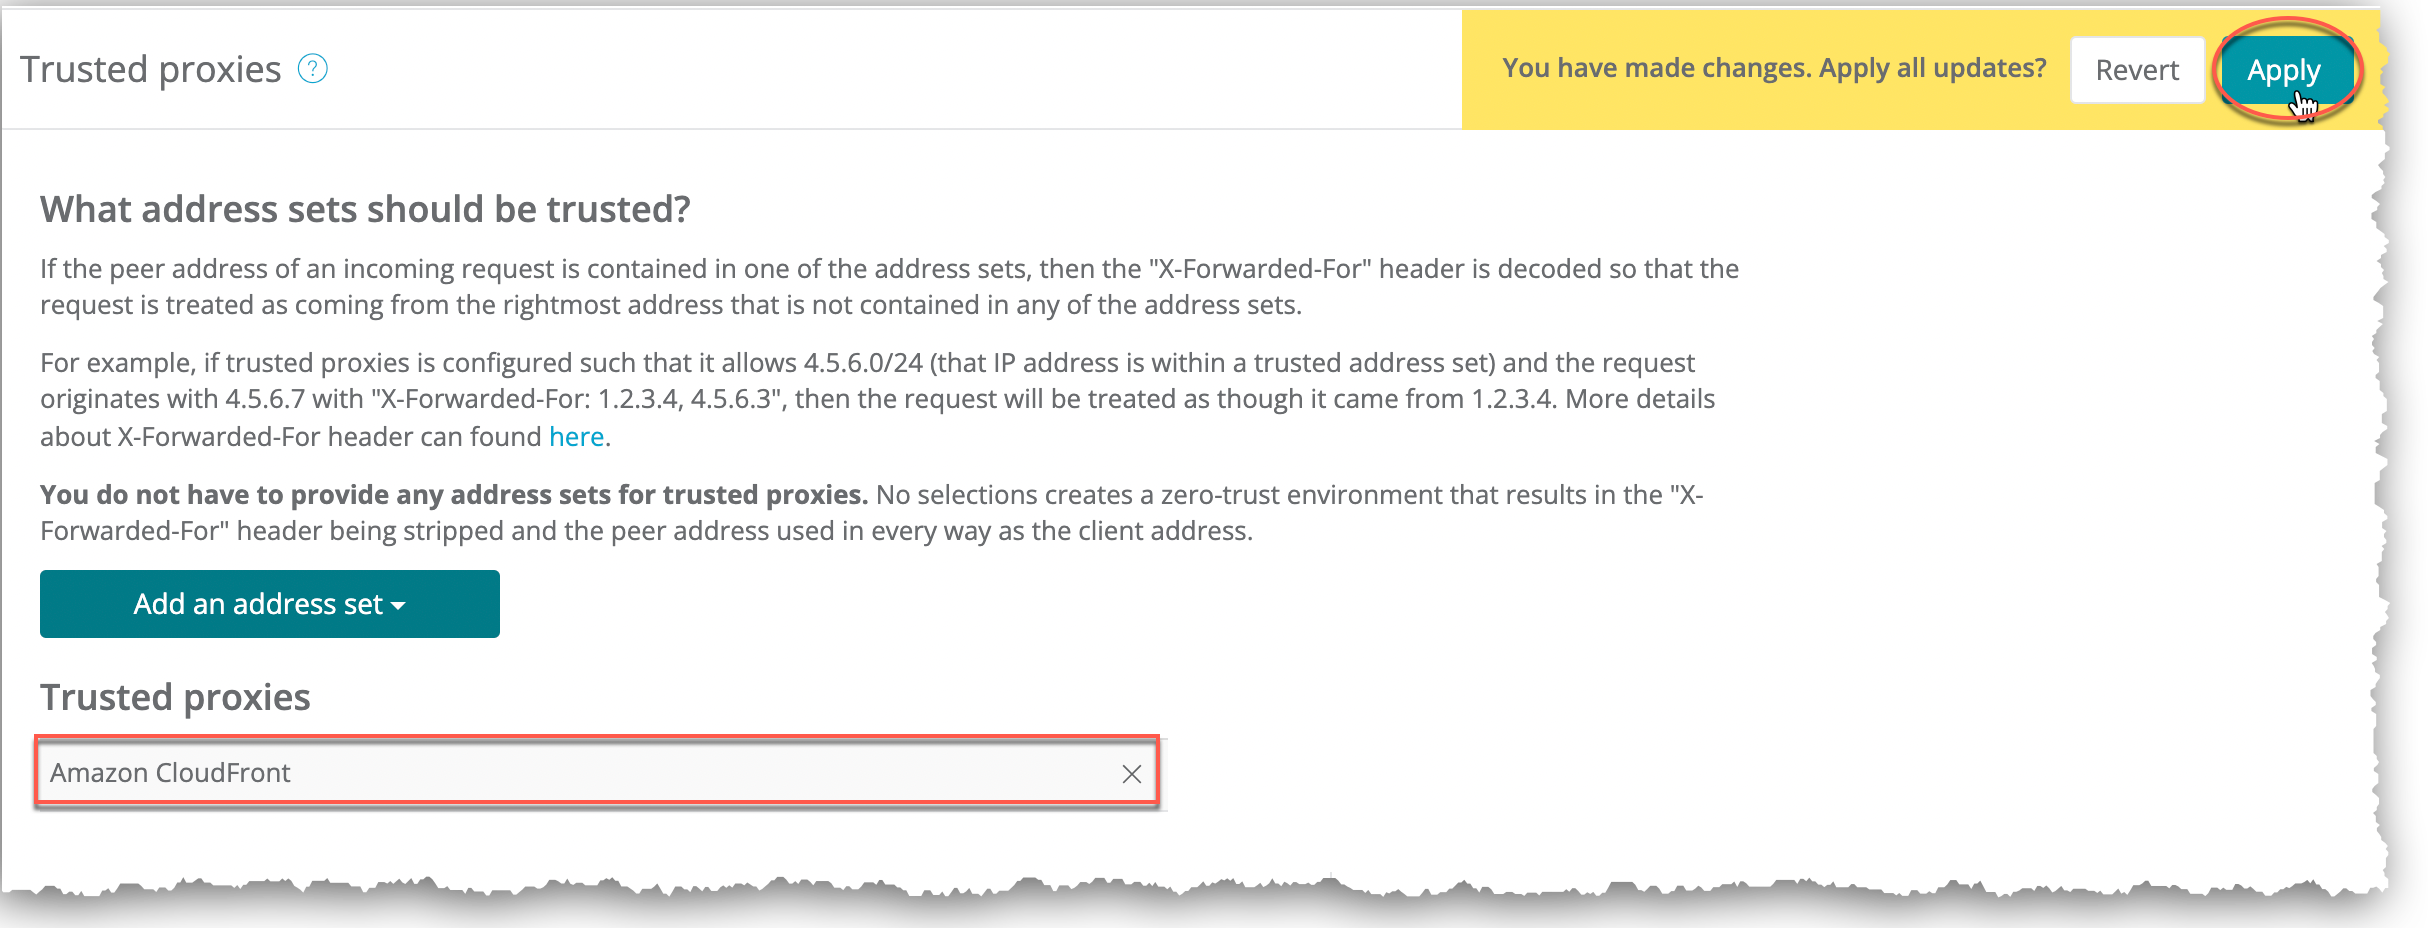
Click Apply.
The provider displays as a trusted proxy.
To delete a trusted trusted_proxies_select_apply
- Click the x for the listed trusted proxy. The provider no longer displays in the list.
- Click Apply.
Further reading
Have questions not answered here? Please Contact Support to get more help.
Feedback
Was this page helpful?
Glad to hear it! Have any more feedback? Please share it here.
Sorry to hear that. Have any more feedback? Please share it here.