Stratus Guides - DNS Recommendations
With Webscale STRATUS, there are three options for configuring your DNS.
- Preferred — [Route 53][12] is provided with Webscale STRATUS and can host domains through the STRATUS DNS management system. Domains configured using the MageMojo Route 53 instance are pointed to a CloudFront distribution directly and will take full advanted of CloudFront Global Edge Node caching.
- Acceptable — DNS solutions that support CNAME ALIAS for flattening may be used. This method is supported by Cloudflare as well as Route 53. When using Cloudflare do not use the Cloudflare CDN alongside STRATUS.
- For Temporary Use Only — A DNS A record may be used to point to a particular CloudFront edge note. However, this IP is very likely to change and would require updates to A records. This method is not supported or guaranteed to work.
NOTE: Free Let’s Encrypt SSL Certificates provided by Webscale will only work with the Preferred method.
Using the STRATUS Route 53 DNS
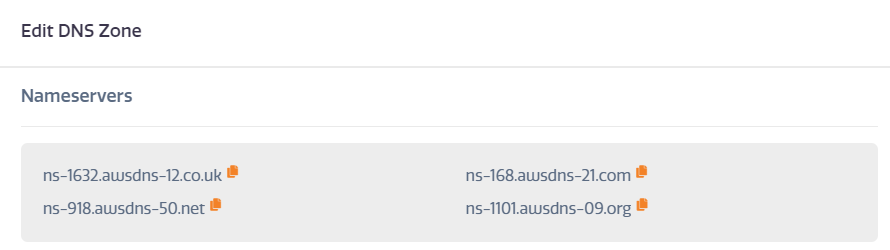
When a domain is added to Webscale STRATUS, a DNS zone is also created. The nameservers are then available above the DNS zone.
NOTE: The nameservers will also be slightly different for every domain, since Route 53 has many different nameservers.
To retrieve the necessary nameservers for a given domain,
- Open DNS page within General section of the STRATUS Control panel.
- Select the domain in the left column.
The right panel will show the four nameservers to use to configure a domain to point to Route 53.
It may take up to 24 hours for DNS changes to fully propagate.
Using Third-Party Nameservers
NOTE: Webscael cannot provide Let’s Encrypt Certificates for use with non-STRATUS Route 53 namesevers.
Due to the sophistication of the Webscale STRATUS AWS platform, configuring an outside nameserver can take several important steps.
Please note that the instructions for configuring a third-party nameserver must be all completed for Webscale STRATUS to work properly. Support will gladly help if asked.
- Open DNS page within General section of the STRATUS Control panel.
- Select a domain name shown in the left column. The full DNS zone will appear in the right column.
- Use the items listed in Other Records to populate the third-party DNS.
- Note the CloudFront Endpoint Url shown under Root Record.
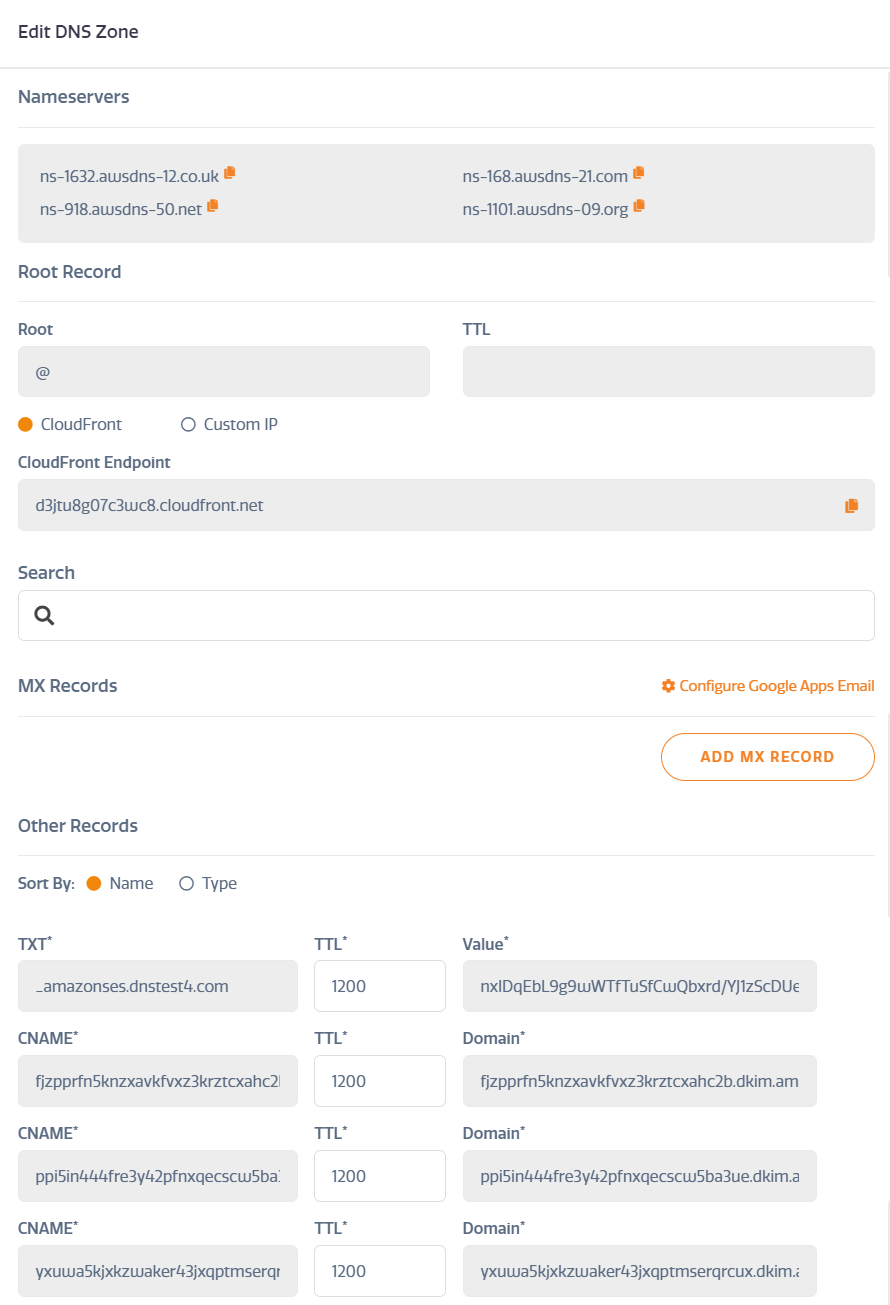
In the third-party domain, use the Cloudfront Endpoint as a CNAME record for “@"(apex), “www” or any other sub-domains that will point to the Webscale STRATUS environment (e.g. “store”). Use CNAME flattening or an ALIAS if the DNS host supports it. Otherwise an A record is required (but not preferred).
Once the DNS changes propagate, return to the DNS panel and ensure the proper domains are set per Url guidelines.
Using an A record
If an A record must be used,
- Go to the DNS panel in the Webscale STRATUS Control panel sidebar menu.
- Select the domain in the left column. The full DNS zone will appear in the right column.
- Copy the CloudFront Endpoint shown.
- Use the dig command to discover the IP number for the CloudFront endpoints.
bash
dig d1xq81t8a33nfn.cloudfront.net
; <<>> DiG 9.10.3-P4-Debian <<>> d1xq81t8a33nfn.cloudfront.net
;; global options: +cmd
;; Got answer:
;; ->>HEADER<<- opcode: QUERY, status: NOERROR, id: 16848
;; flags: qr rd ra; QUERY: 1, ANSWER: 4, AUTHORITY: 0, ADDITIONAL: 0

;; QUESTION SECTION:
;d1xq81t8a33nfn.cloudfront.net. IN      A

;; ANSWER SECTION:
d1xq81t8a33nfn.cloudfront.net. 30 IN    A       54.230.195.26
d1xq81t8a33nfn.cloudfront.net. 30 IN    A       54.230.195.46
d1xq81t8a33nfn.cloudfront.net. 30 IN    A       54.230.195.80
d1xq81t8a33nfn.cloudfront.net. 30 IN    A       54.230.195.220
- Pick any of the IPs available. They will vary depending on your geographic location.
- In the third-pary DNS, set any A records to any of the discovered IP numbers as needed.
Note that CloudFront Endpoint IPs can often change and will require these steps are repeated.
SSL Certificate Generation
DNS settings are important because they tie into the automatic SSL certificate generation service included with STRATUS.
Clearing Local DNS Cache
If the proper DNS results are not being observed after a reasonable propagation period, clear the local DNS cached:
Clearing DNS Cache in Windows 10
- Enter “cmd” in the Cortona search text box.
- Right-click Command Prompt and select Run as Administrator.
- Run the following command:
ipconfig /flushdnsIf the command succeeds, the system returns the following message:Successfully flushed the DNS Resolver Cache.
Clearing DNS Cache in Windows 7
- Click the Start button.
- Enter “cmd” in the Start menu search text box.
- Right-click Command Prompt and select Run as Administrator.
- Run the following command:
ipconfig /flushdnsIf the command succeeds, the system returns the following message:Windows IP configuration successfully flushed the DNS Resolver Cache.
Clearing DNS Cache in MacOS 10.10.4+
- Go to Applications > Utilities in the Finder.
- Open the Terminal application.
- Run the following command:
sudo killall -HUP mDNSResponderand enter the Administrator password when prompted. If the command succeeds, the system does not return any output.
Flush public DNS Cache
DNS can take up to 24 hours to fully propagate. A DNS Propagation checker may be used to view the propagation progress.
If propagation time is slower than expected, Nameserver caches may be flushed using any of the following:
Last modified on June 3, 2026