Working with Labelers
How to create and edit Labelers
A labeler applies a label to all future logs that match the labeler’s configuration. These labels can be a powerful tool in analyzing logs. For example, you can create a labeler using a complex filter query, allowing you to simply search for that label in the traffic viewer and refine the query as needed.
Note:
These labels differ from labels applied using Web Controls in that the labels are applied to the logs just before they are written, instead of when the request is received.Create a Labeler
| 1. Login to the Webscale Control Panel and click the three bars in the upper left. 2. Select Labelers from the menu. |
|
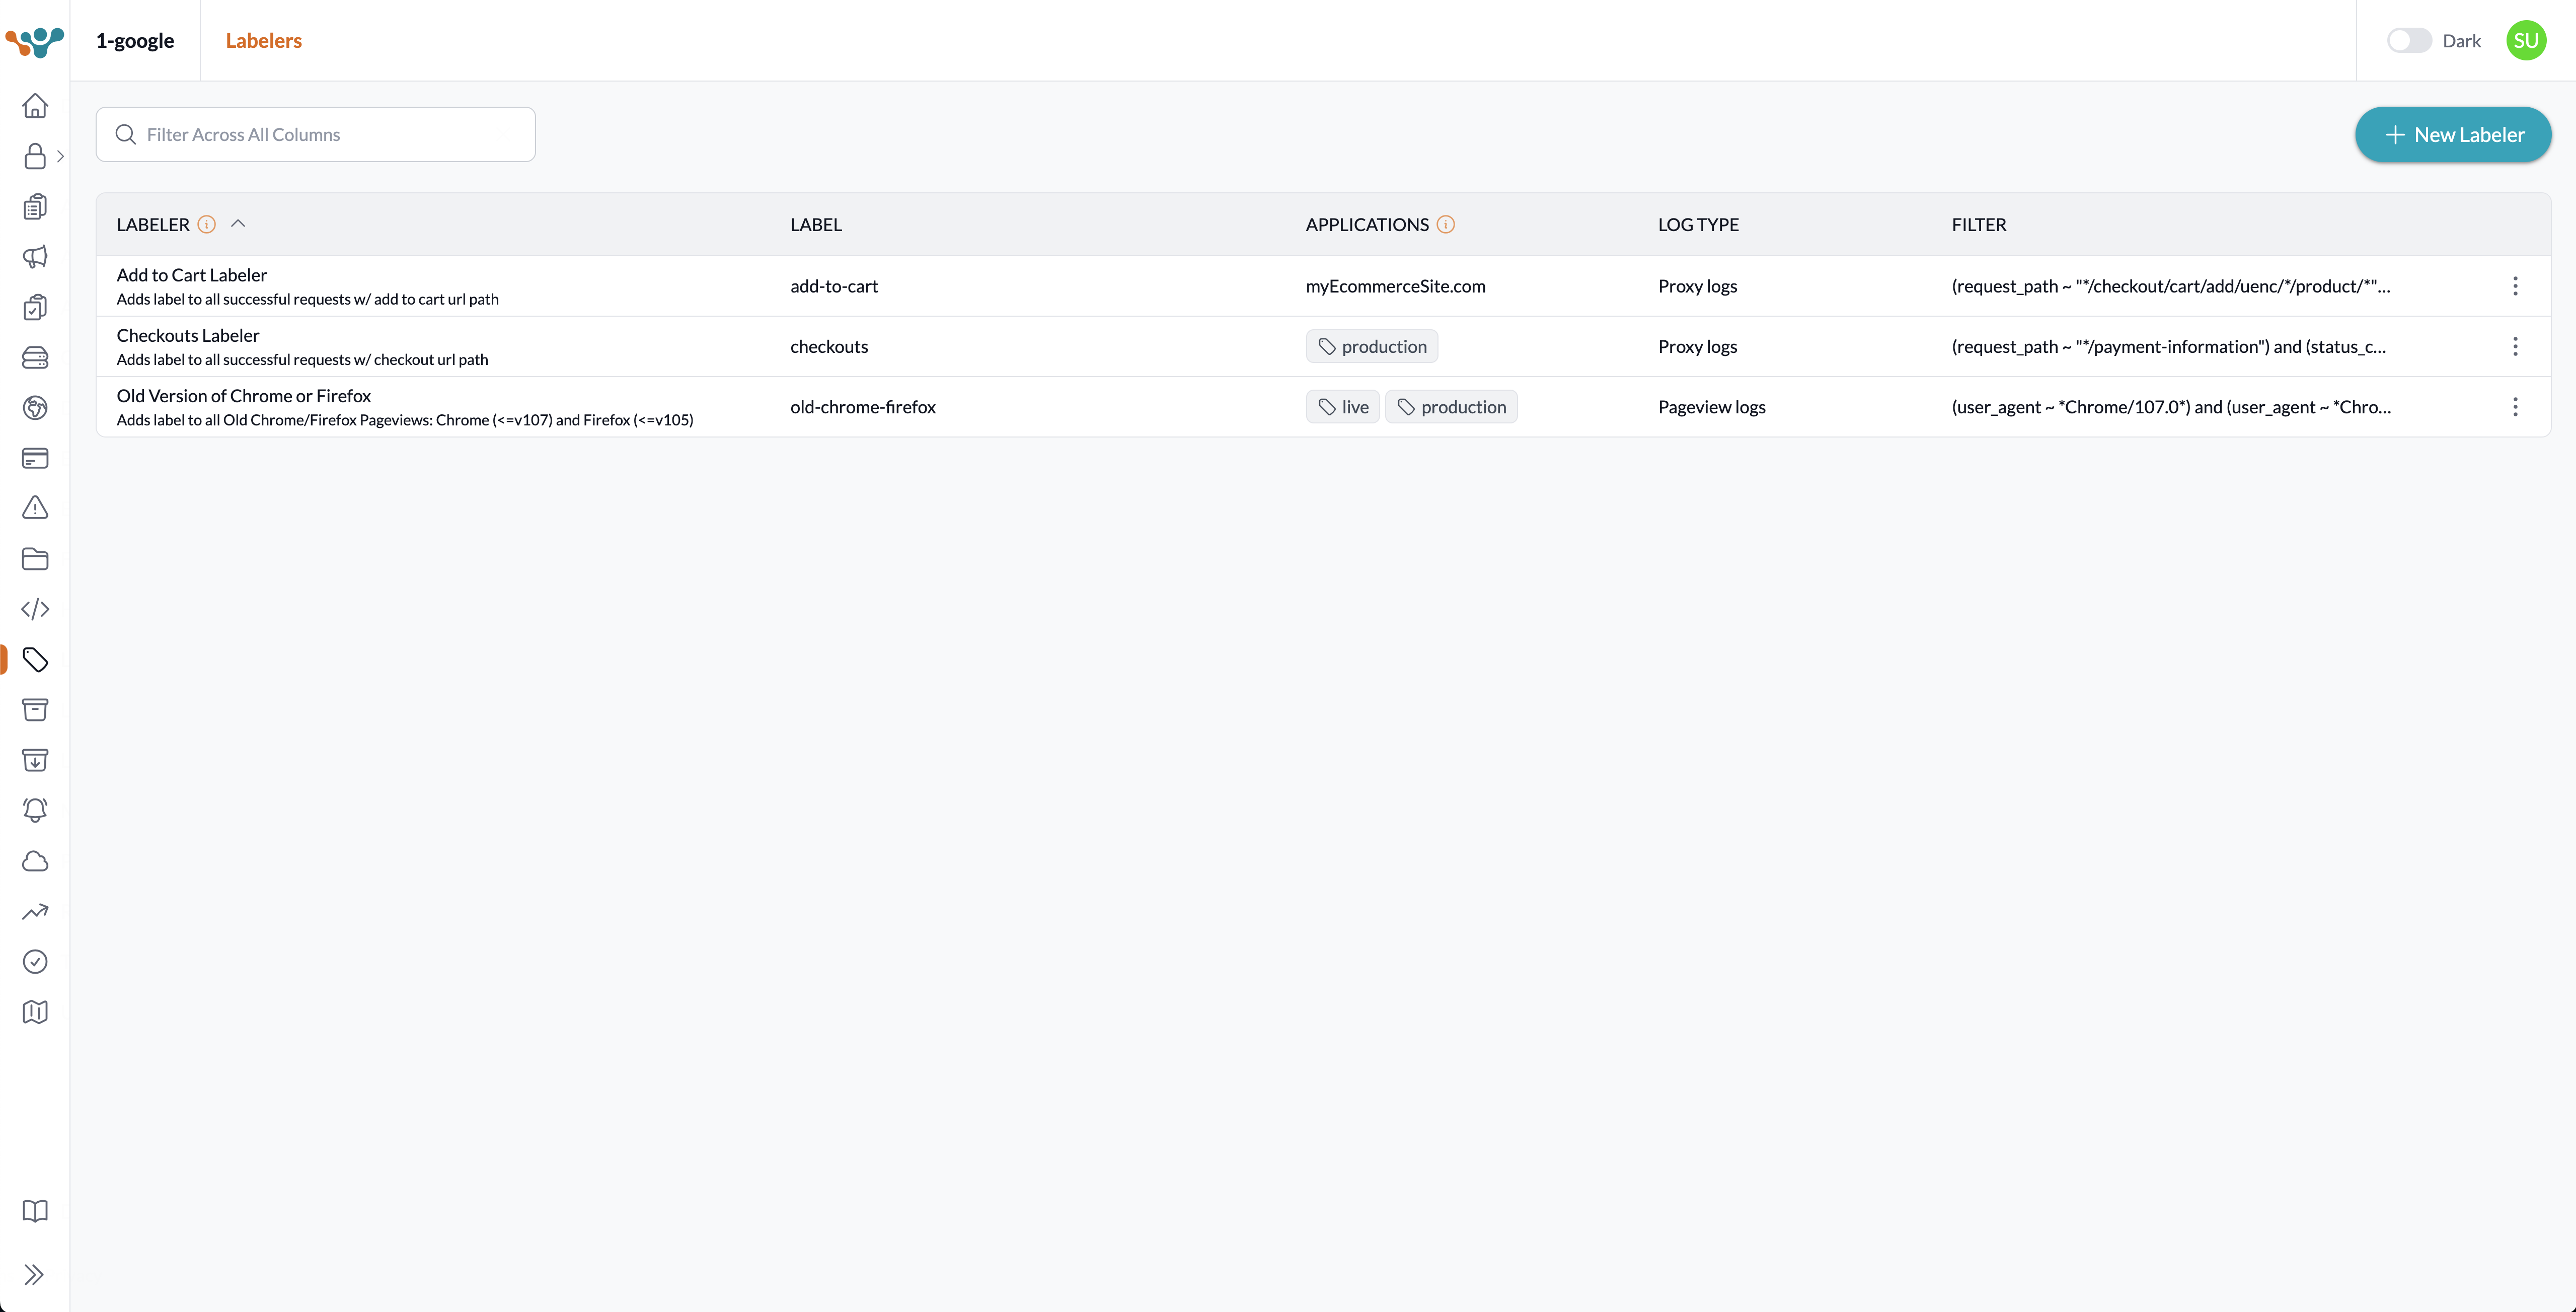
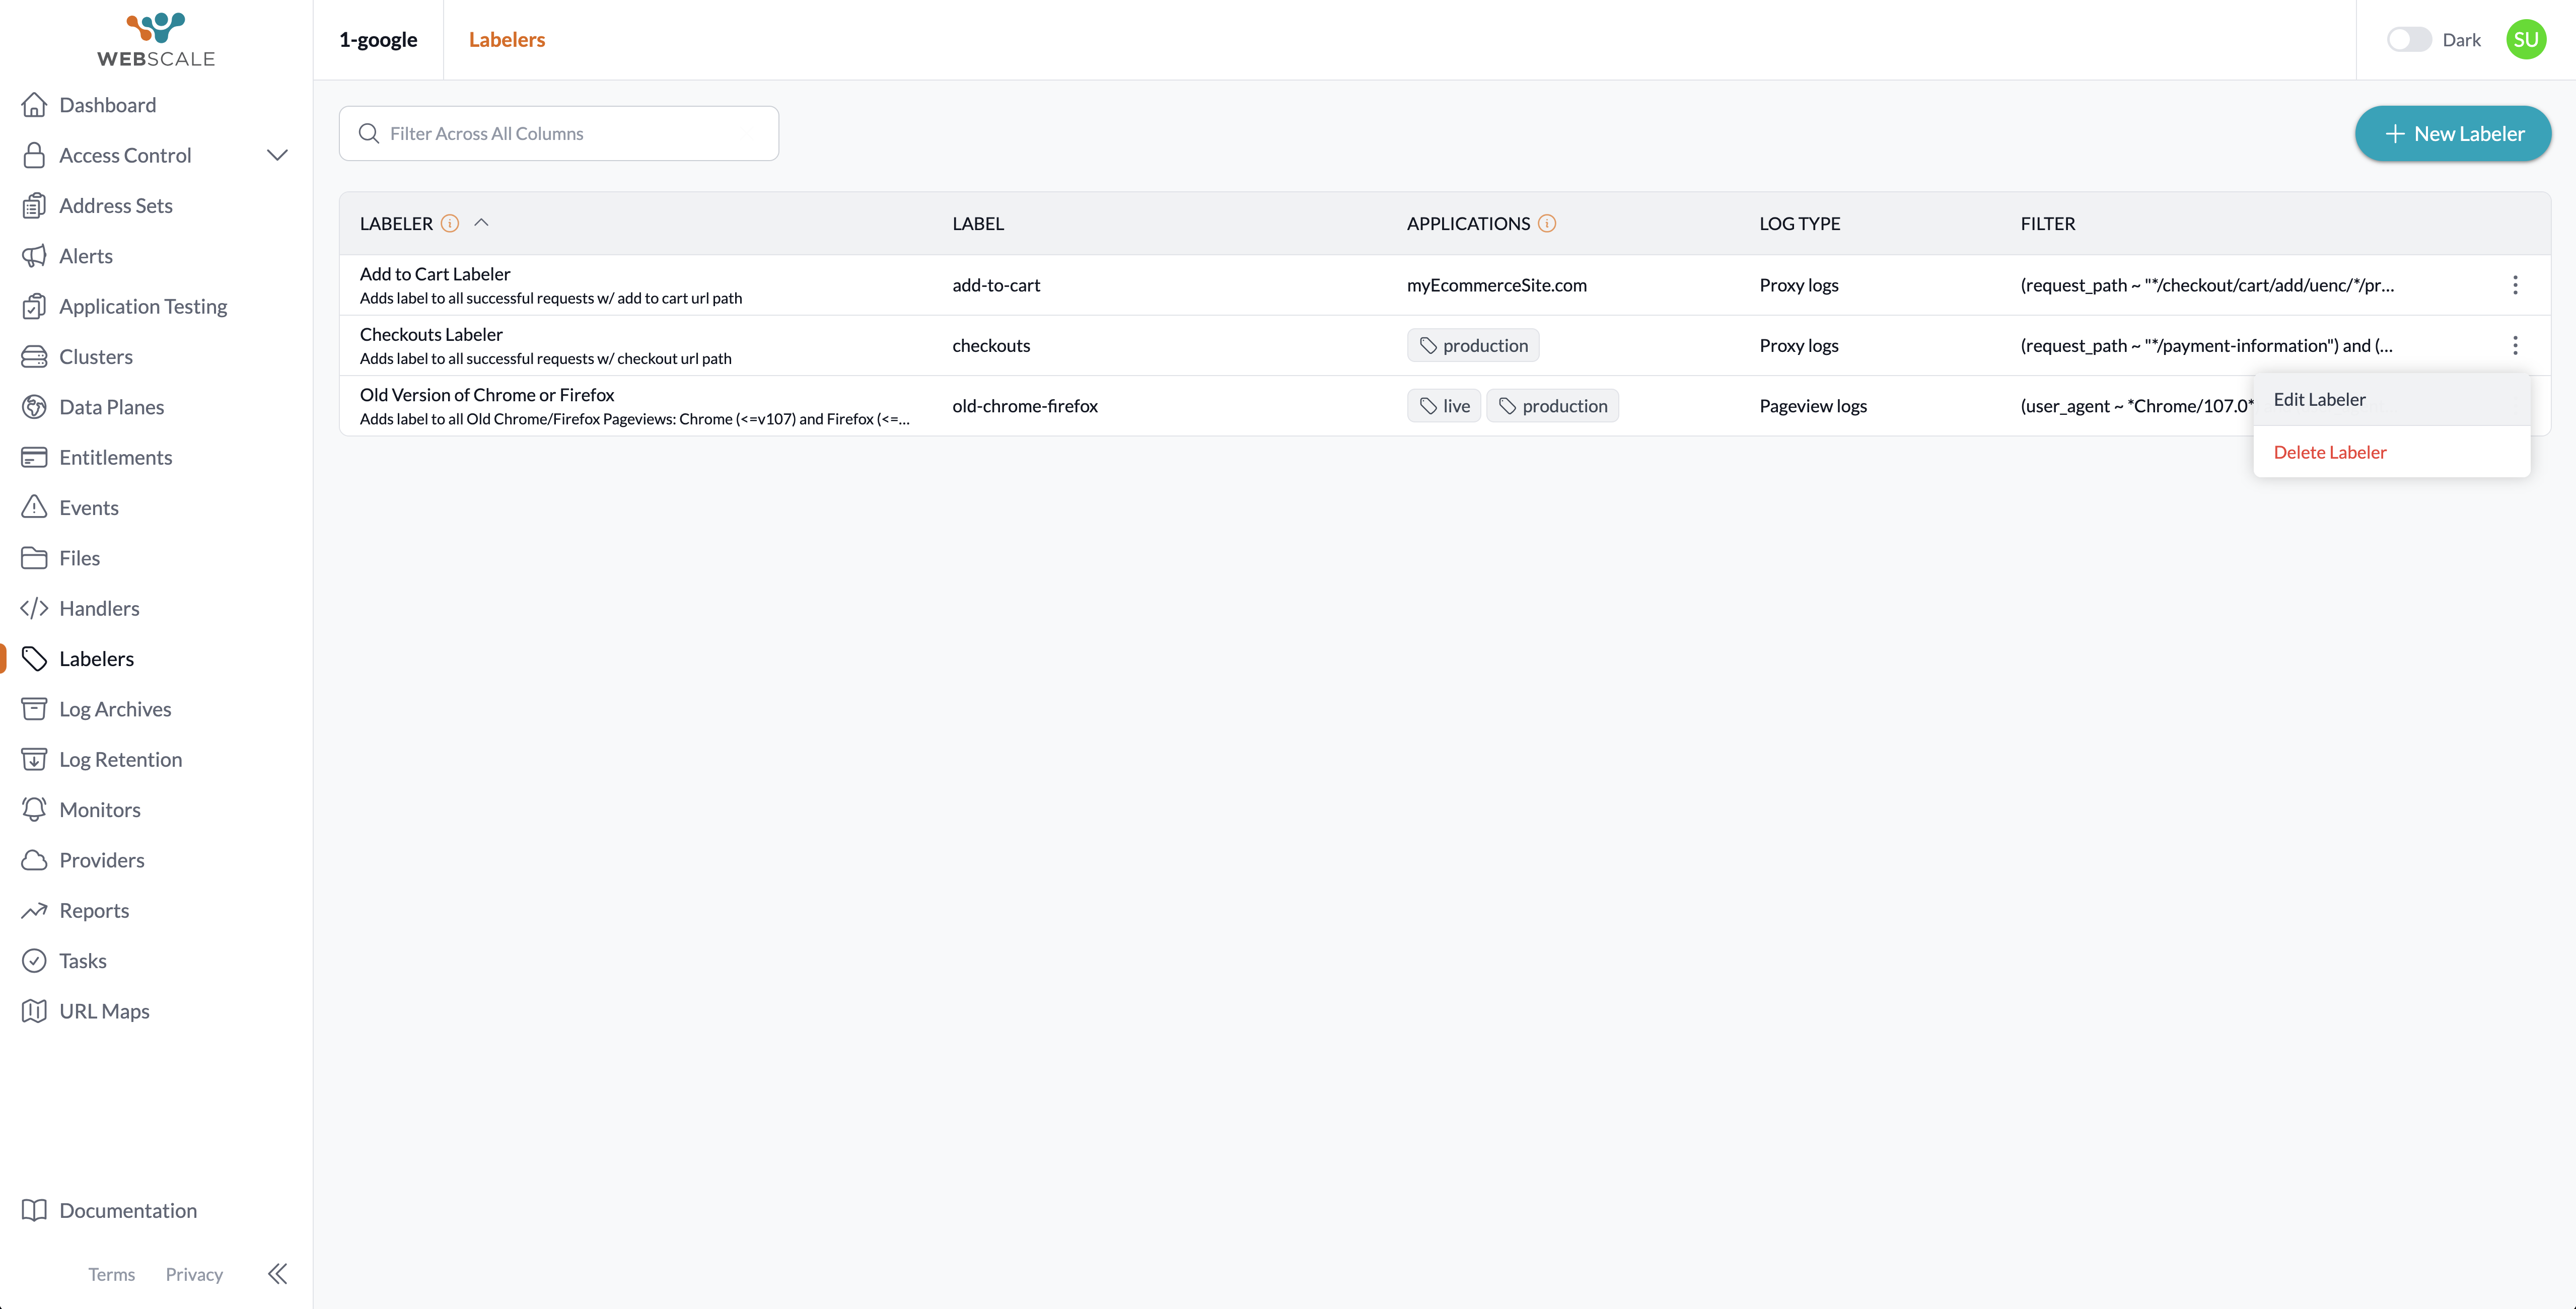
| 3. This Labelers page shows the existing labelers in a table. | |
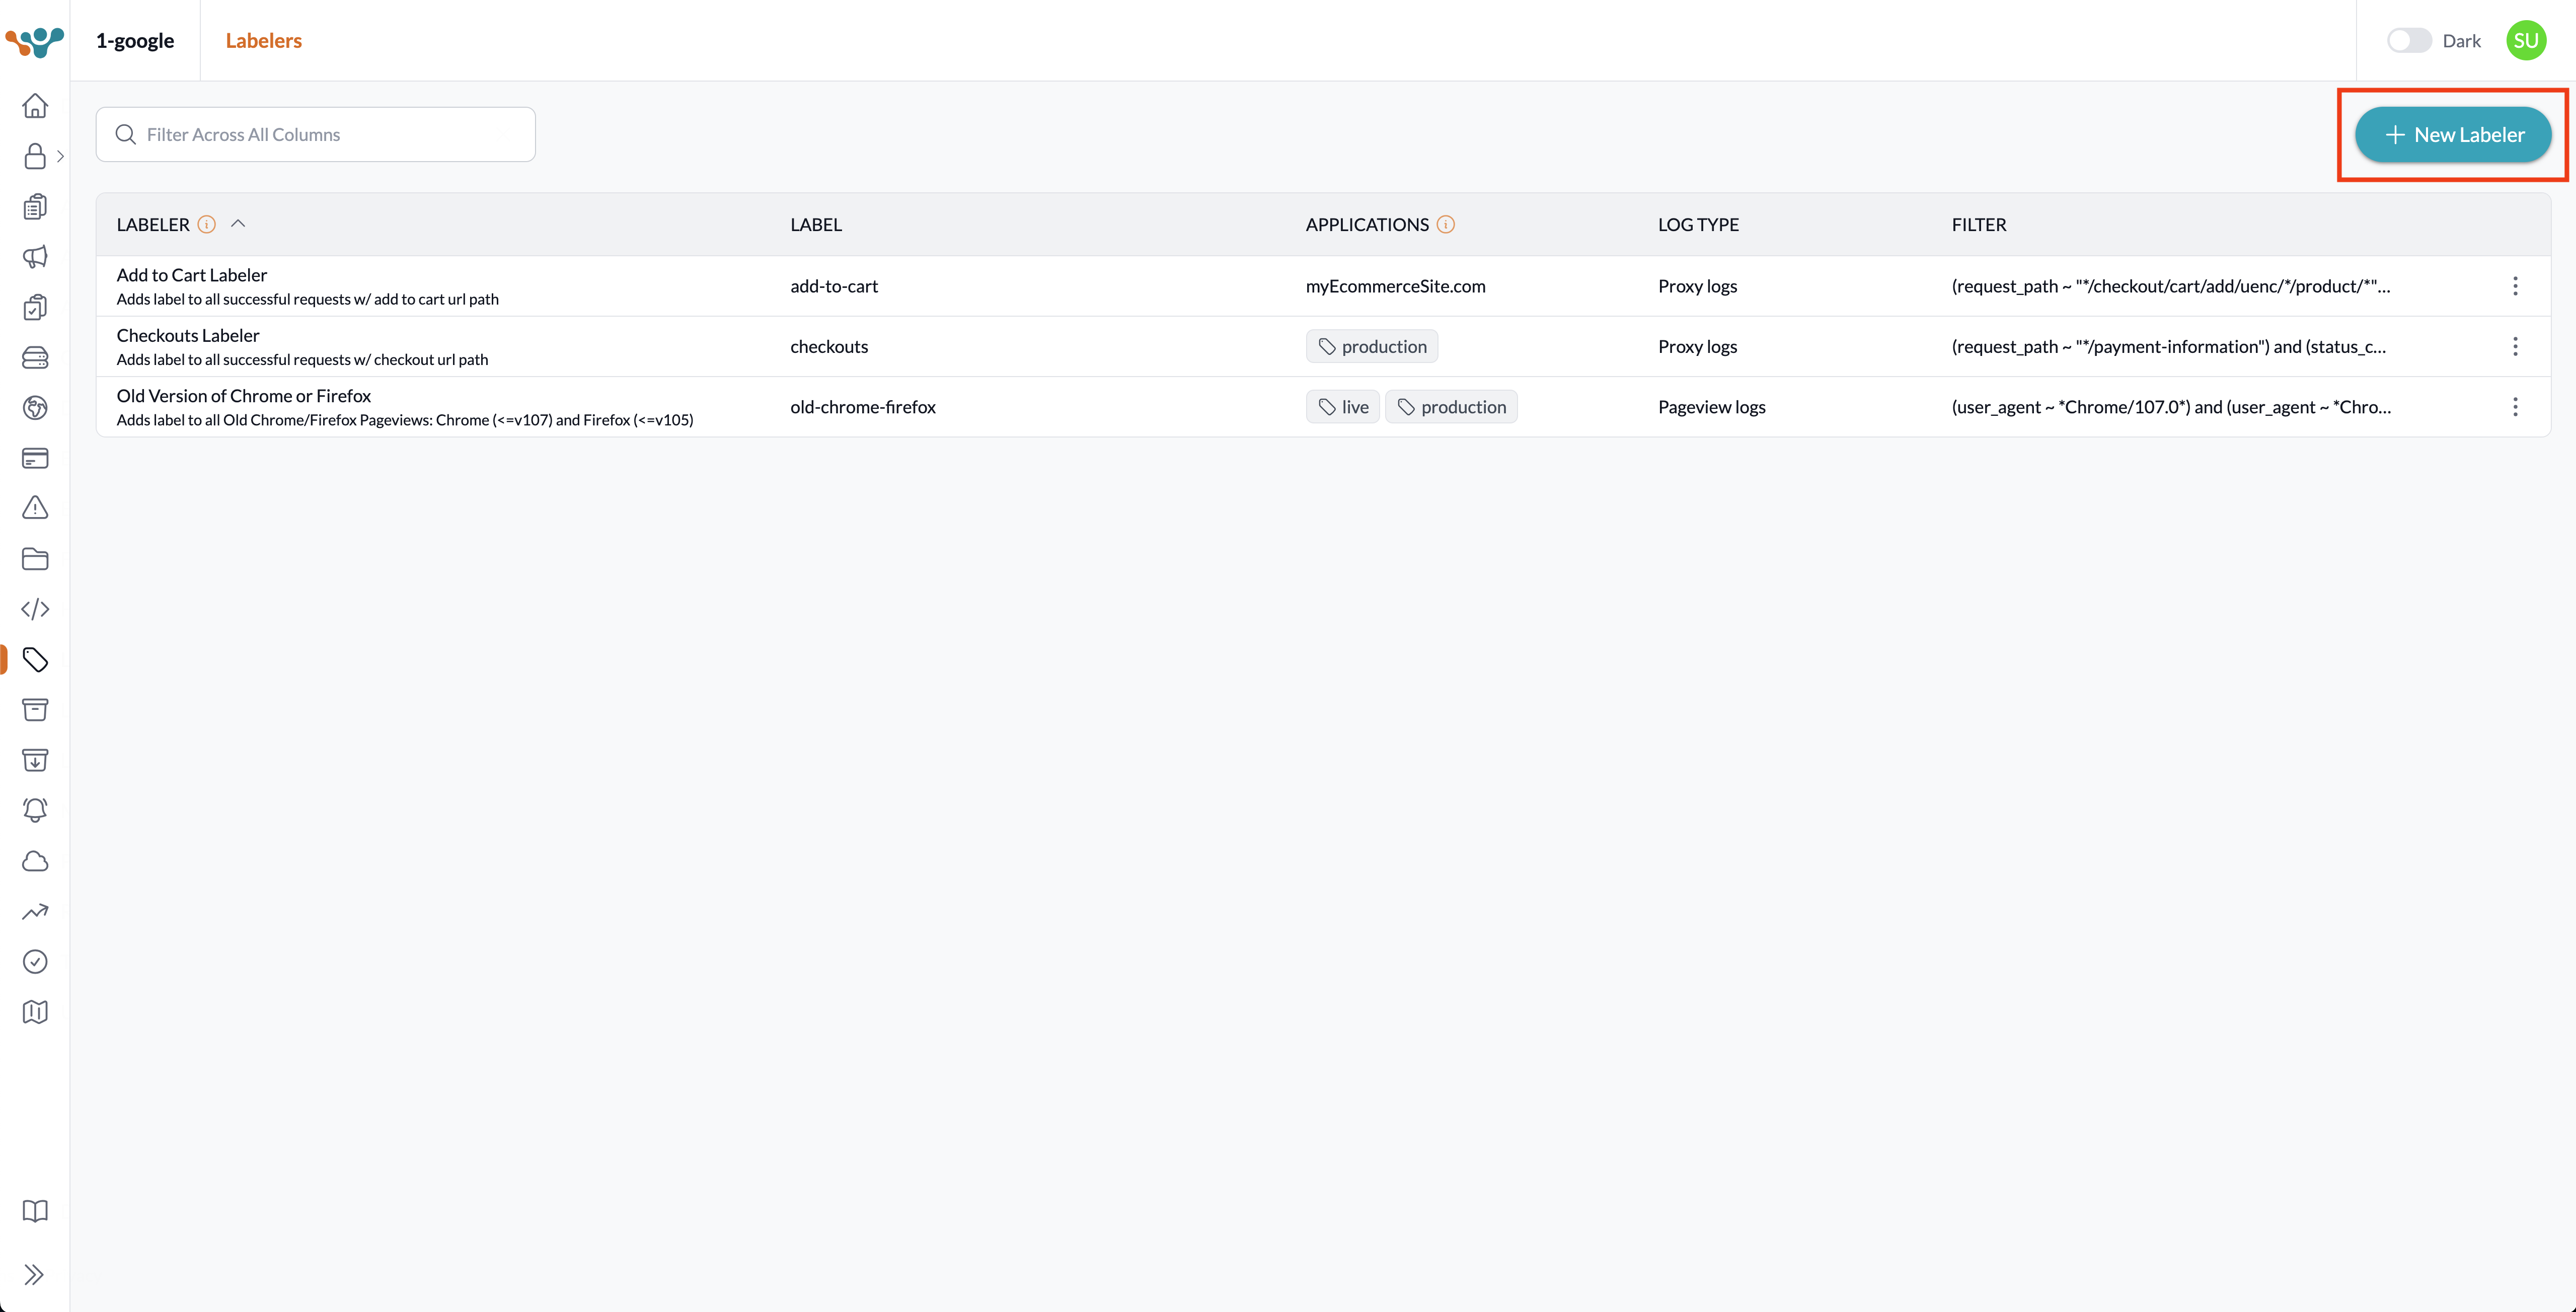
| 4. Click the New labeler button. | |
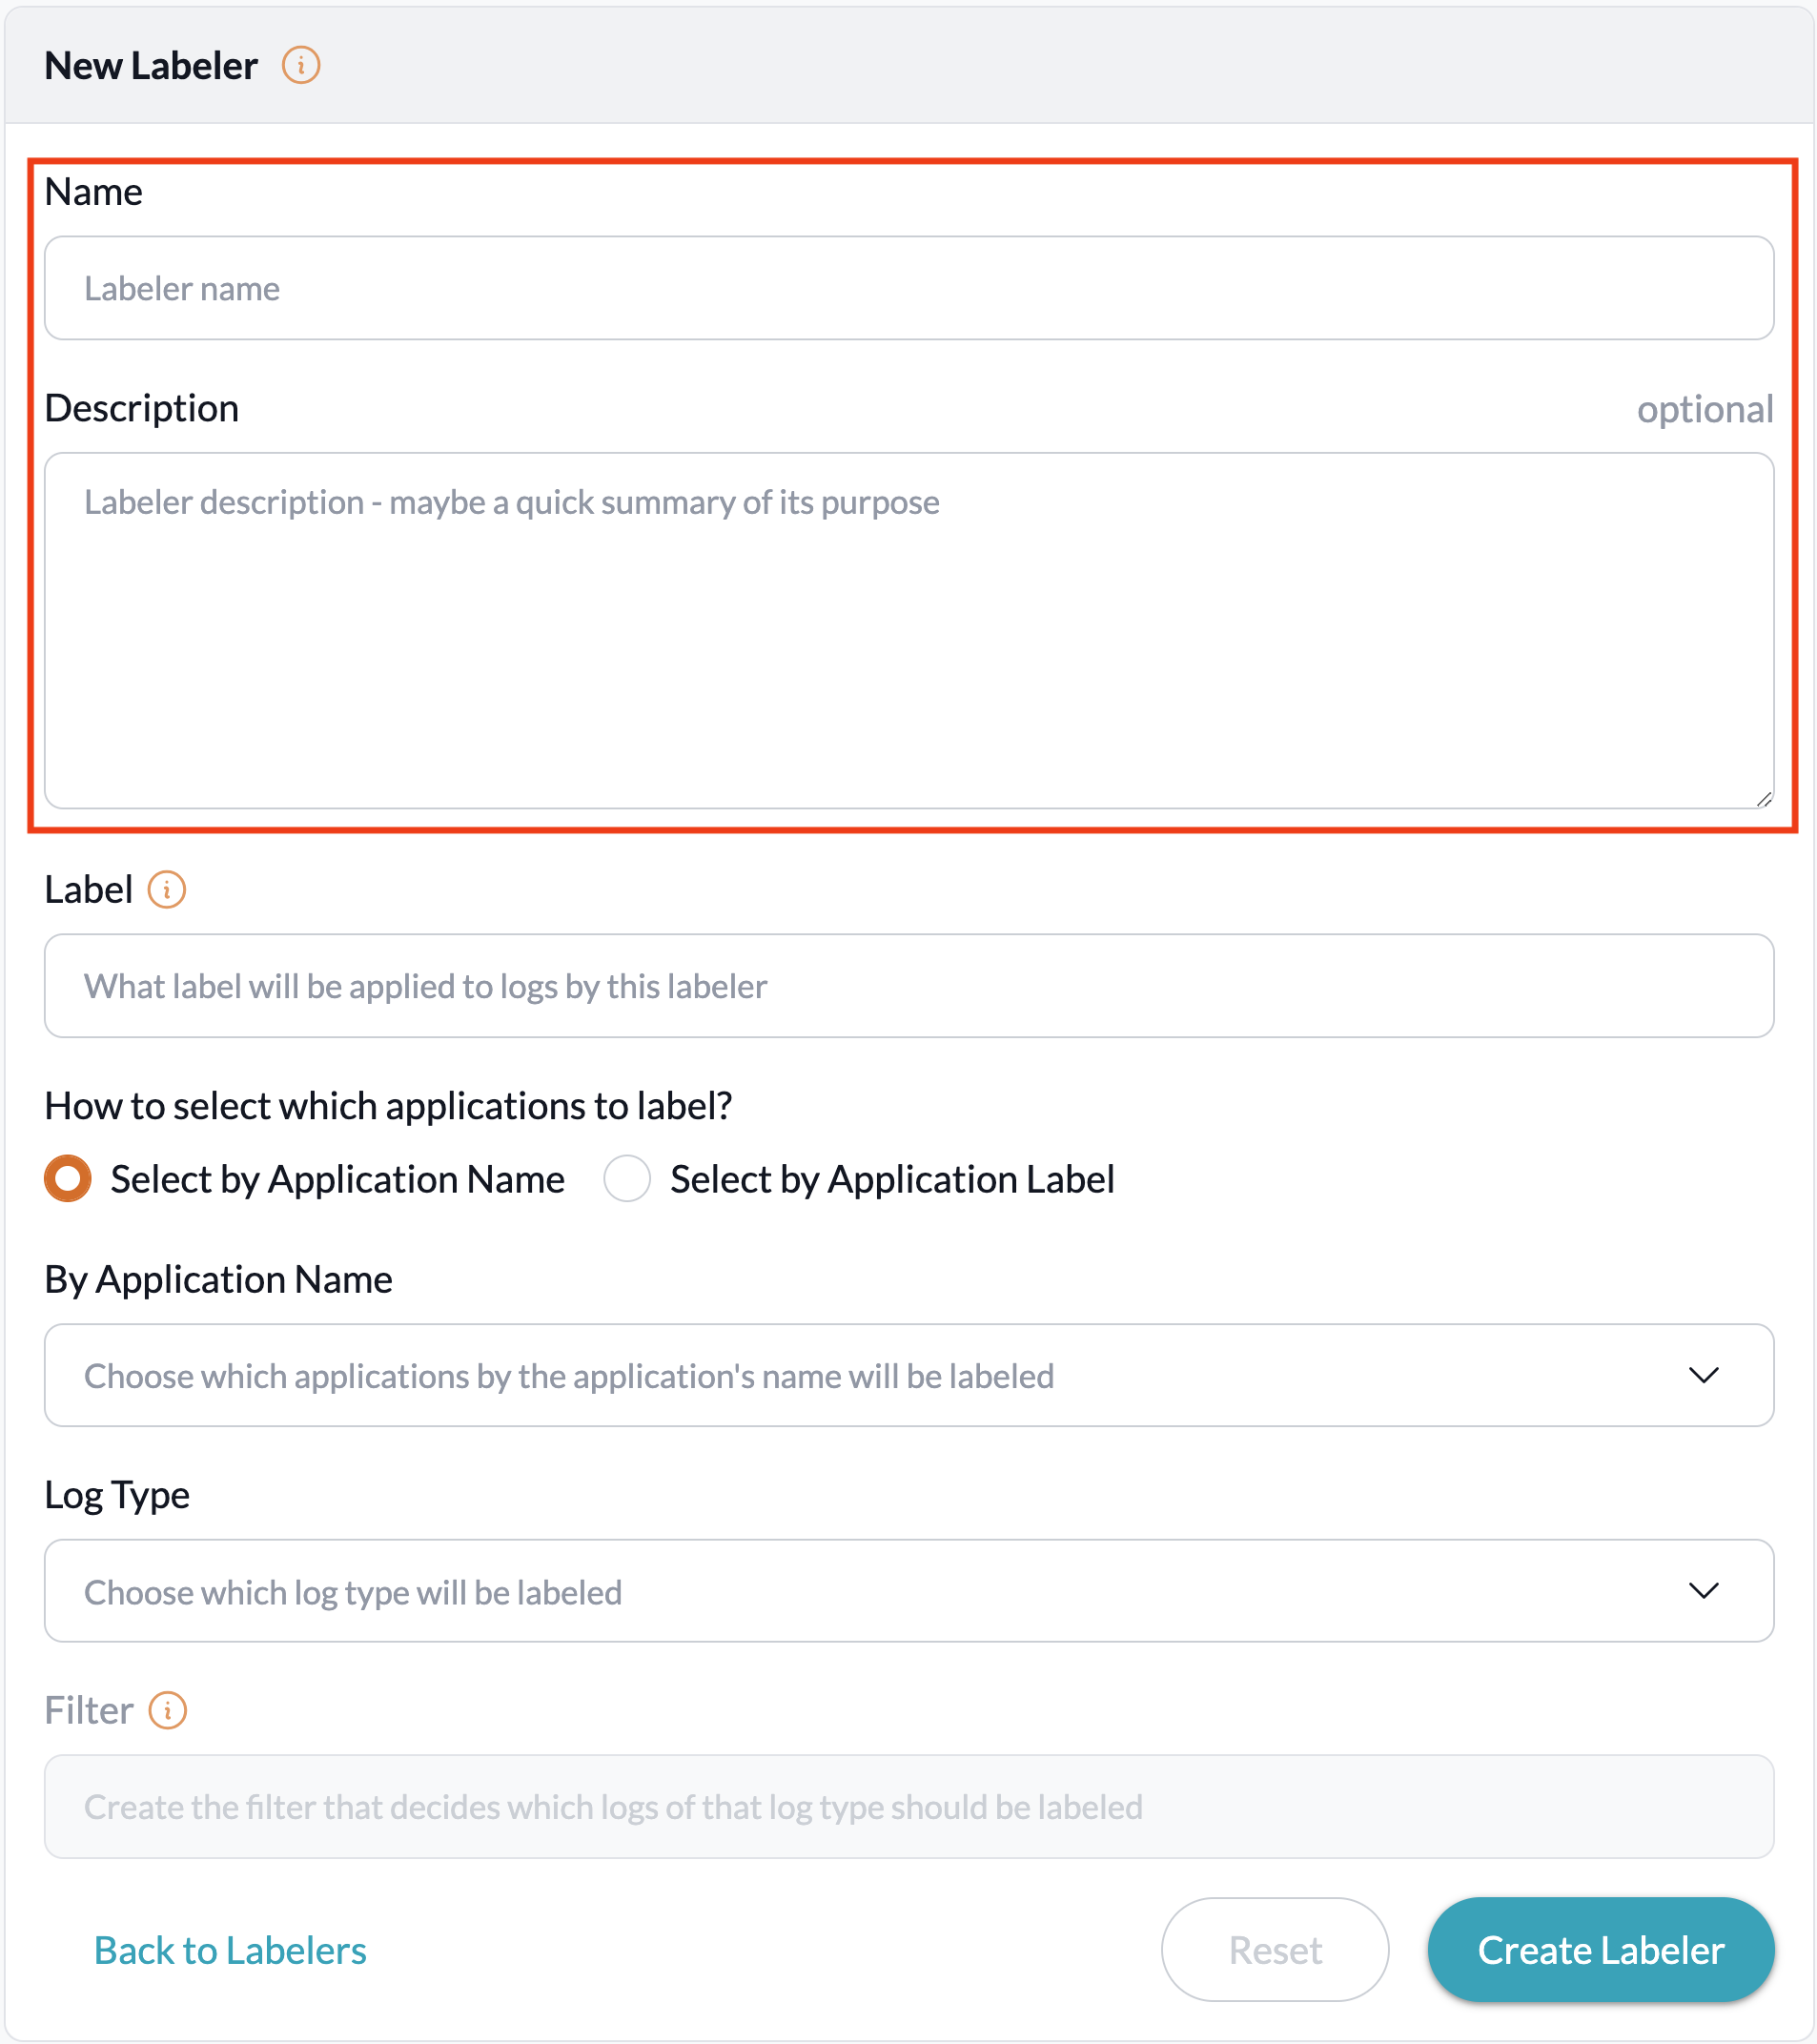
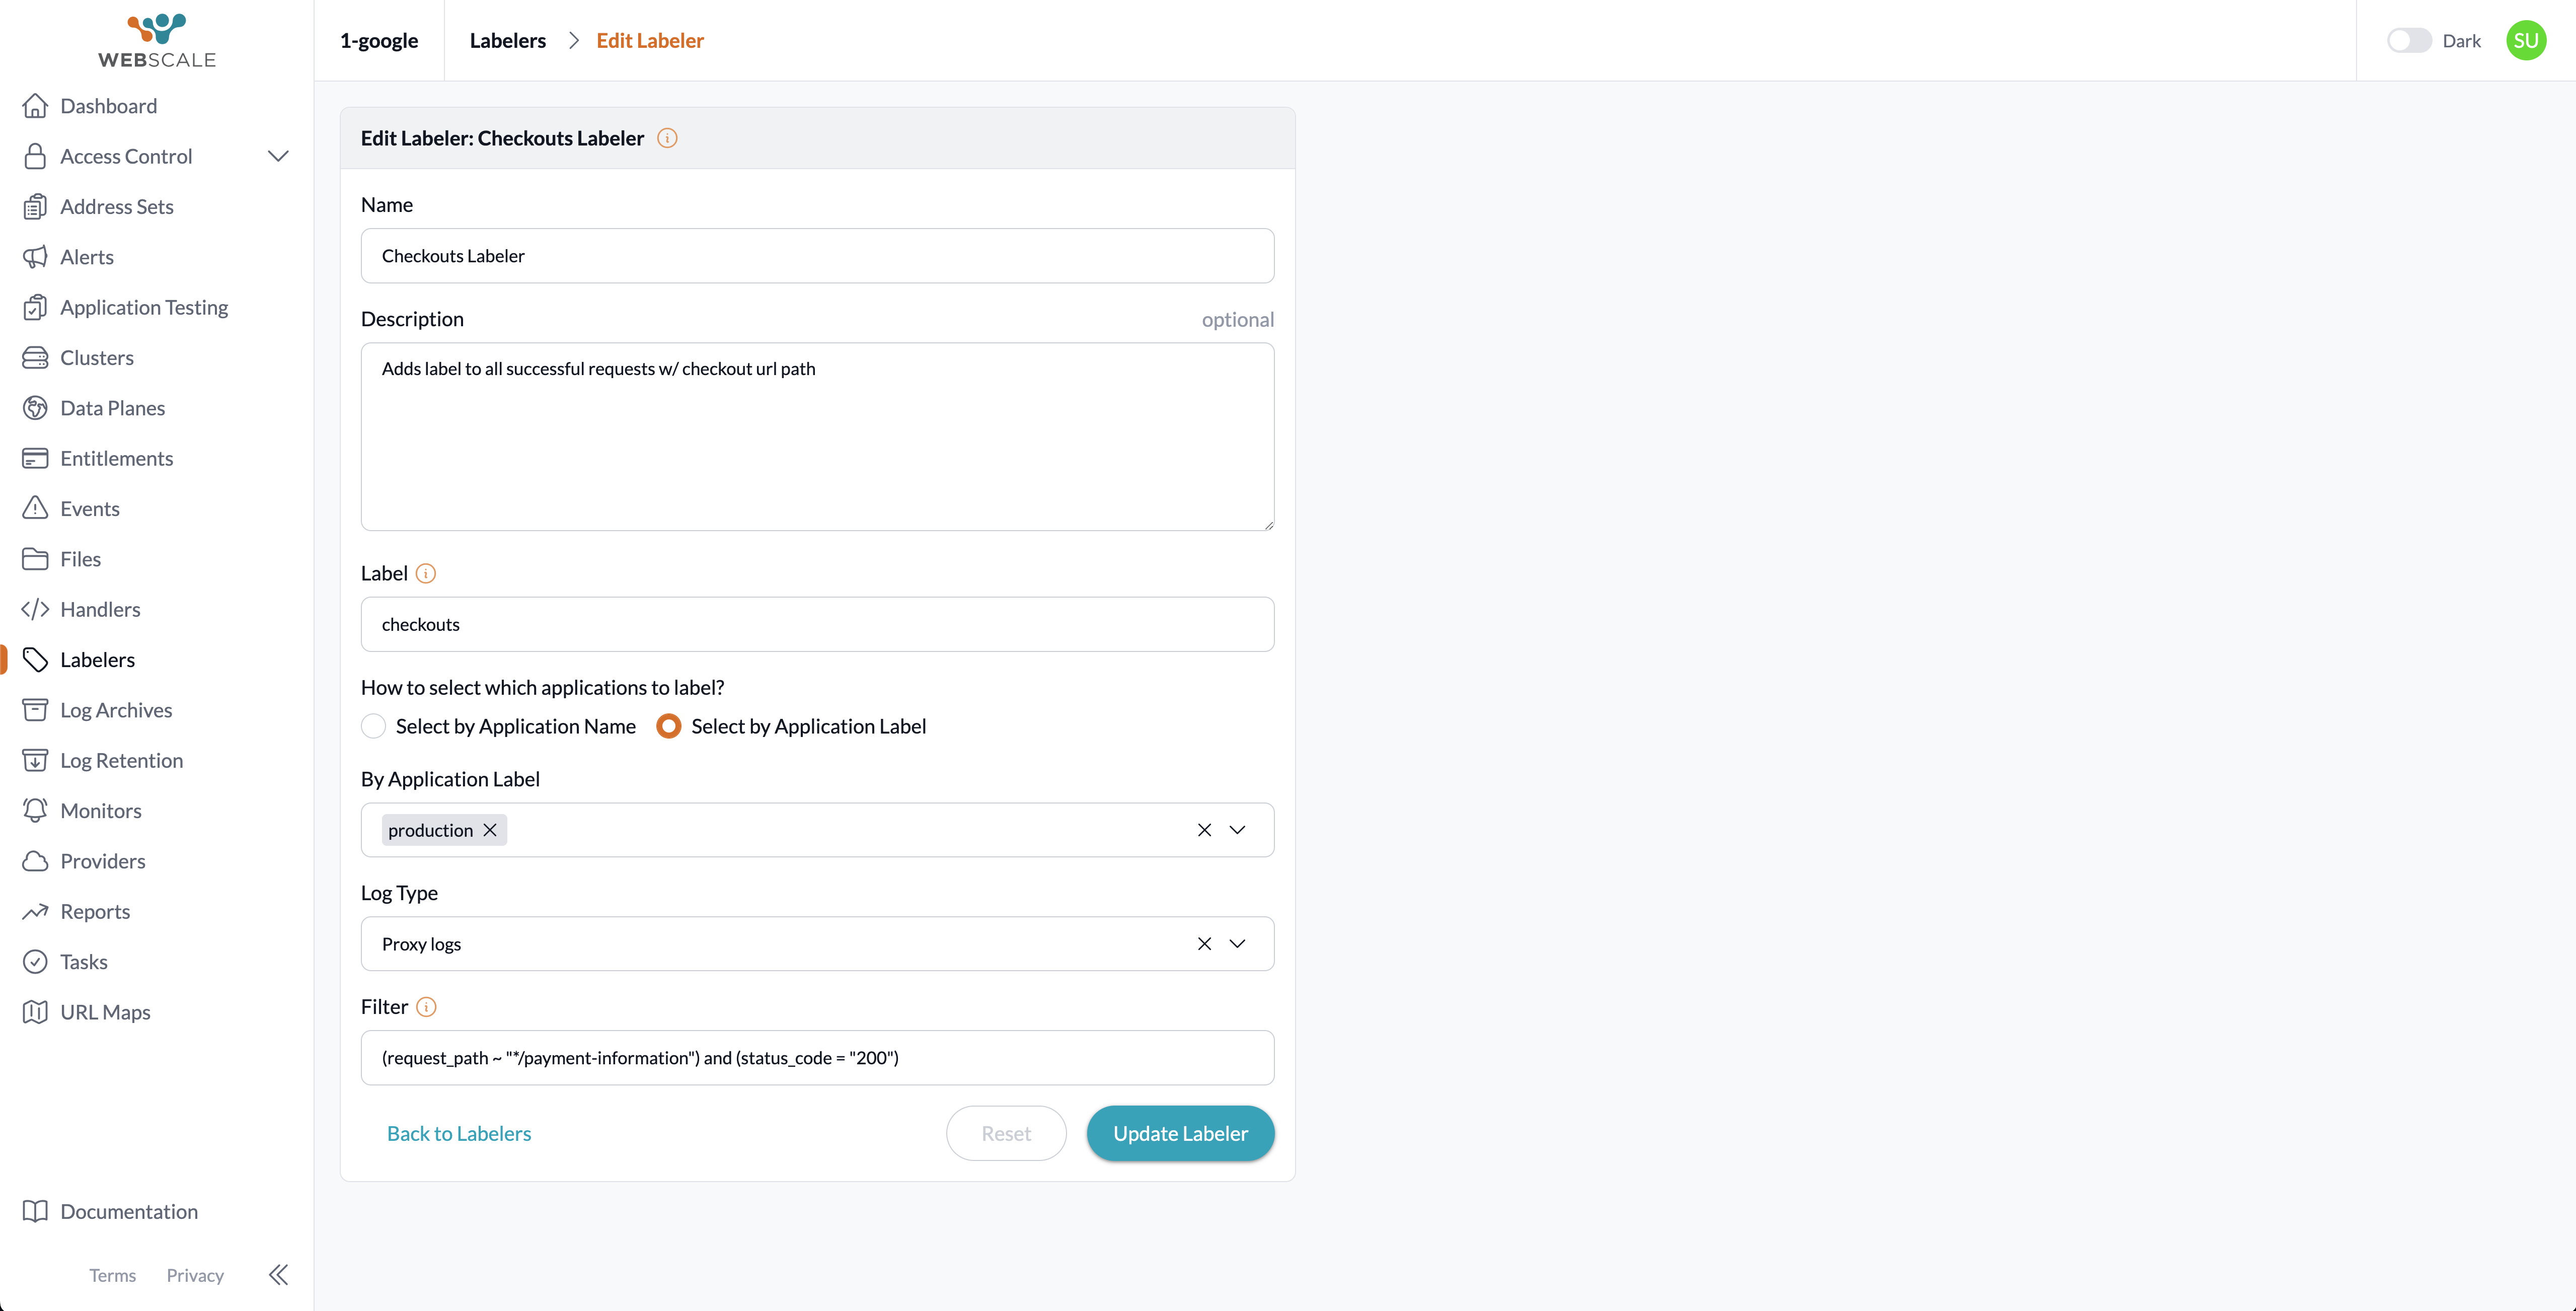
| 5. Add a Name and Description that will help explain the labeler’s purpose when viewed in the labelers table. | |
| 6. Add the Label itself that will help explain the label’s purpose when filtering or analyzing the labeled logs | |
7. Choose Select by application name or Select by application label to determine the contents of the next field which, in turn, configures which applications should be labeled. Note:An application label can be created and added to an application in Edit application on the General page. |
|
8. Select which Log type should be labeled of the available log types, and then create the Filter that decides which logs of that log type should be labeled. Note:The filtering functionality here is the same as the filter in Traffic Viewer. It is recommended to use Traffic Viewer to create a filter that will filter the desired logs, and then paste that filter here. |
|
| 9. Click Create Labeler, and observe a confirmation message. The Reset button clears the field values. |
Edit a Labeler
| 1. Login to the Webscale Control Panel and click the three bars in the upper left. 2. Select Labelers from the menu. |
|
| 3. This Labelers page shows the existing labelers in a table. | |
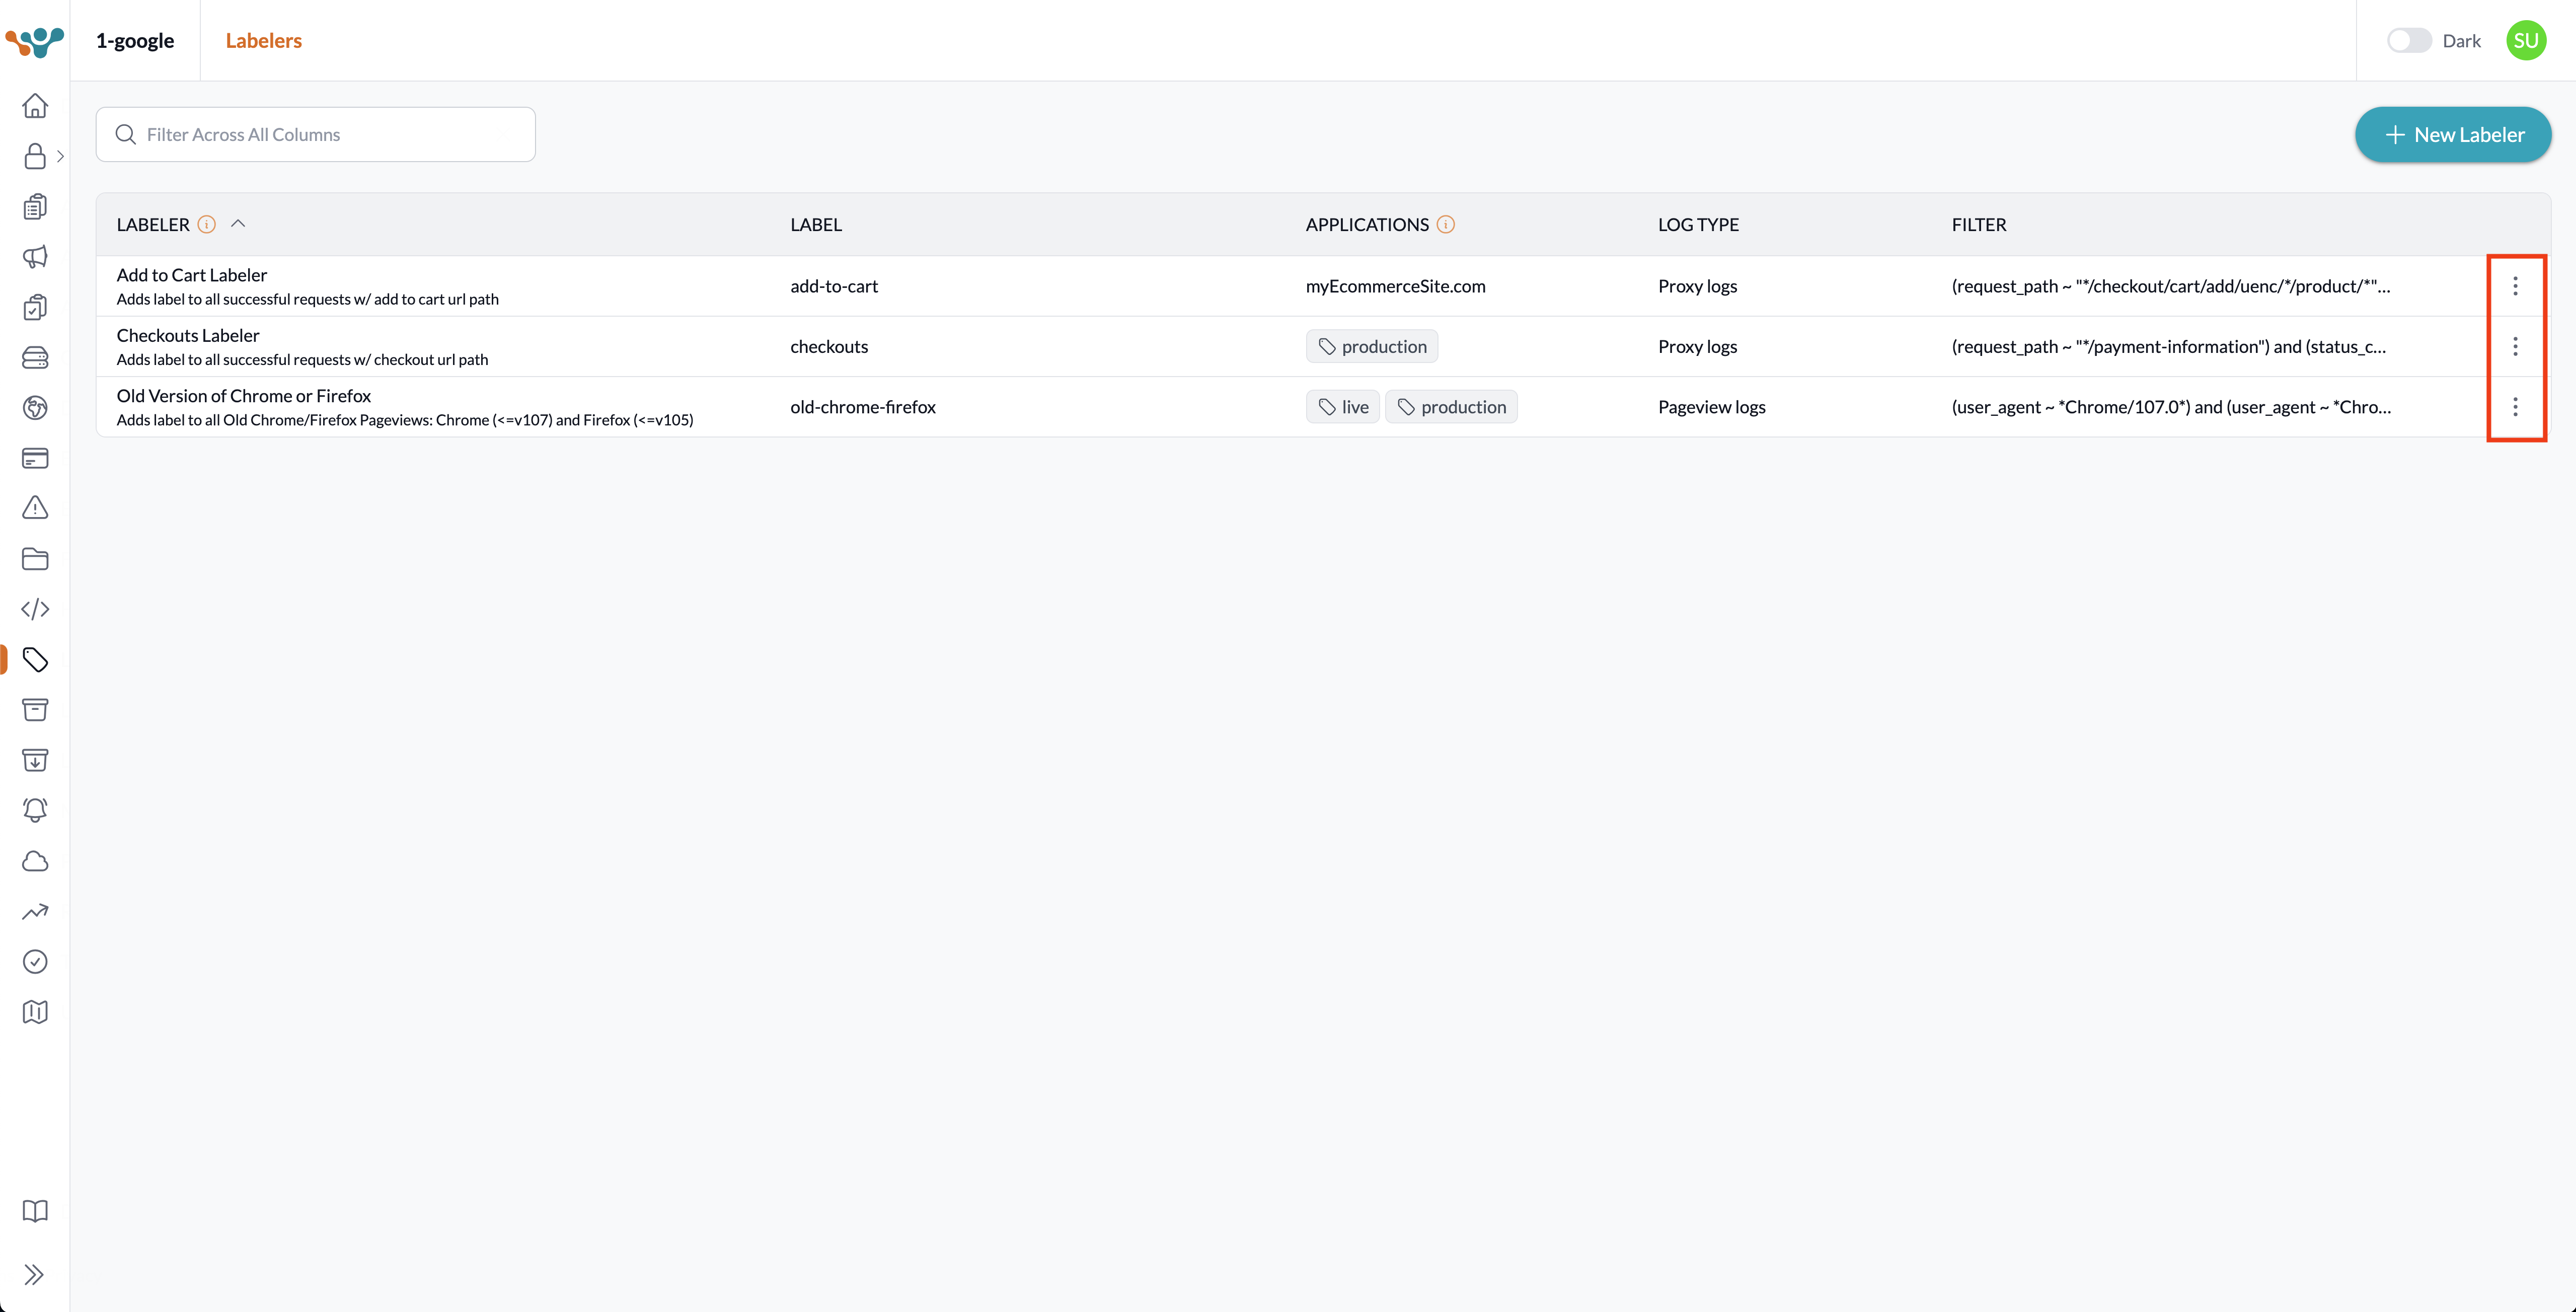
| 4. Click the more menu on the far right of a labelers’s row. | |
| 5. Click the Edit Labeler option. | |
| 6. Edit the Labeler, click Update Labeler, and observe a confirmation message. The Reset button will reset the labeler to the form’s state when it was navigated to and therefore it is disabled when no edits have occurred. 7. Click Back to Labelers to navigate back to the Labelers page. |
Further reading
Have questions not answered here? Please Contact Support to get more help.
Feedback
Was this page helpful?
Glad to hear it! Have any more feedback? Please share it here.
Sorry to hear that. Have any more feedback? Please share it here.
Last modified June 9, 2023
